
|
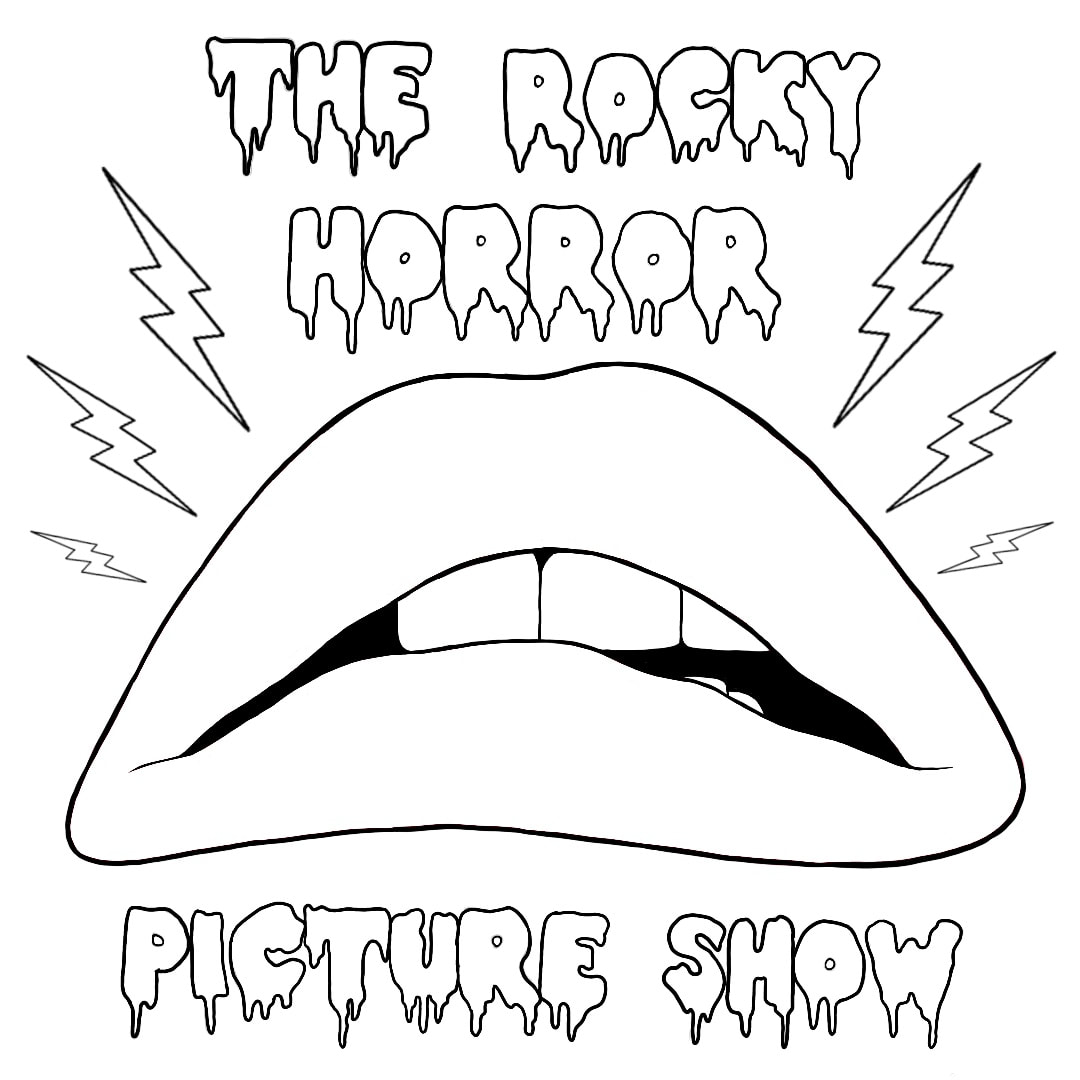
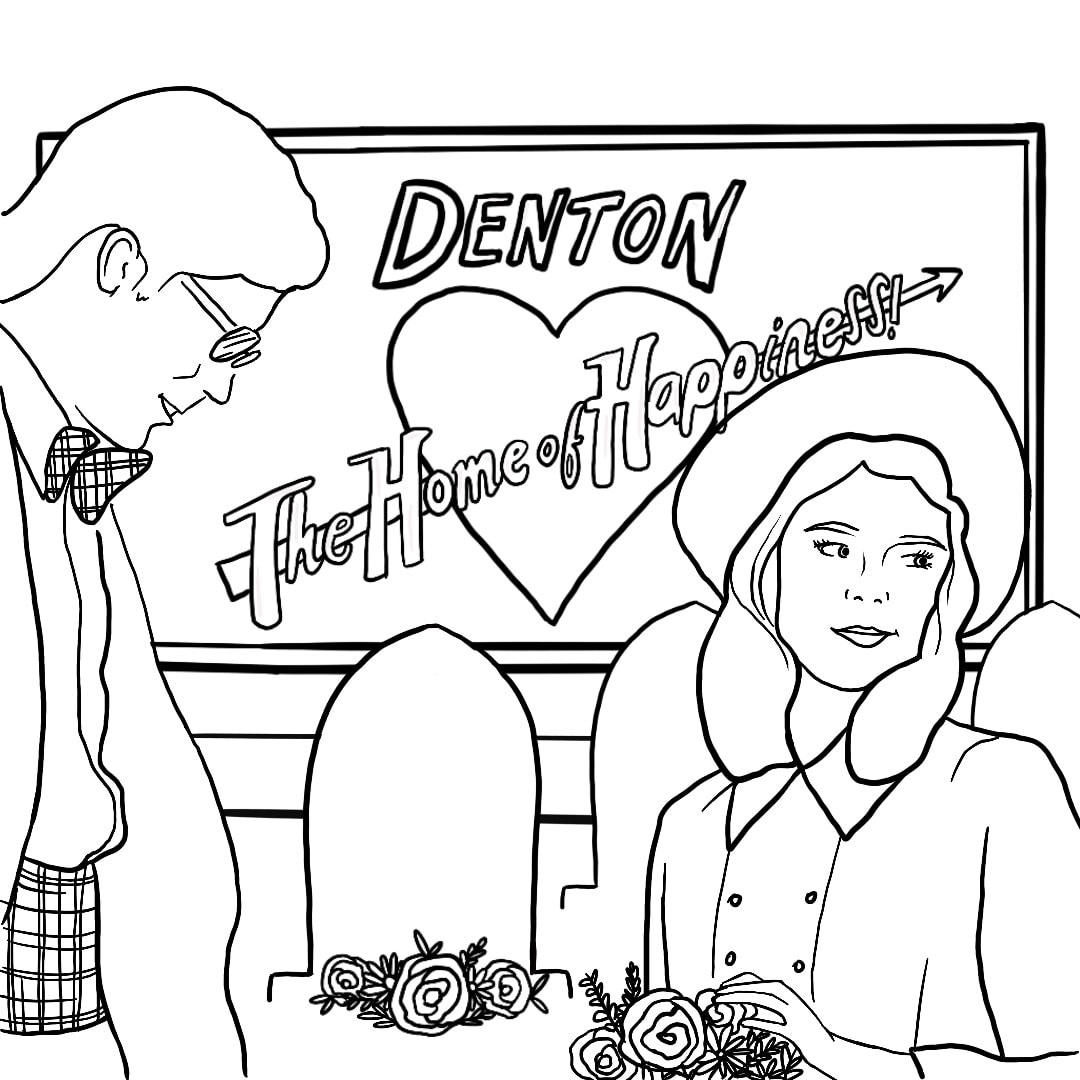
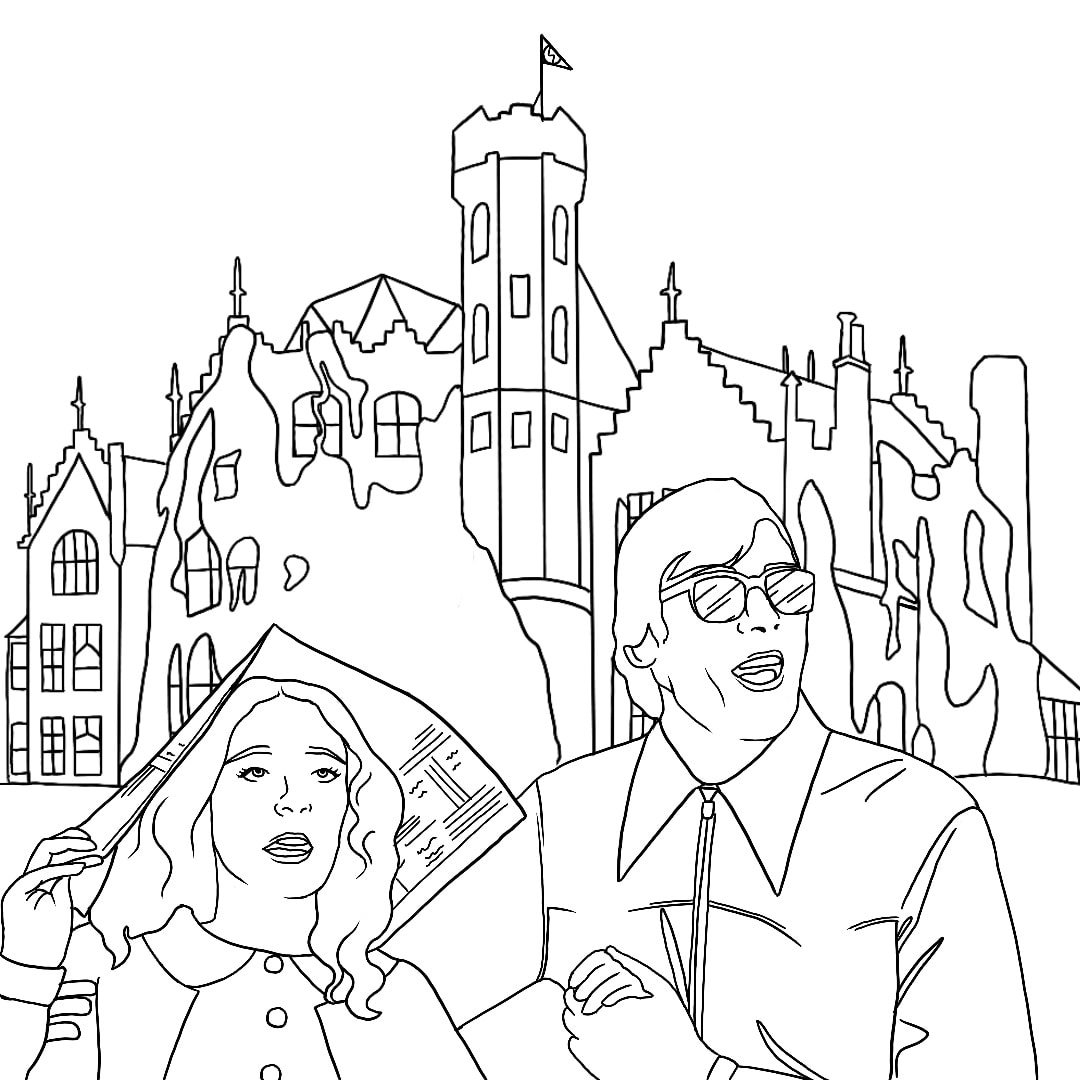
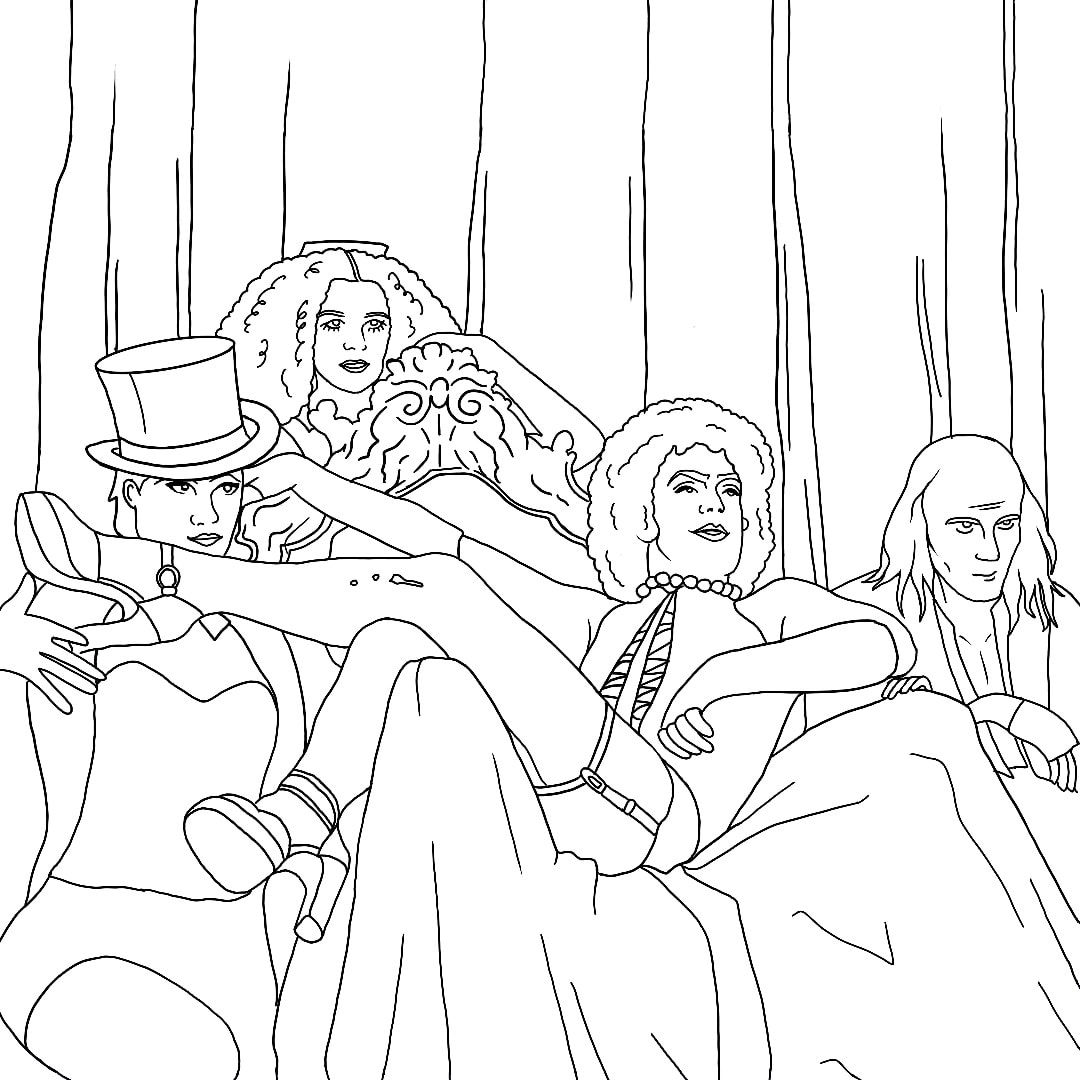
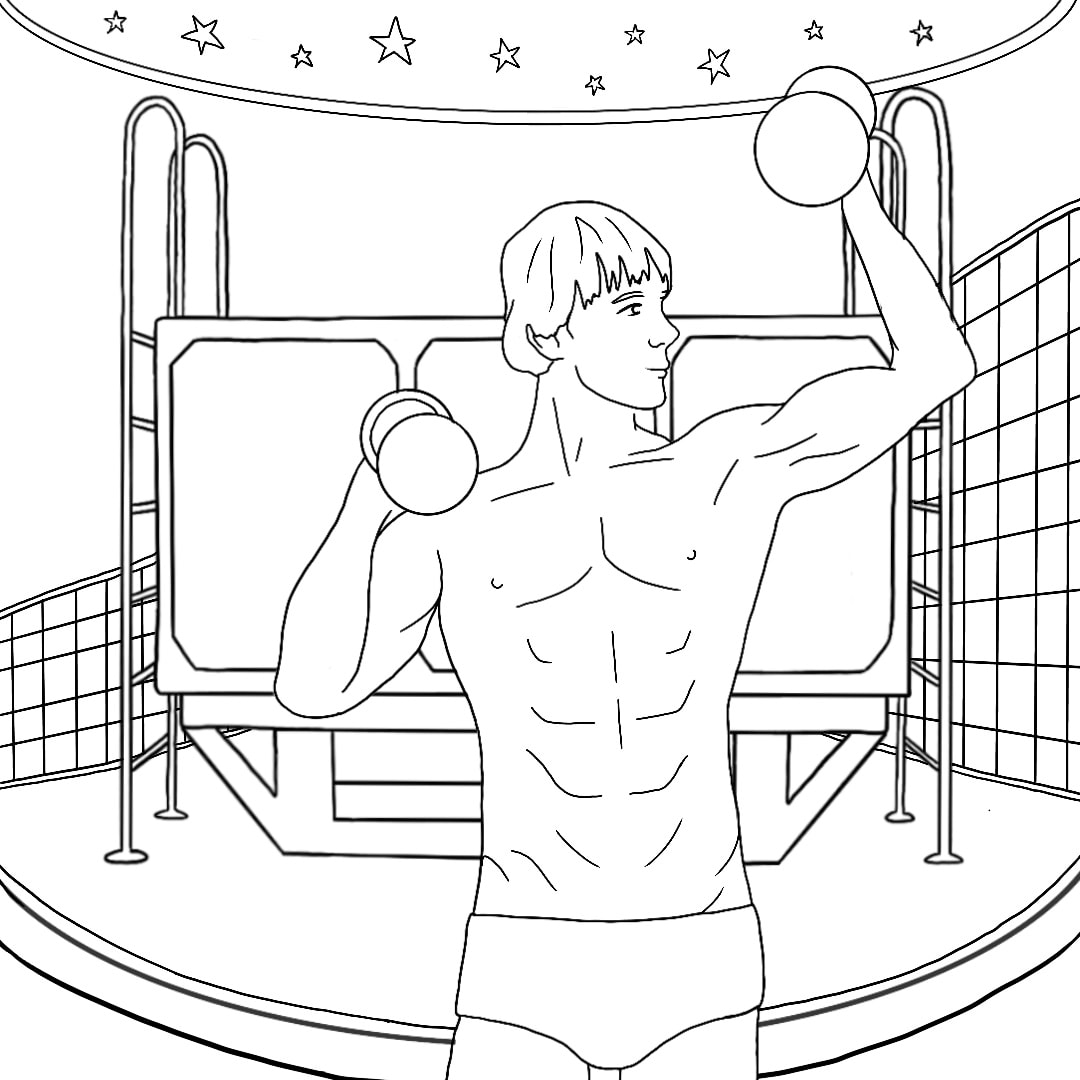
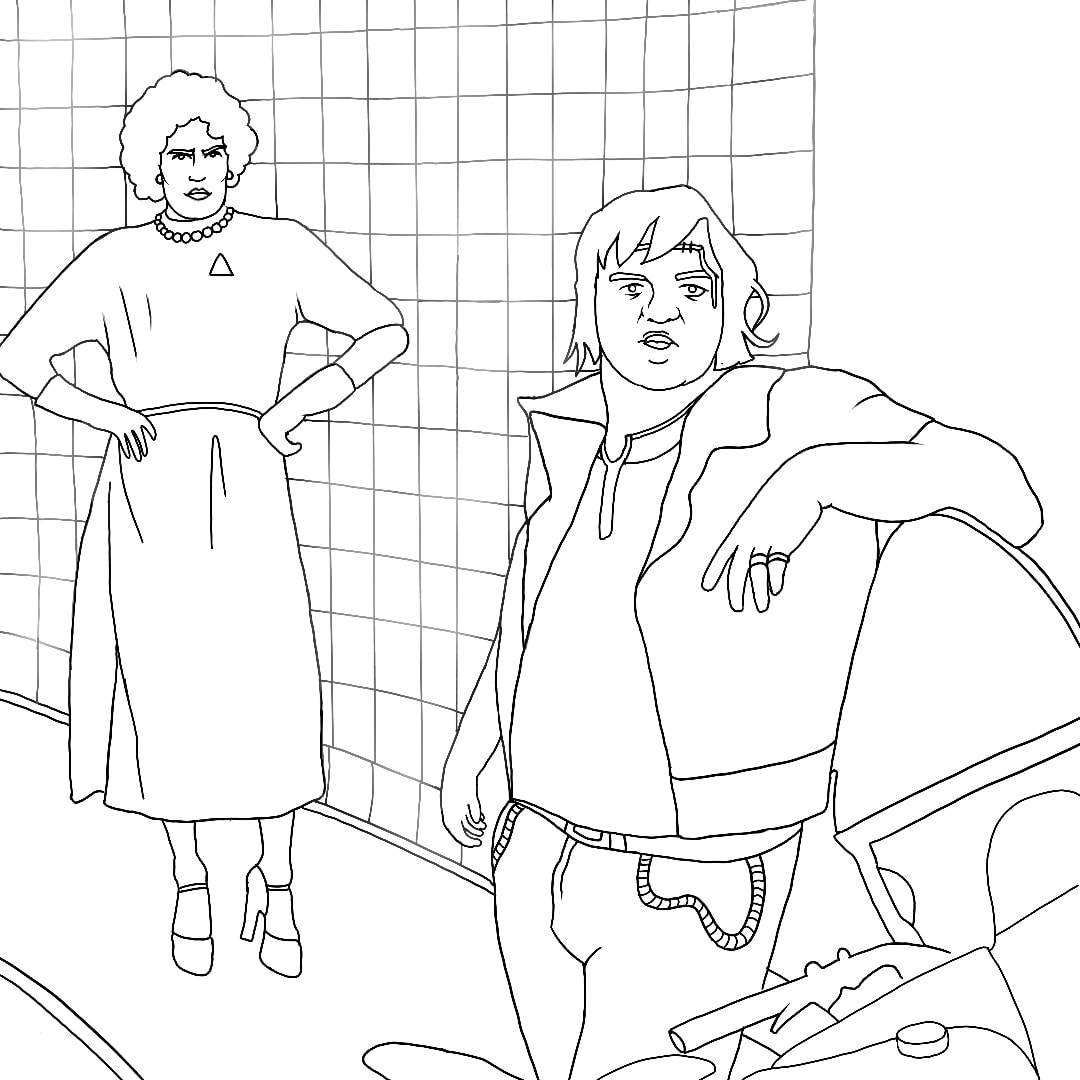
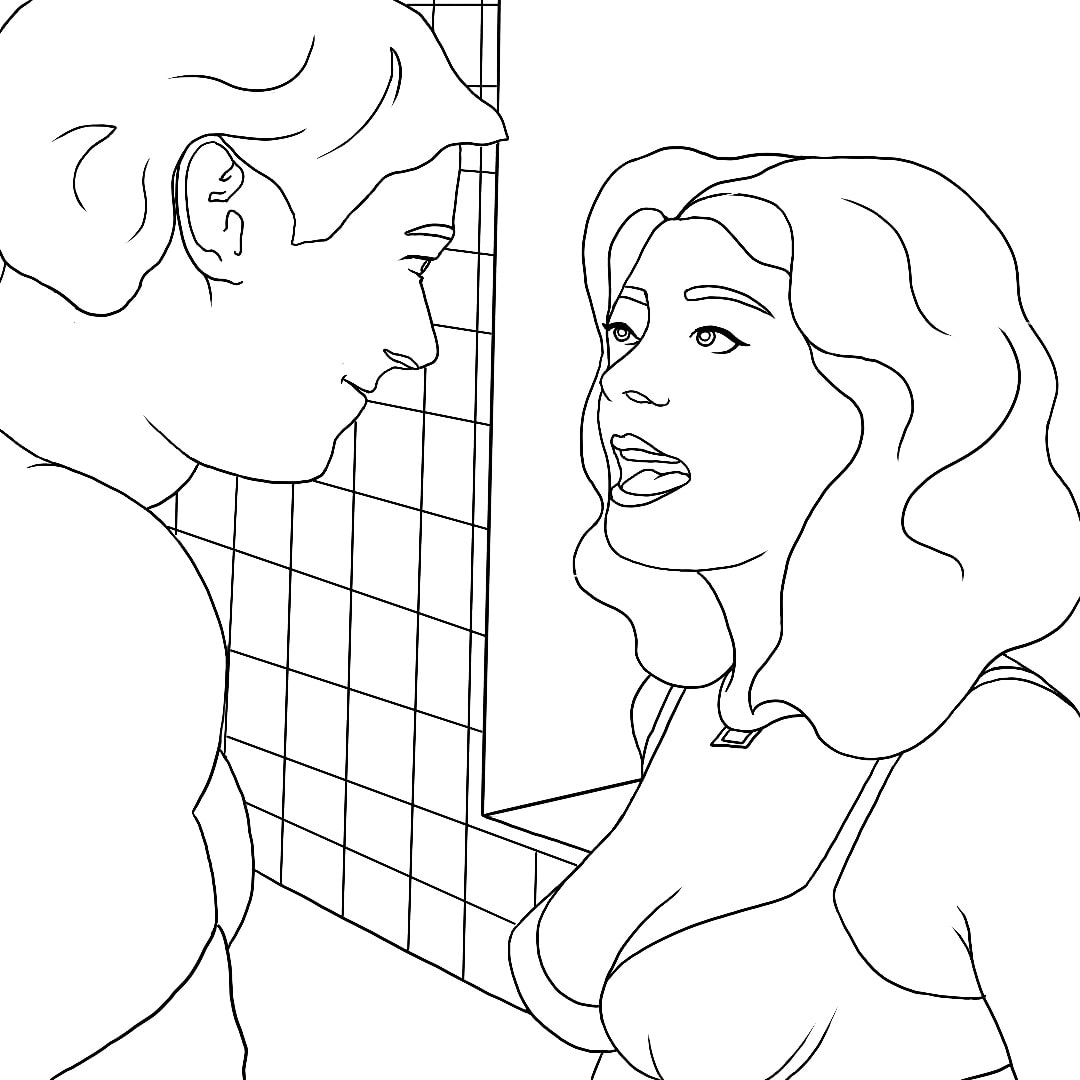
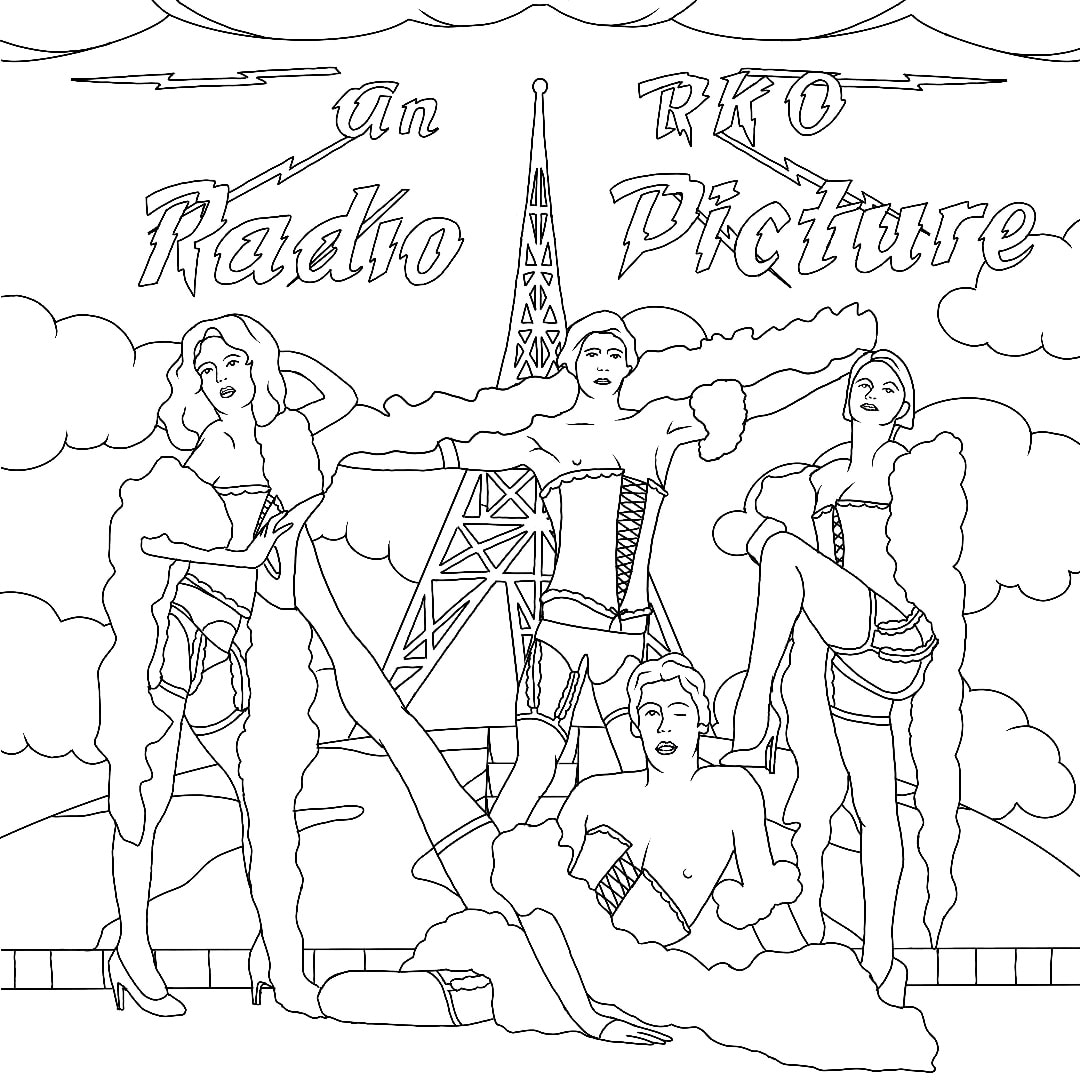
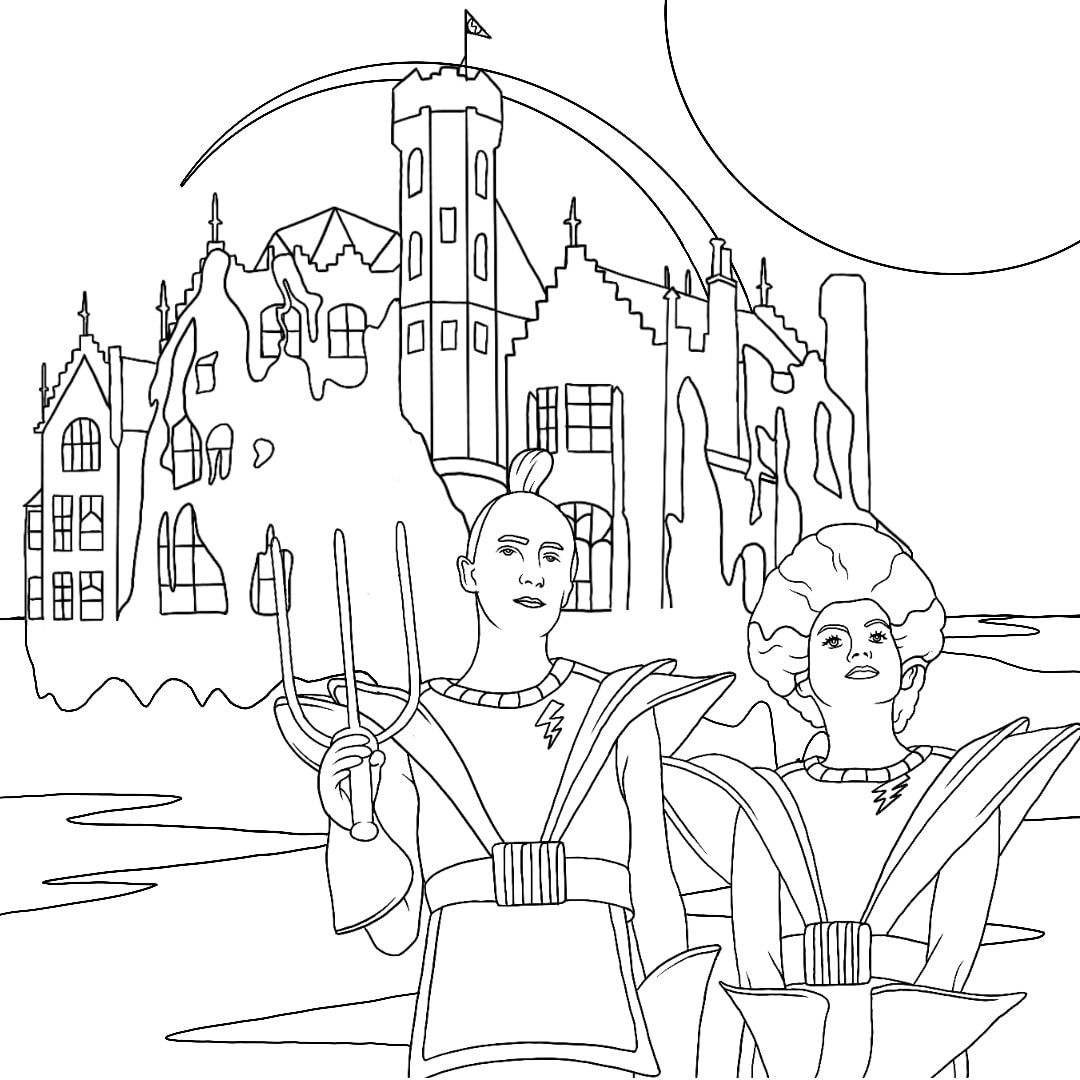
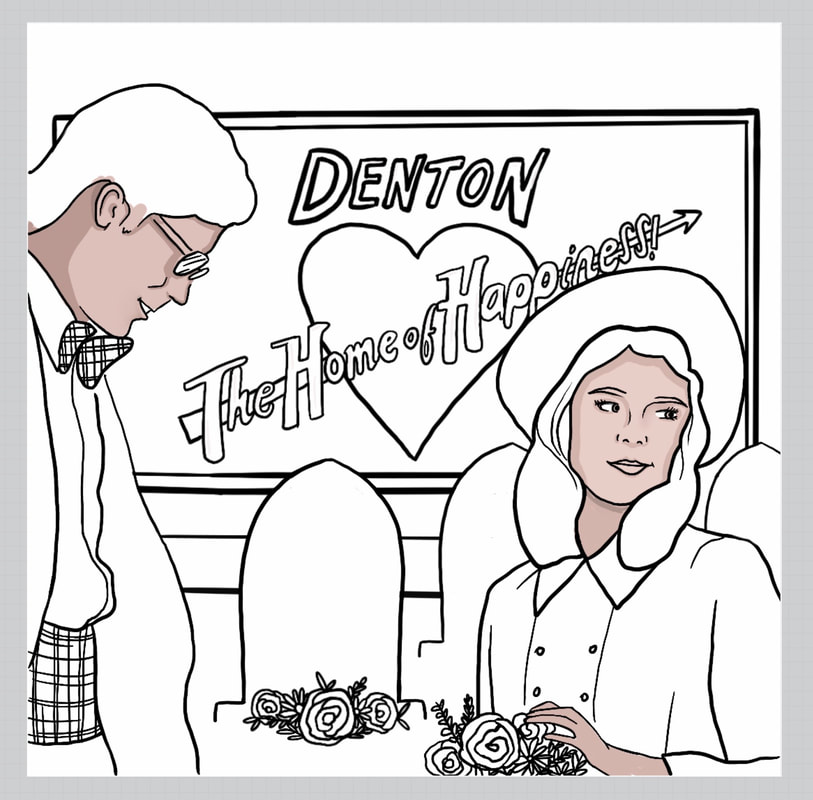
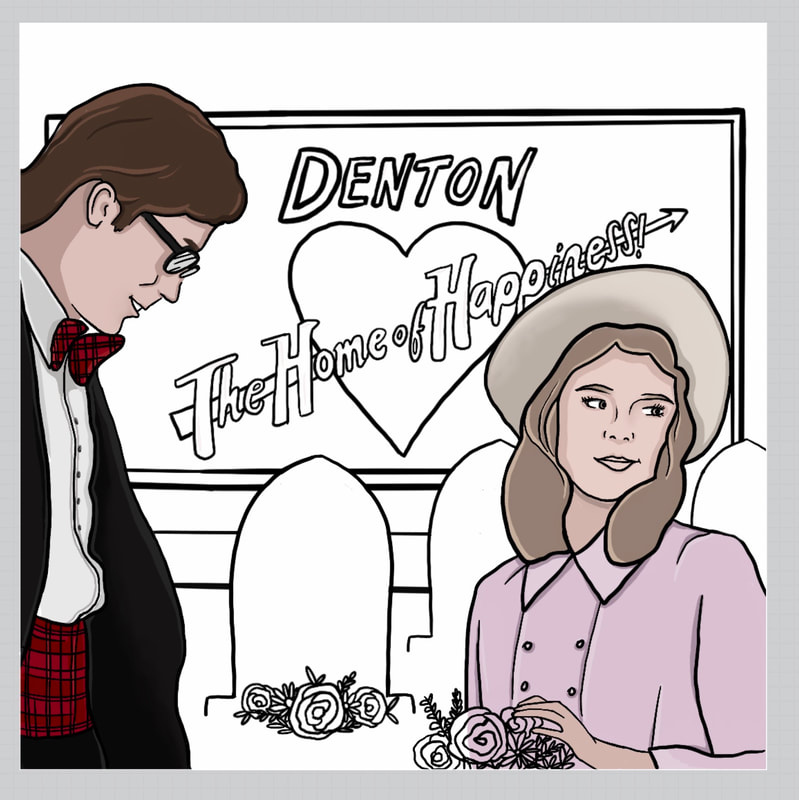
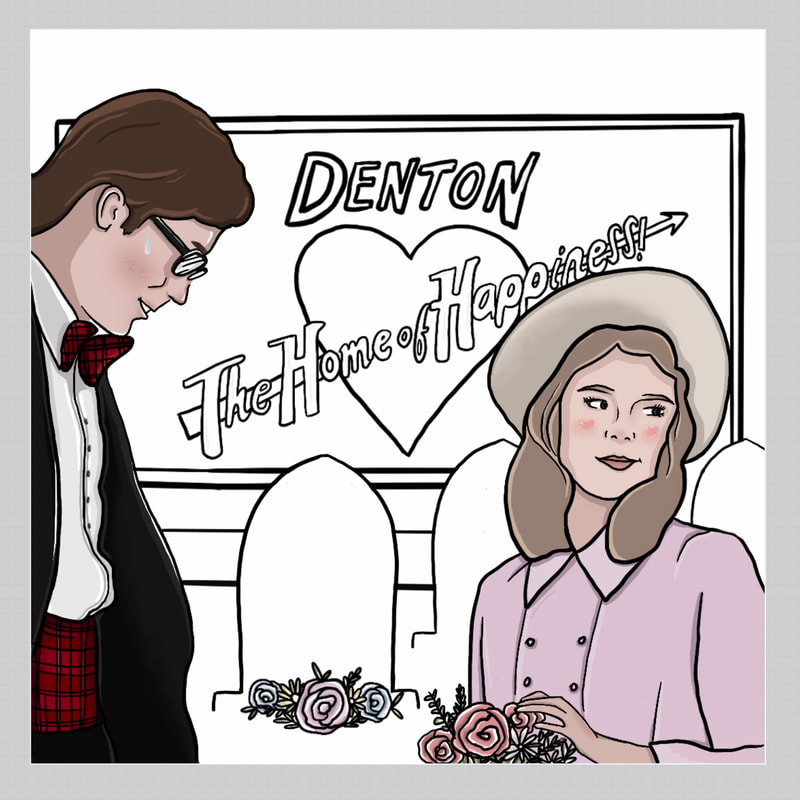
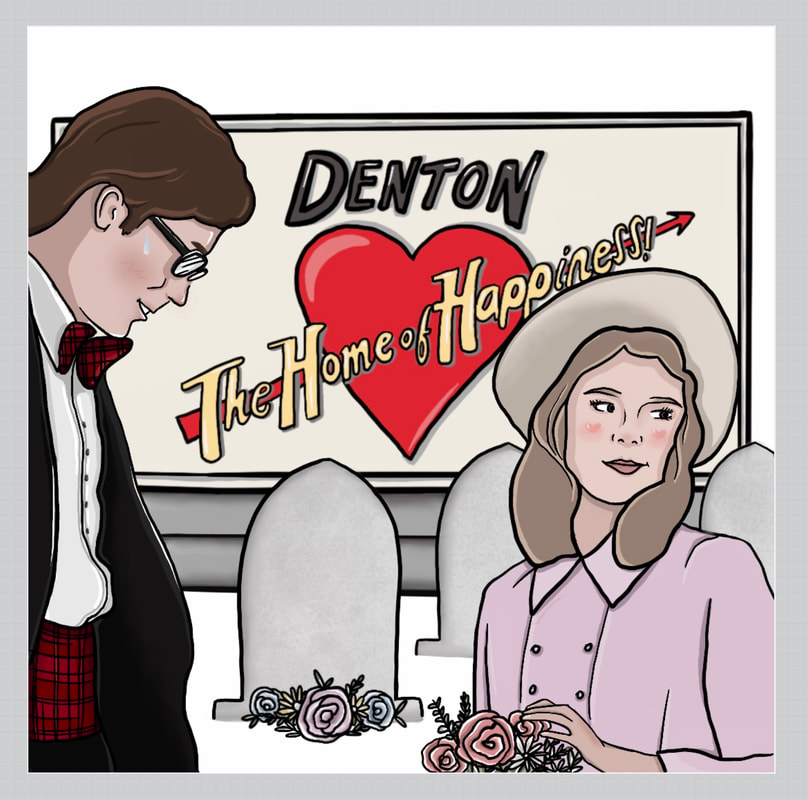
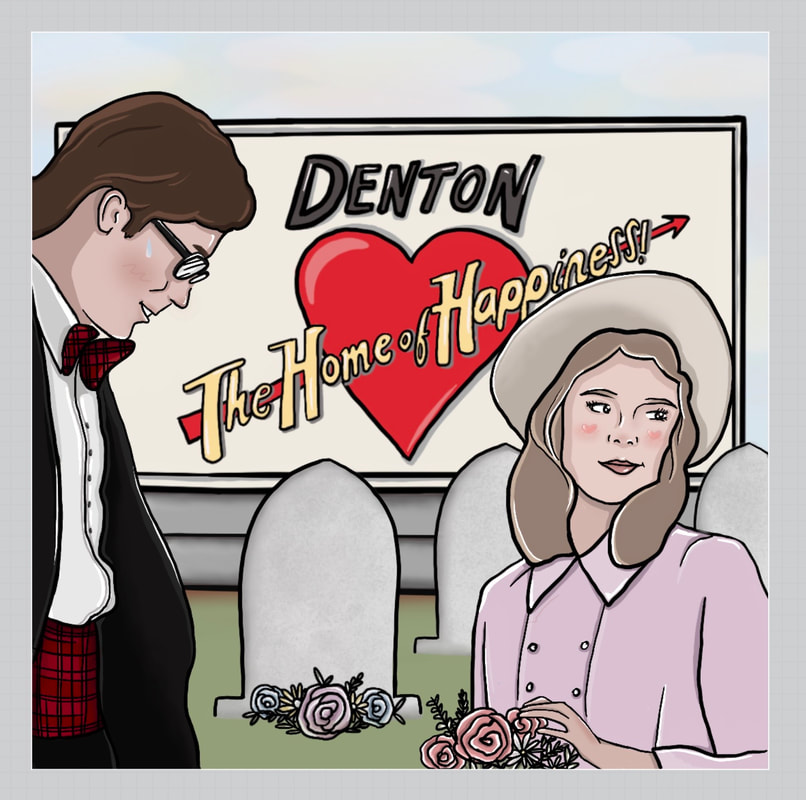
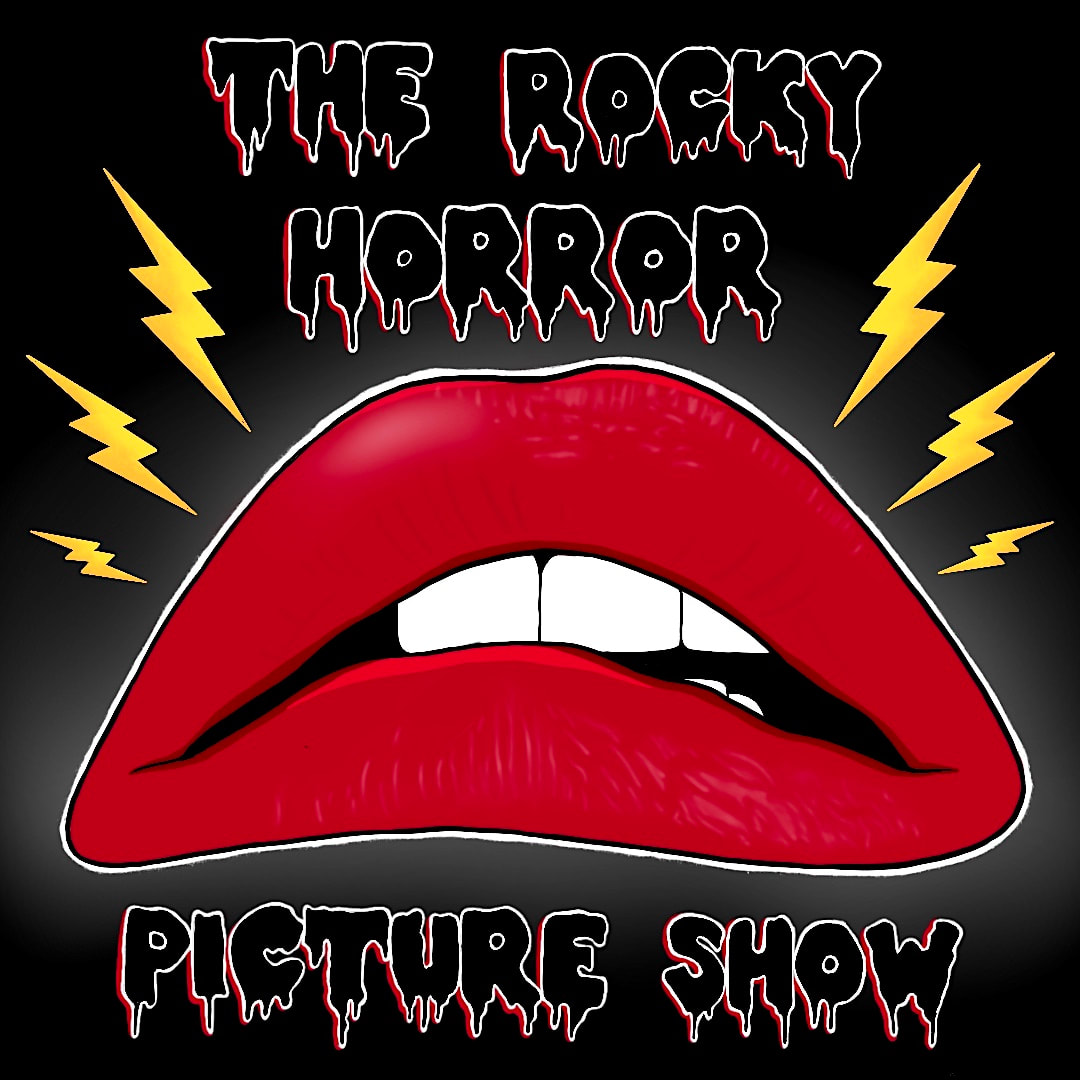
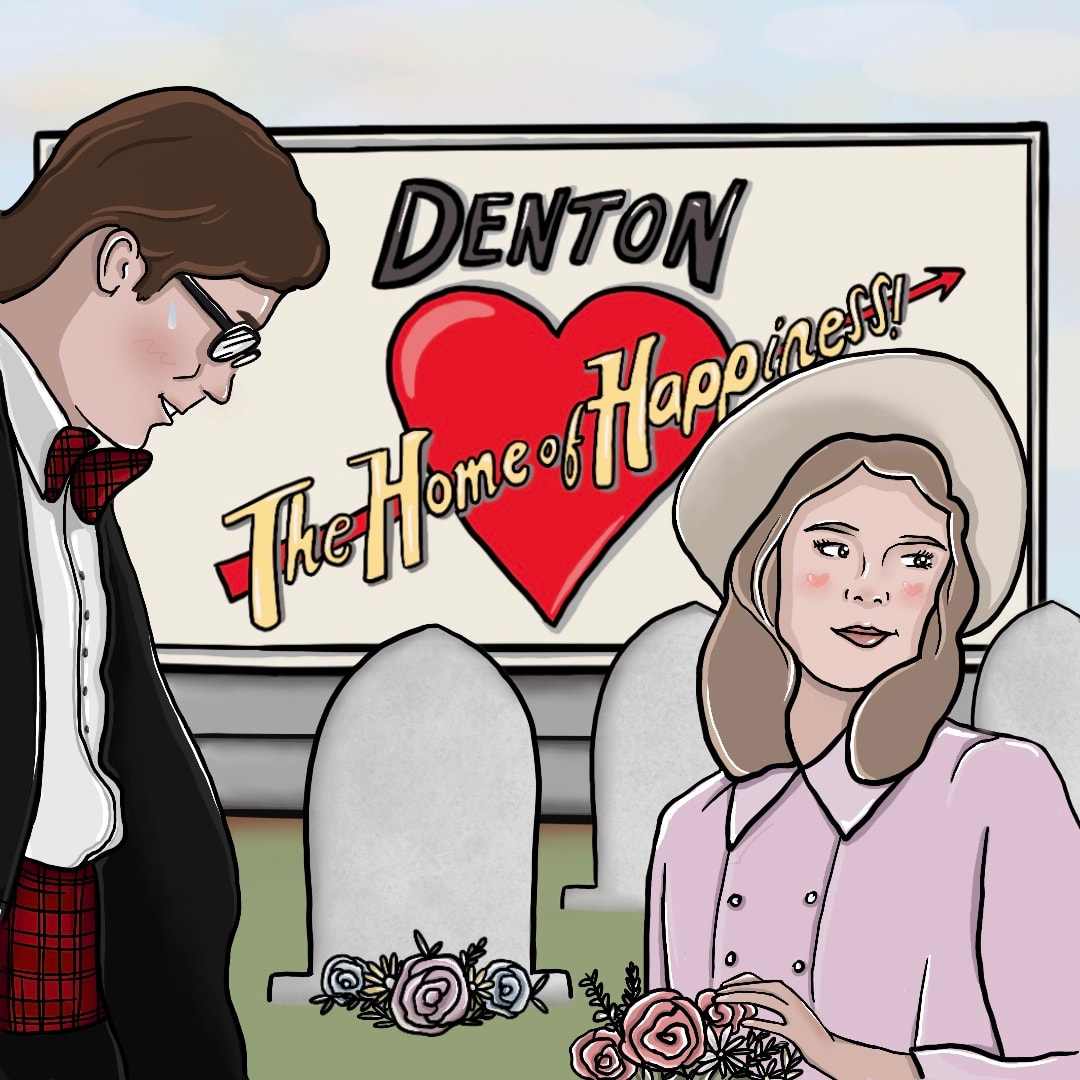
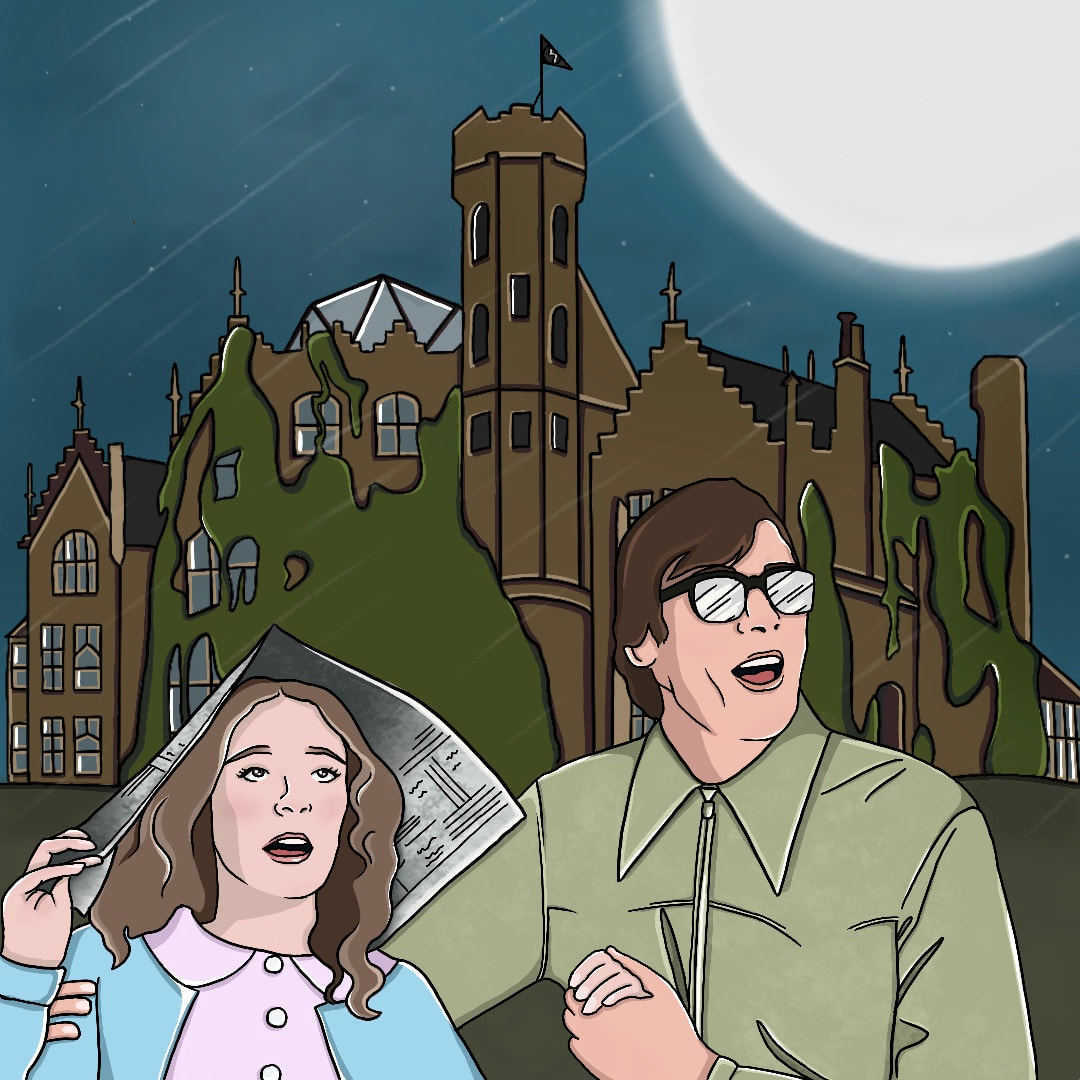
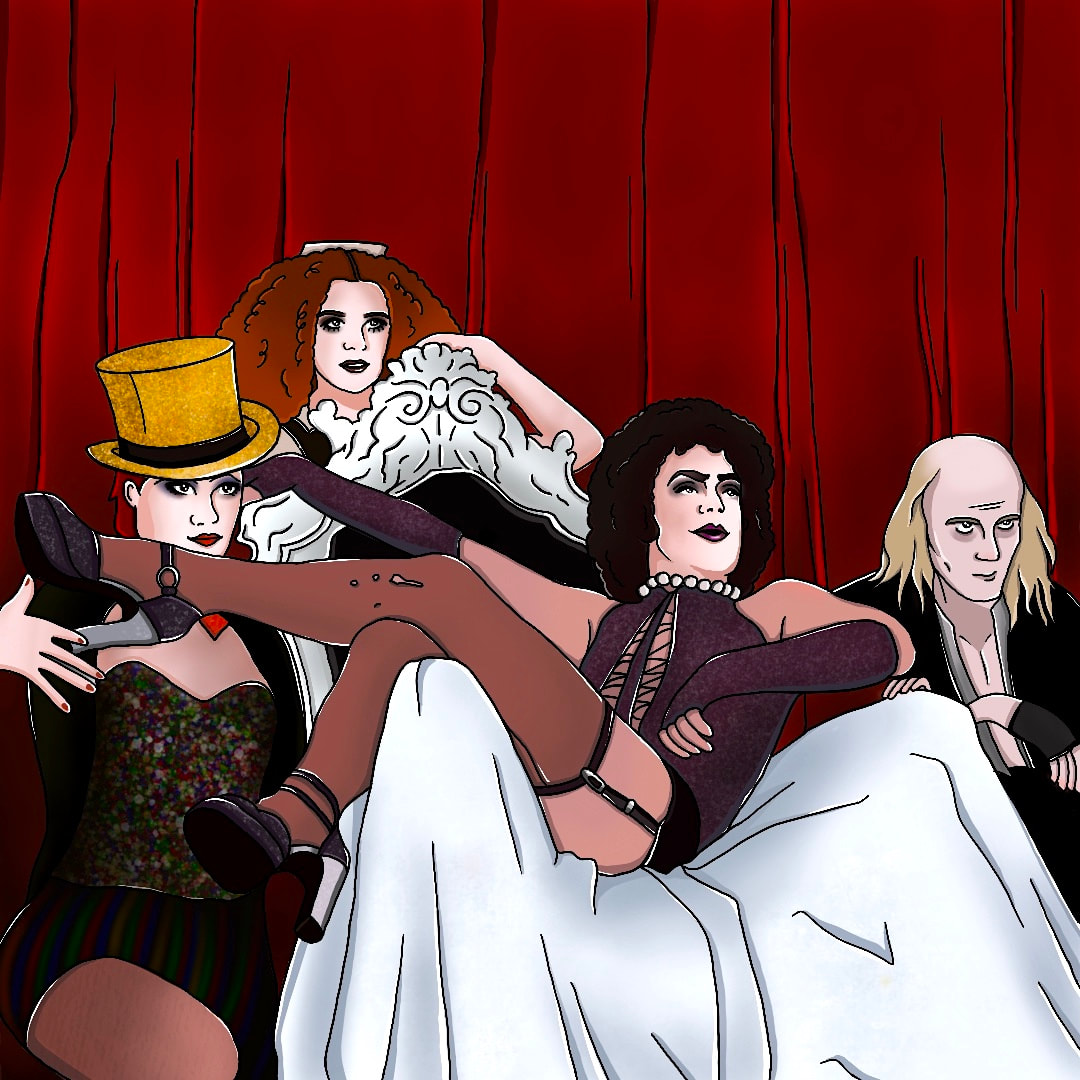
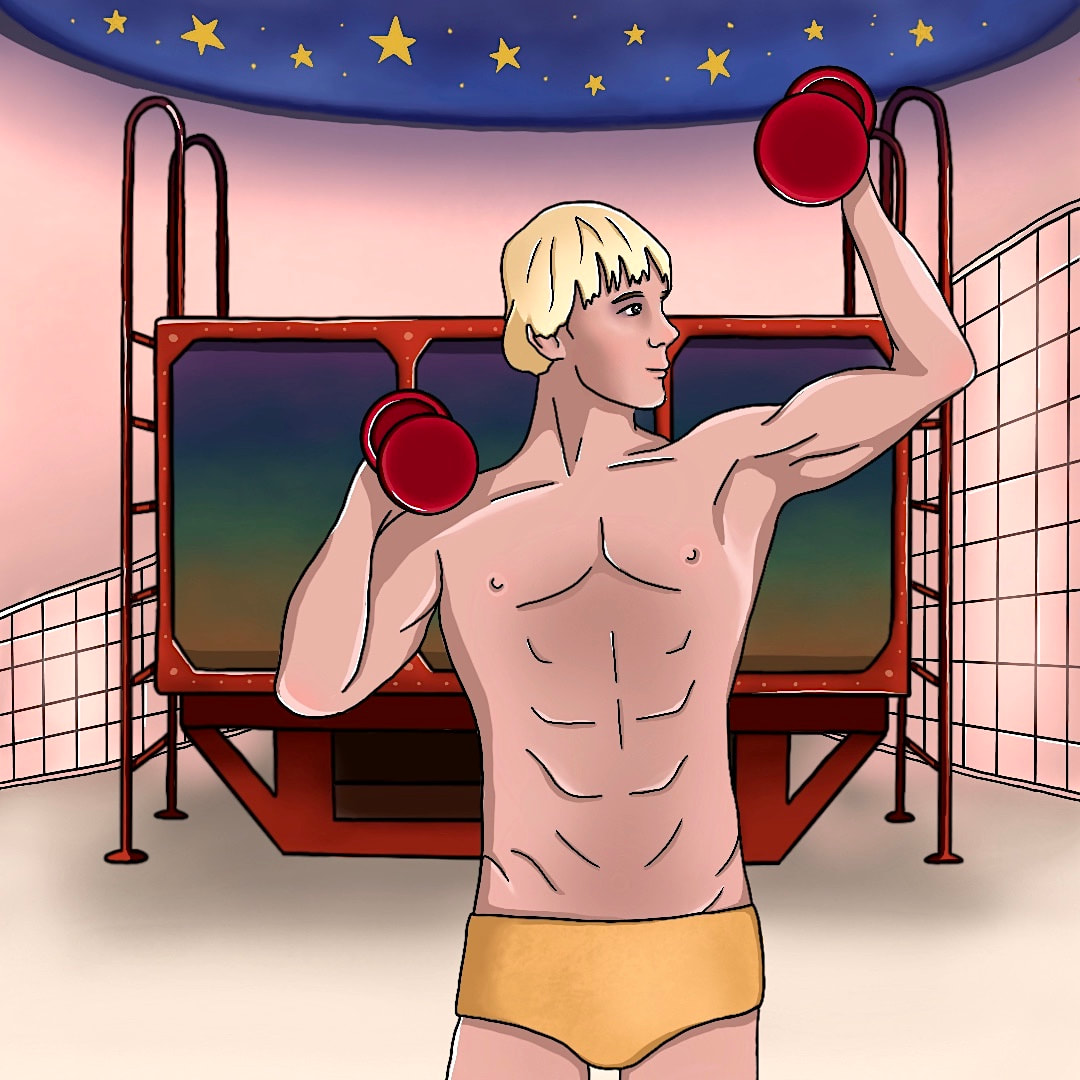
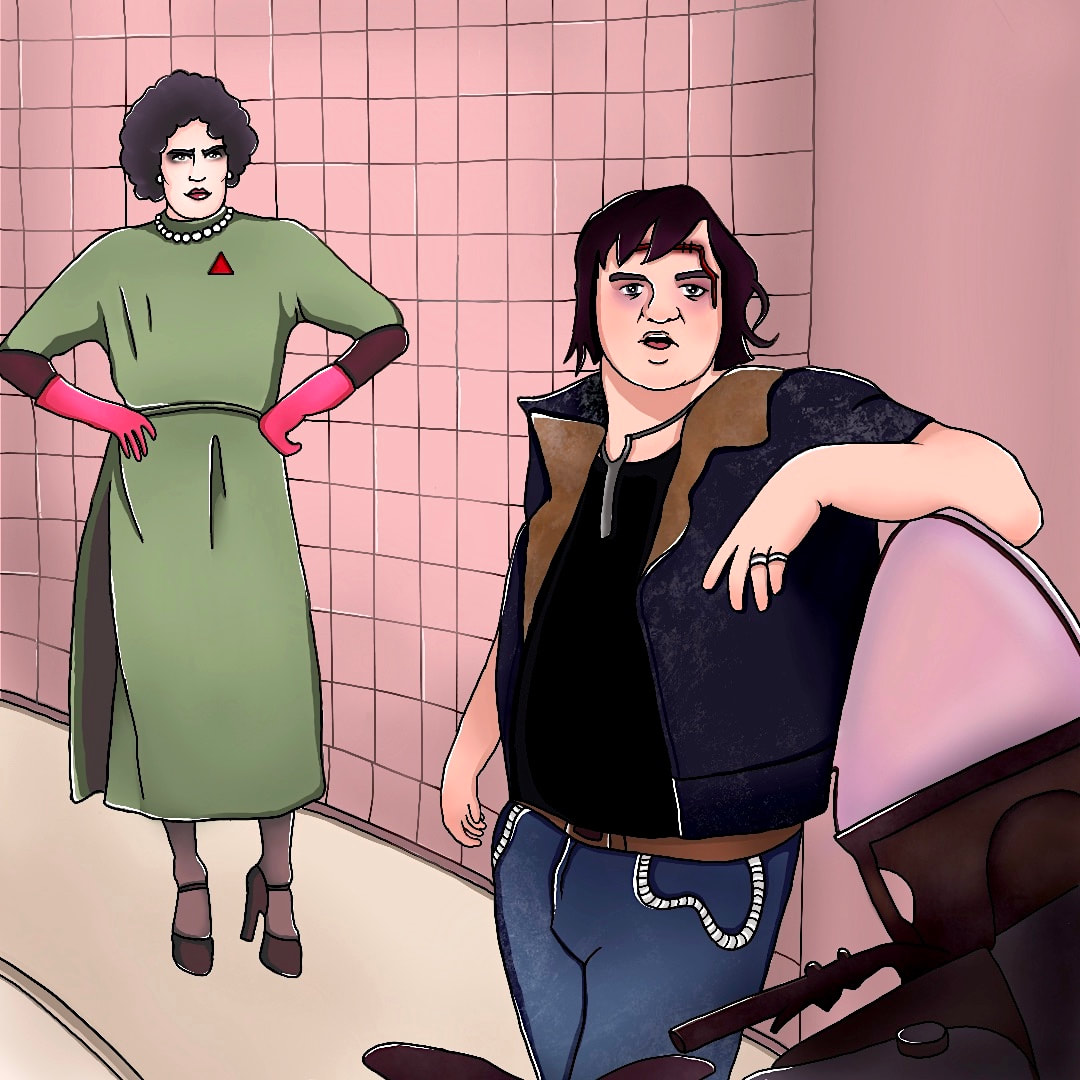
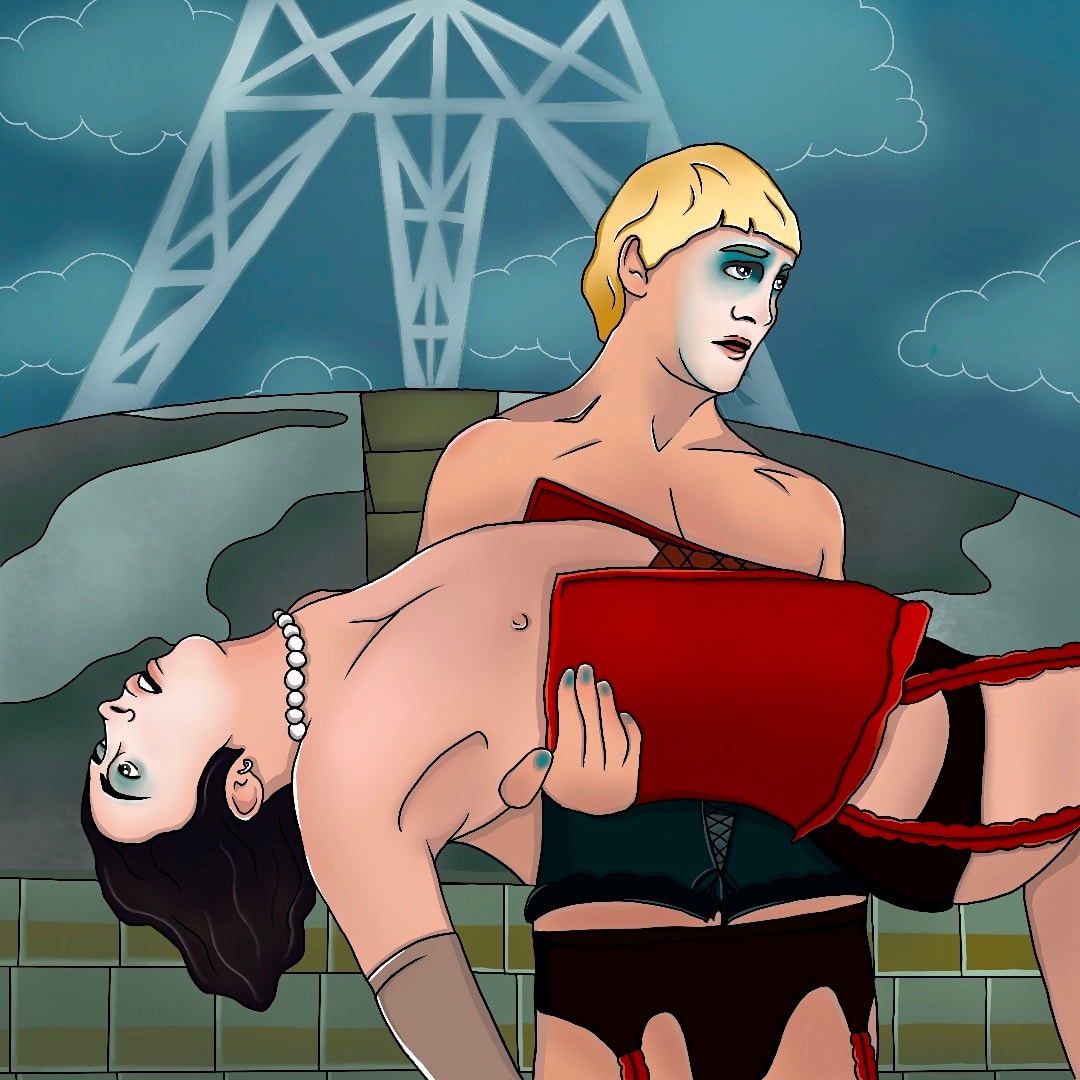
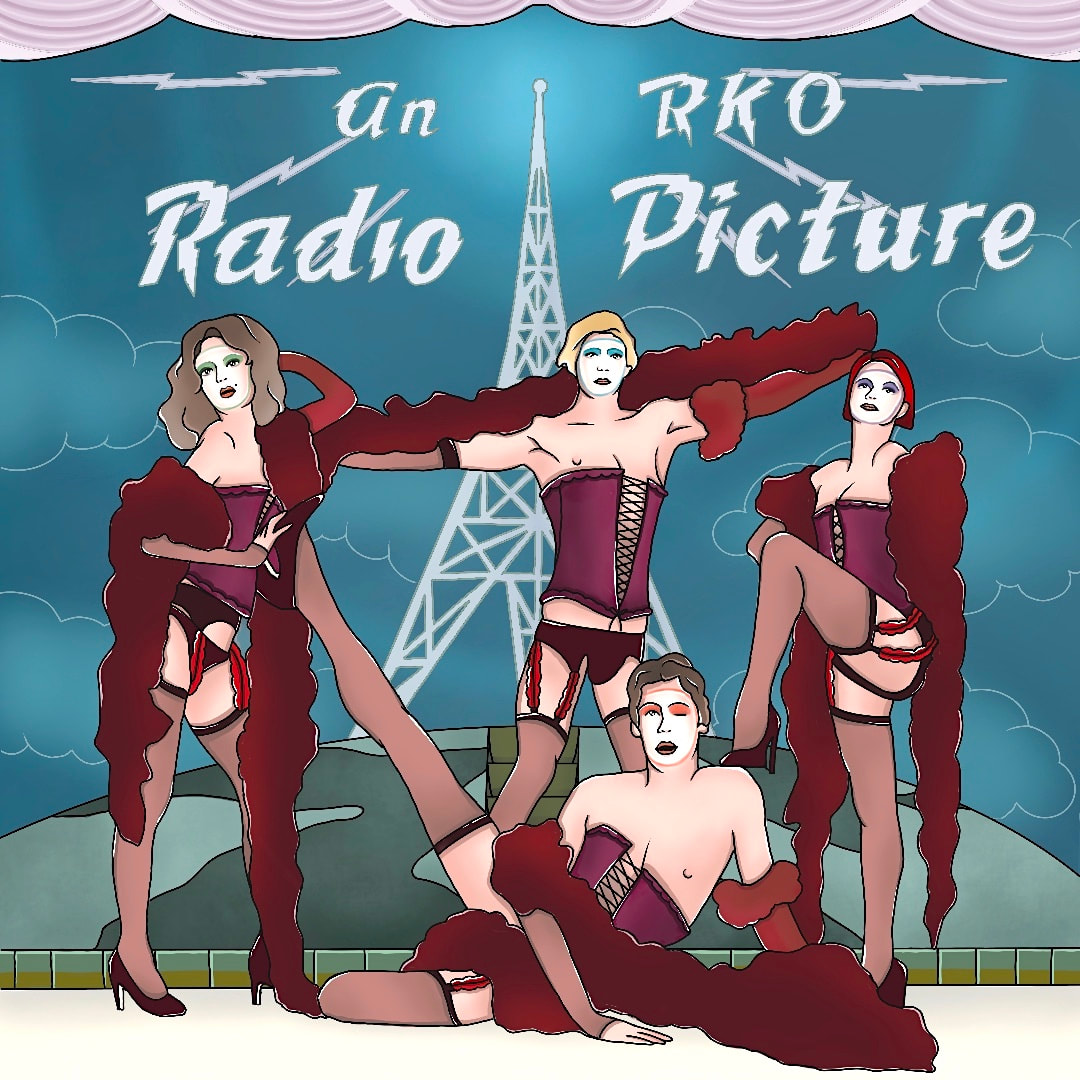
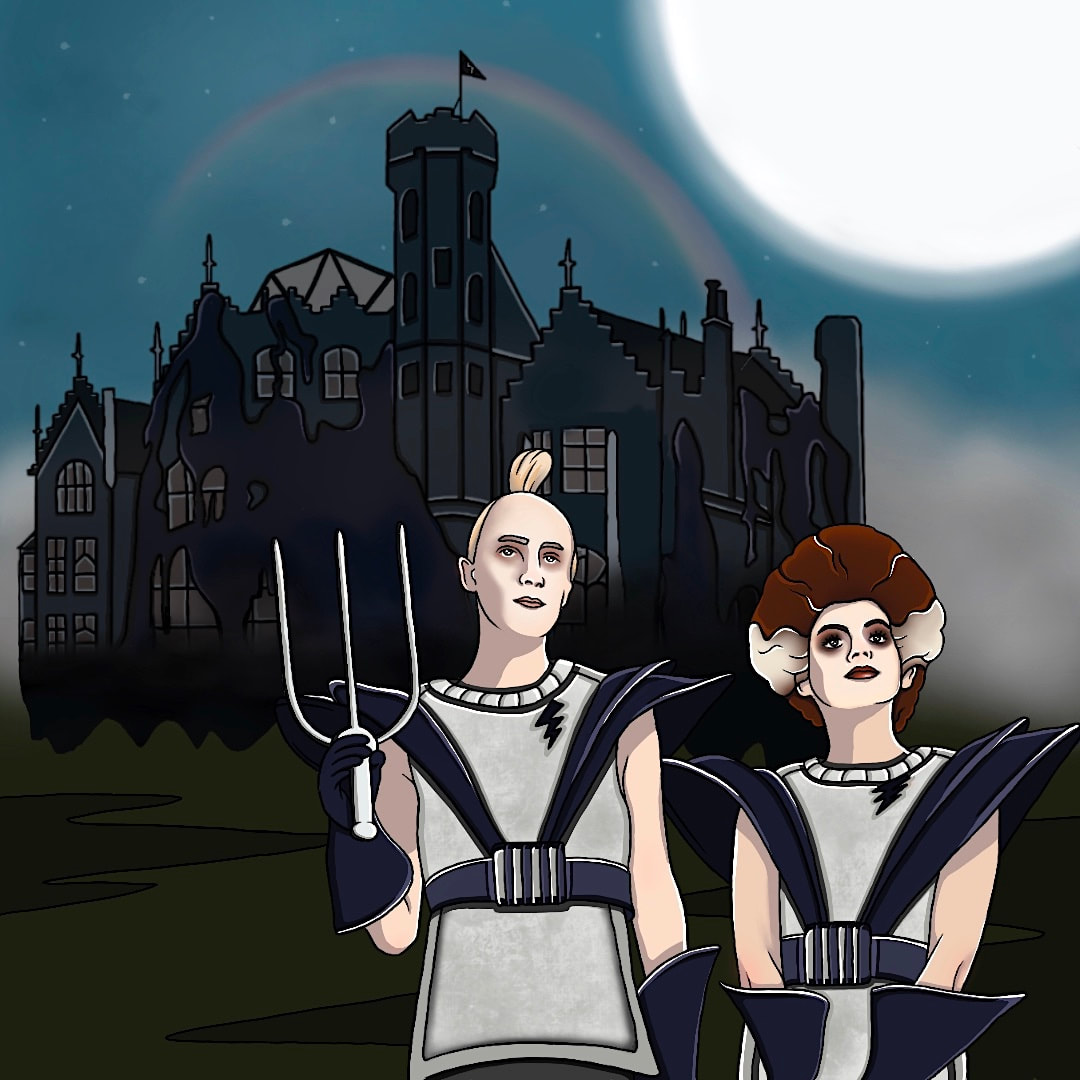
Brief Originally we were suppose to be creating an animation for our last project but unfortunately unforeseen circumstances made that difficult. As a result we were given an alternative brief; without losing the essence of the plot, condense a film or book into 10 images for a social media platform such as Instagram. The film I chose was the Rocky Horror Picture Show. Research I began looking into different styles I could use for my images. I wanted to explore a more illustrative style for this project so I researched a few different approaches. My idea was to create single images that combined the main elements in the story without having to rely on words to describe it. 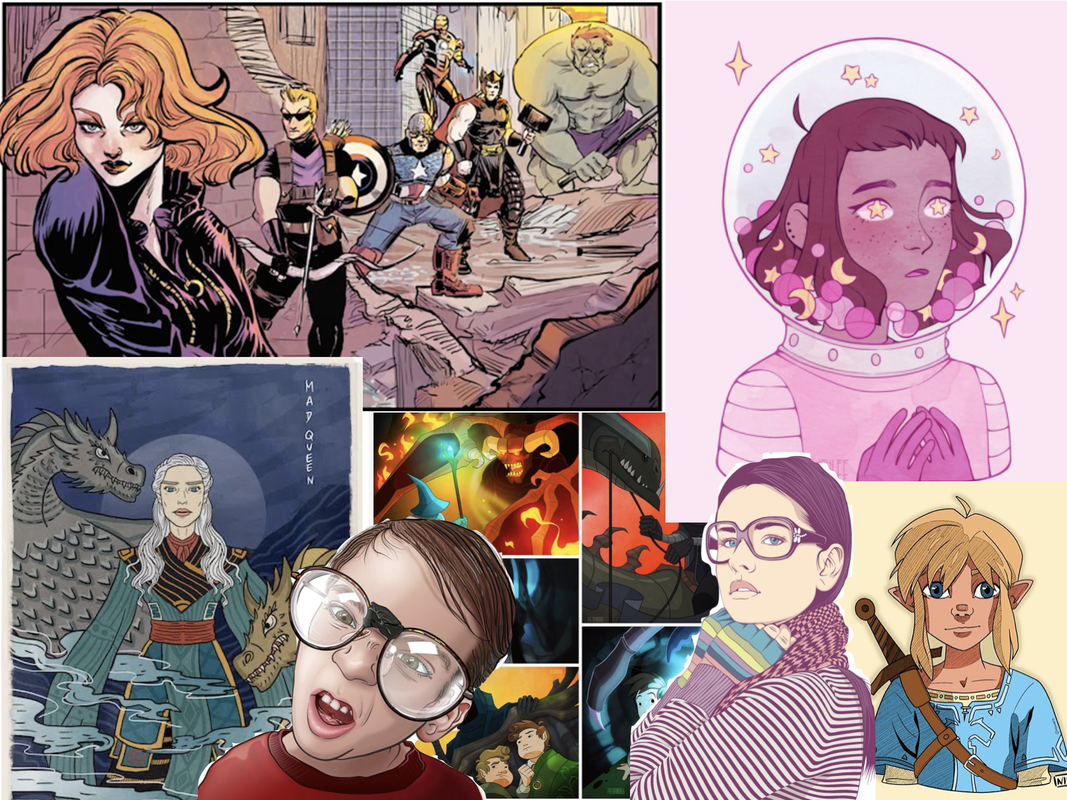 Storyboarding The musical by Richard O'Brian follows the story of a newly engaged couple who after getting caught in a storm find themselves at the home of a mad transvestite scientist, Dr Frank-N-Furter. He unveils his new Frankenstein style creation in the form of a perfect muscle man named Rocky, before the party is crashed by ex-delivery boy, Eddie, whom Frank then takes down. The film then progresses to the couple beginning to embrace Franks seduction, ending with the deaths of most of the inhabitants of the castle while it blasts off back to Transylvania. I did further research into the movie, finding images to use as references for my drawings and to help me figure out which scenes I wanted to cover. 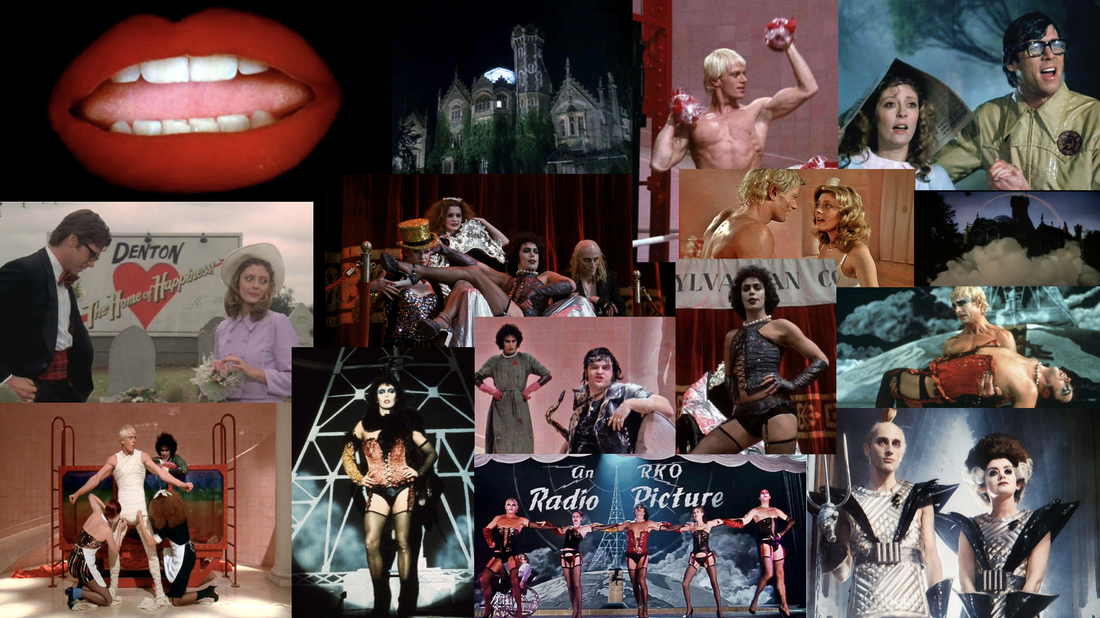 I began condensing the plot of the film into 10 images to represent only the essential information of storyline development. I created a ten step storyboard to show what each image would include and brain storm ideas for what could be animated. 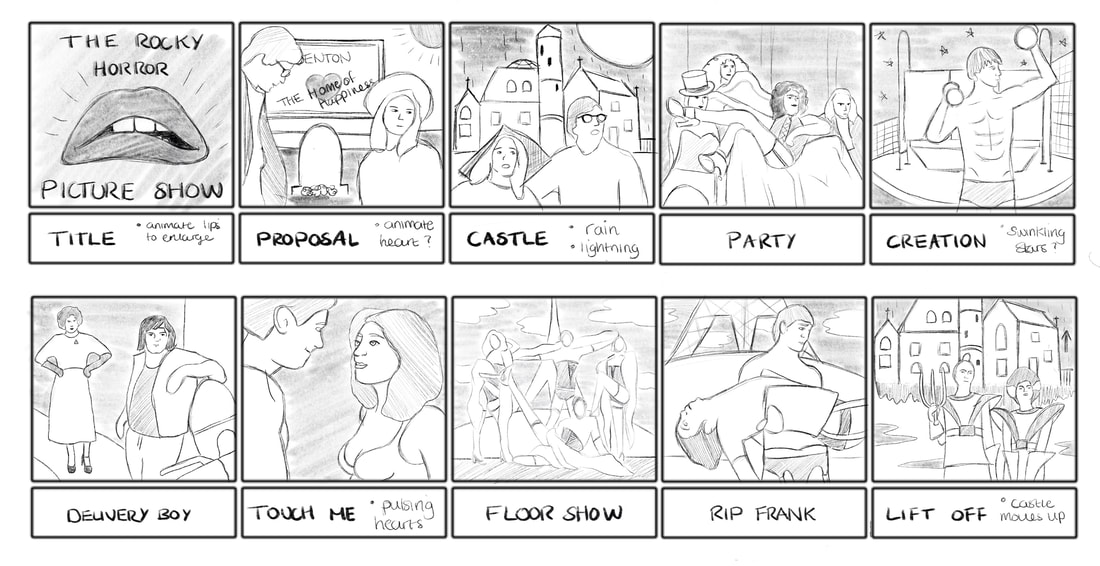 Developments I chose to go with a simple comic style for my images, using mainly block colours, similar to vector illustrations even though I used Procreate instead of a vector based program; I wanted to use a program I was more comfortable drawing freehand with. I started out drawing out the black line work first. I then began adding the colour; you can see the process I went through when adding the different layers. Final Piece Here are the 10 finished images after adjusting the saturation and contrast and displayed on my Instagram page. After completing the main flat images I added a little bit of animation to a few of them, turning them into GIFs using the Procreate animation feature. All of my designs including the animated GIFs for this project can be seen here on my professional instagram account. 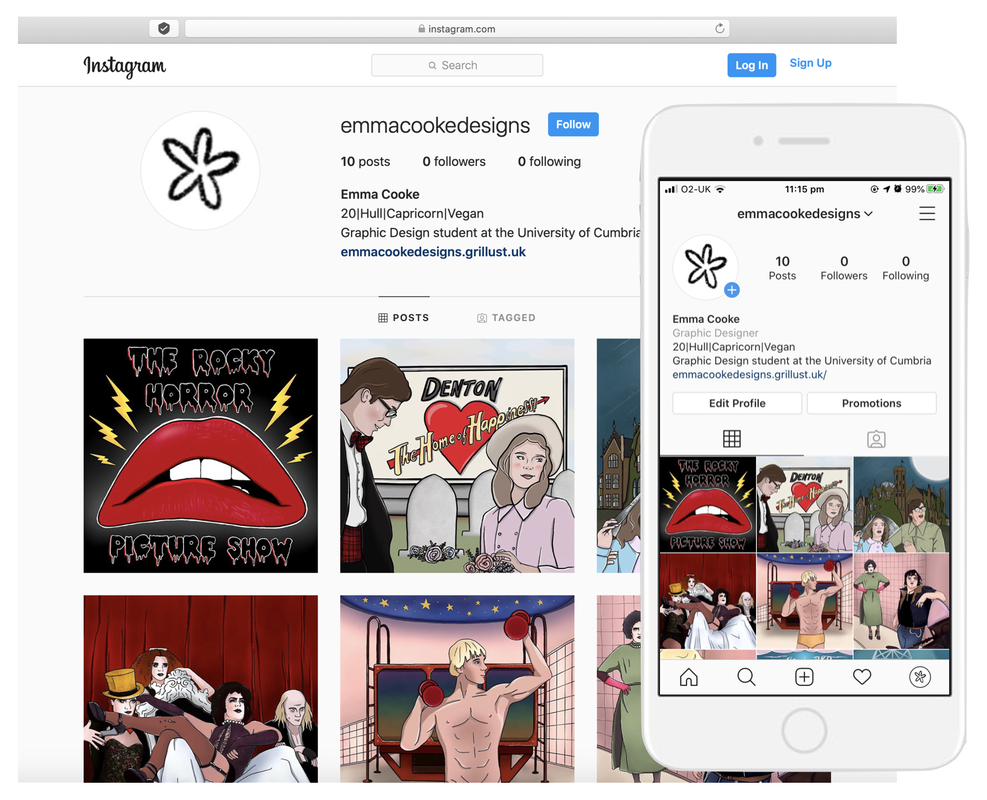 All reference images found on Google Images:
0 Comments
Leave a Reply. |
AuthorHi, I'm Emma. I'm currently studying Graphic Design at the University of Cumbria. Modules
All
Archives
March 2020
|


 RSS Feed