
|
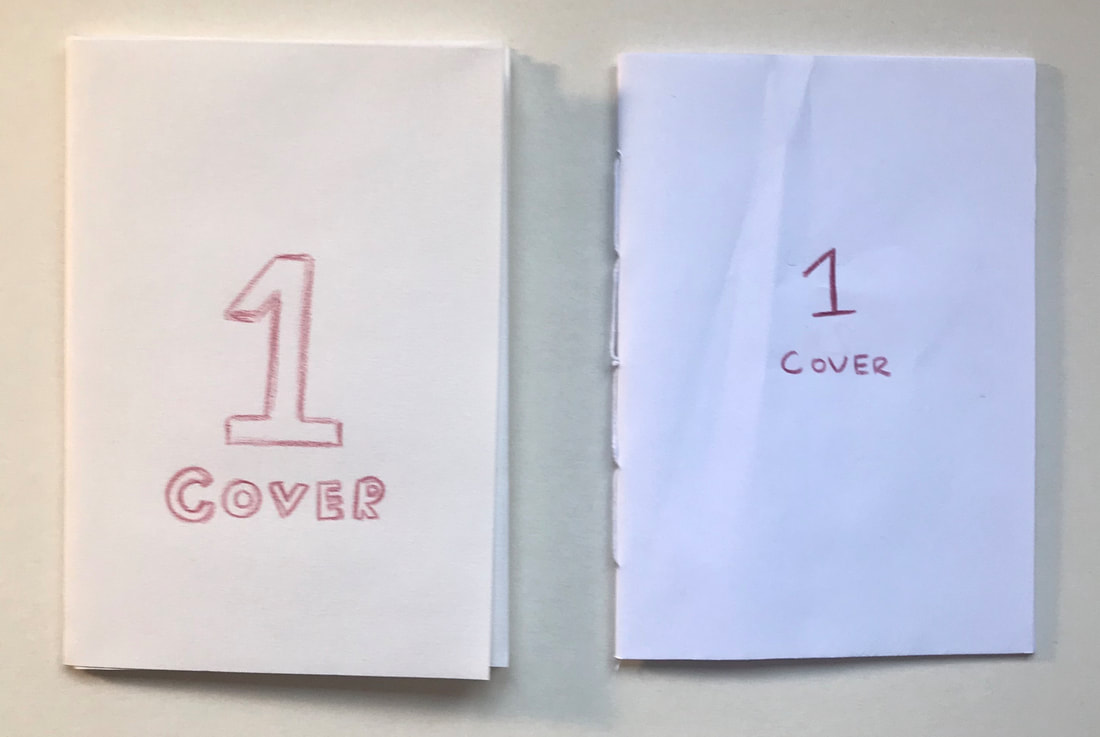
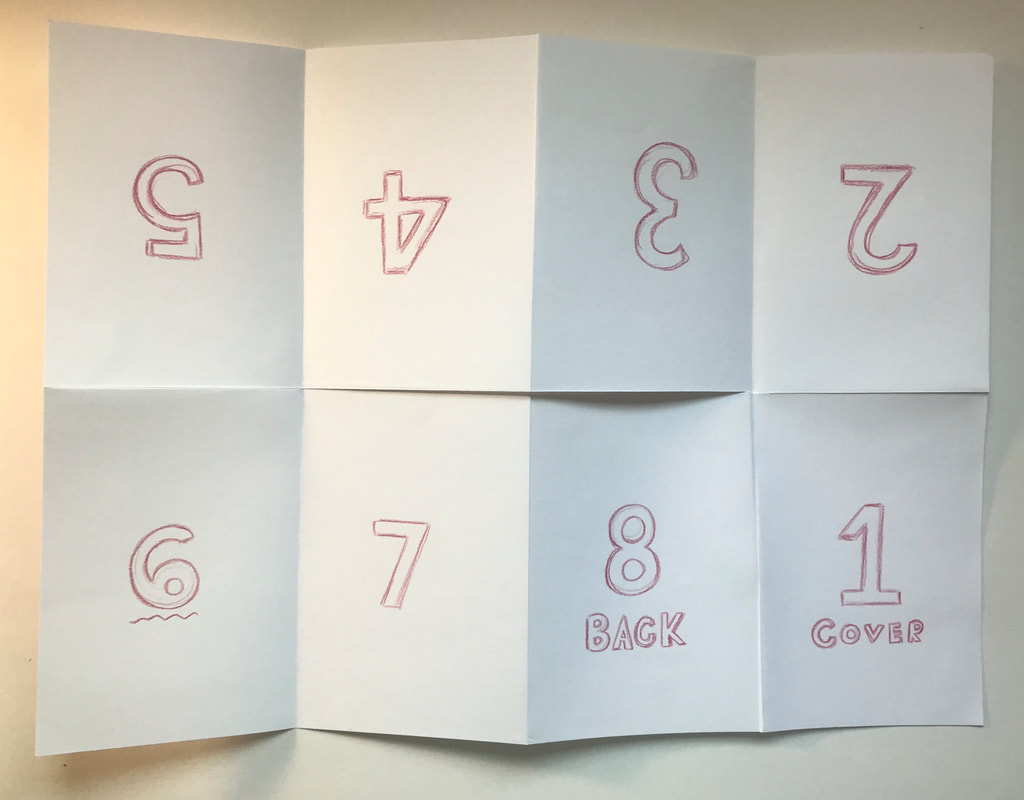
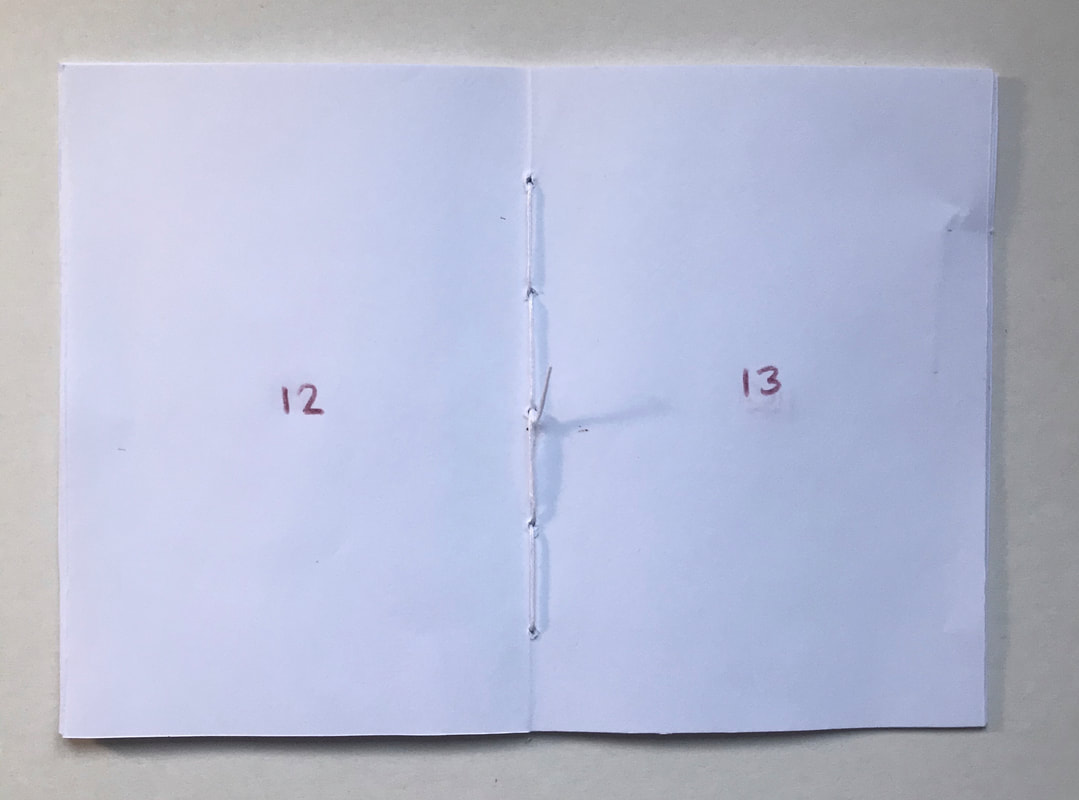
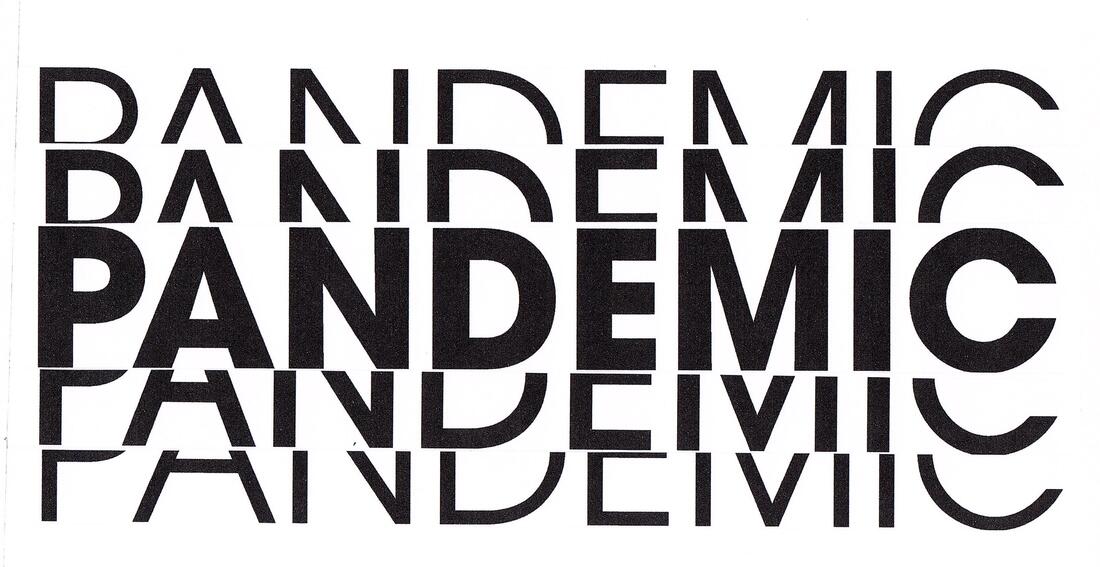
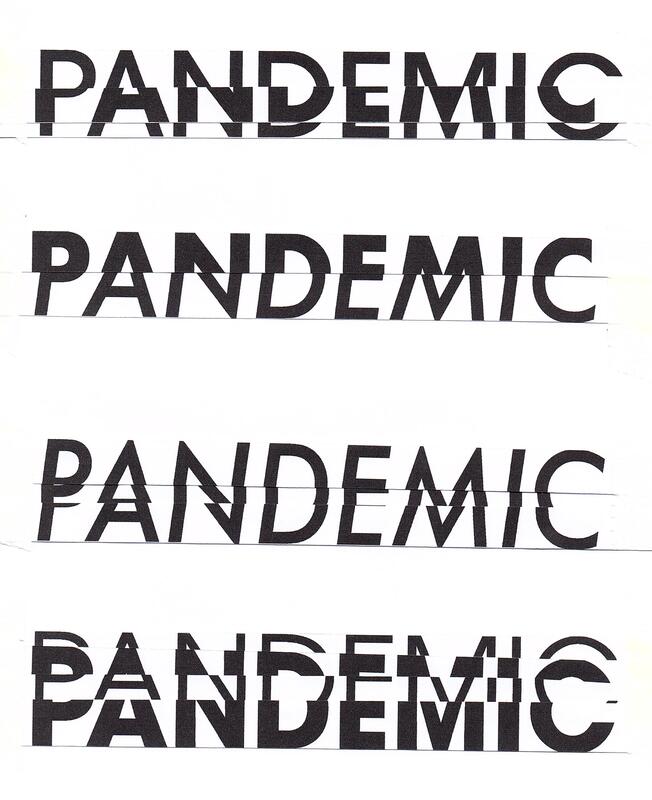
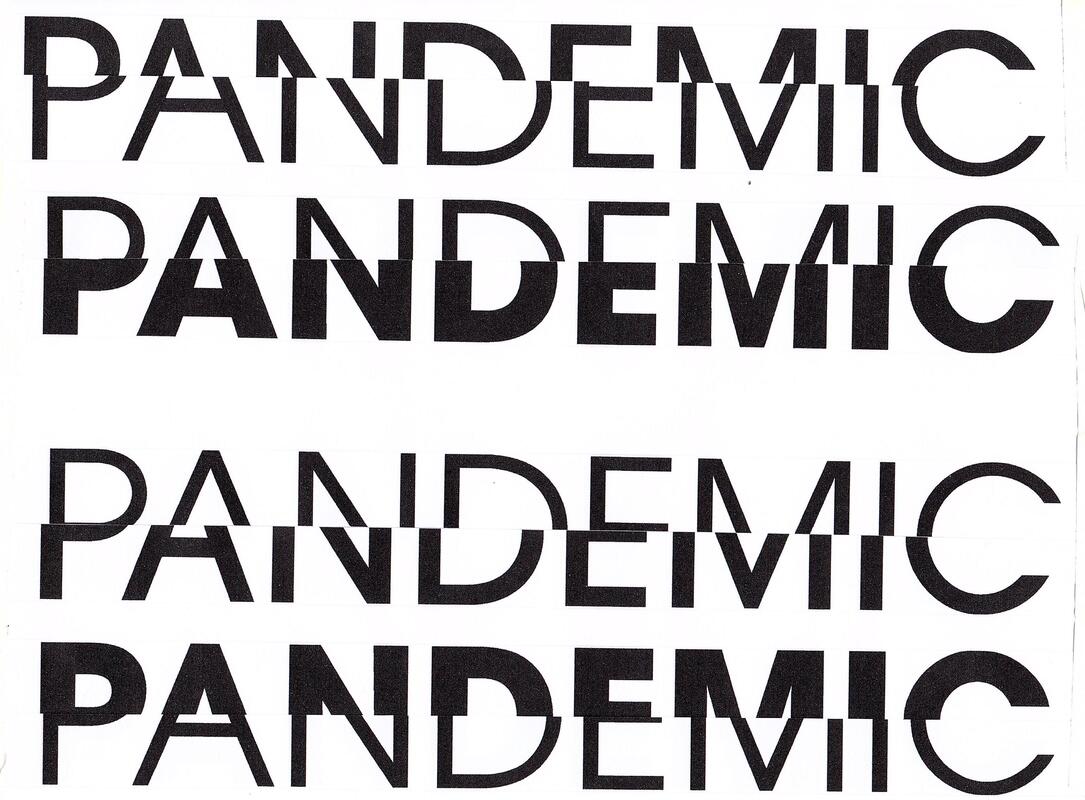
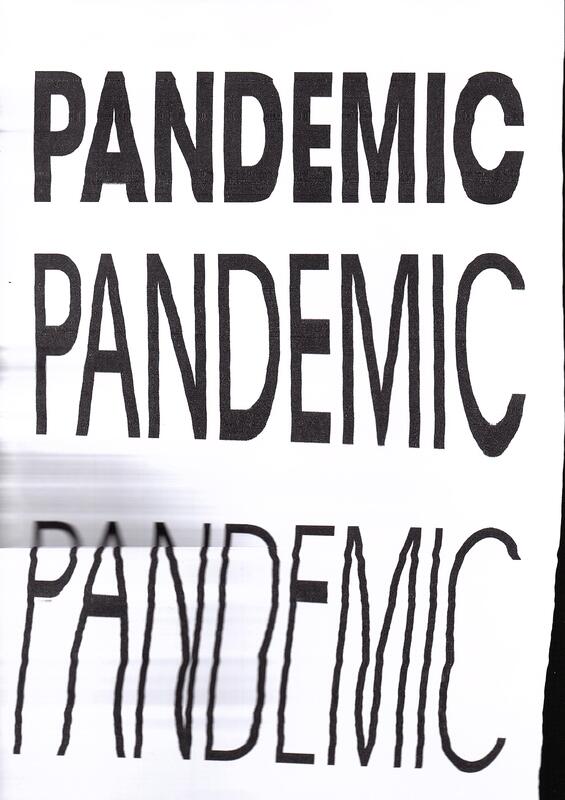
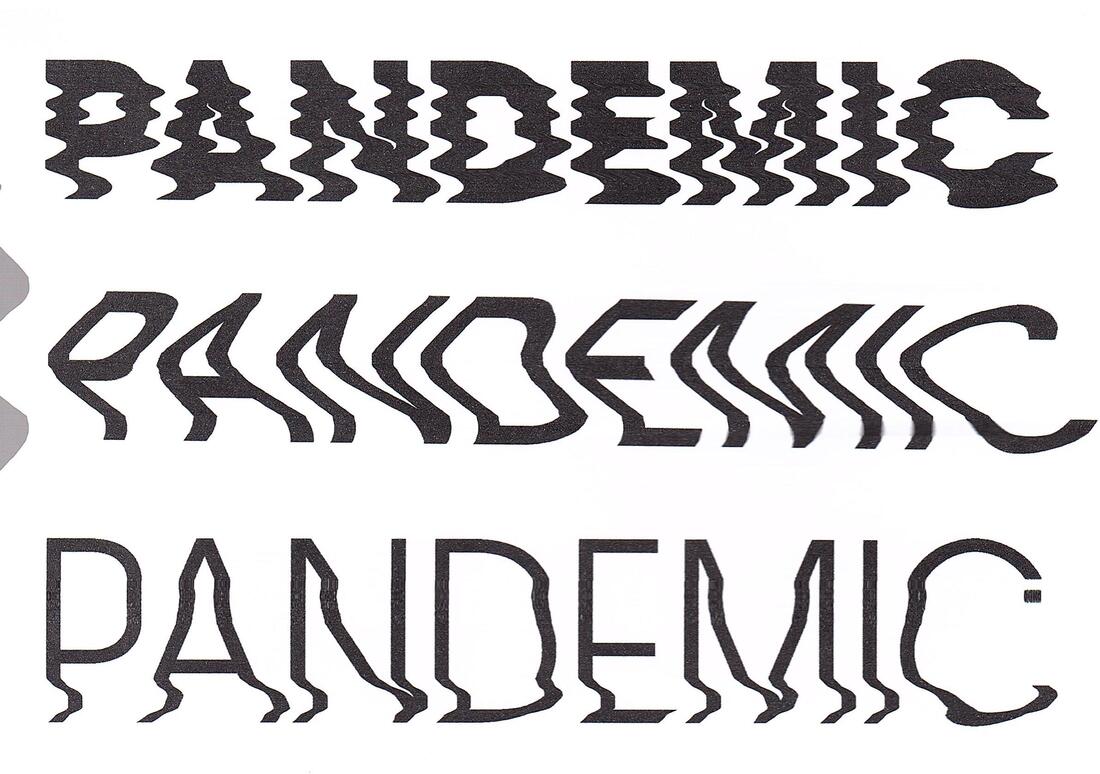
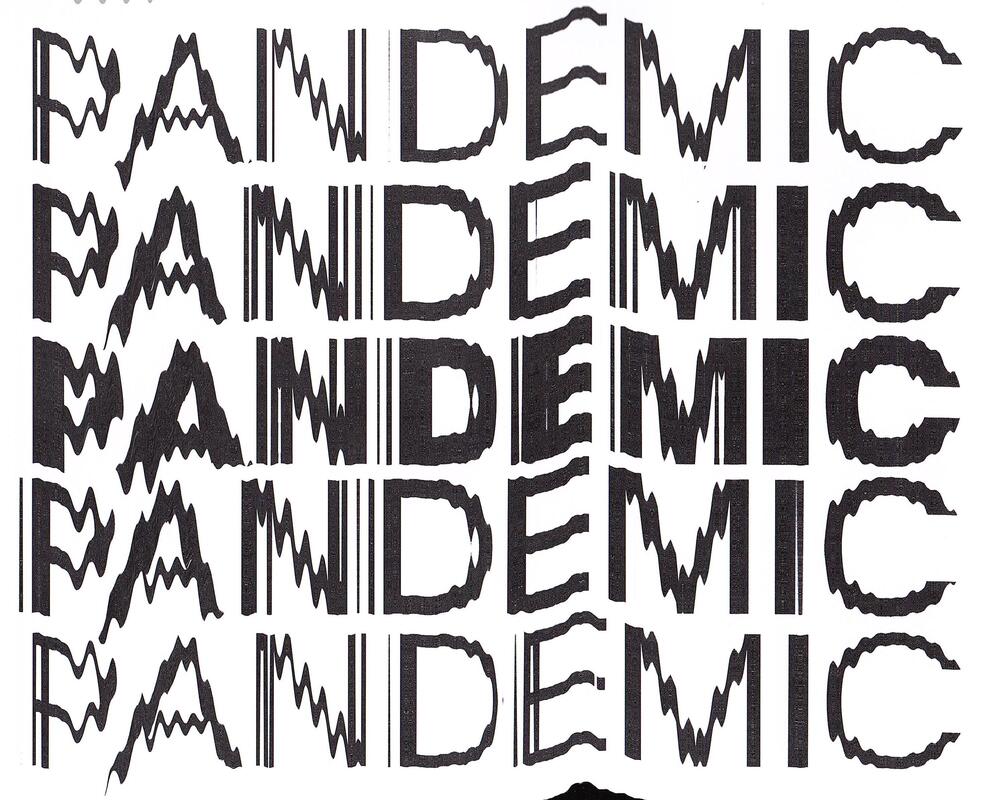
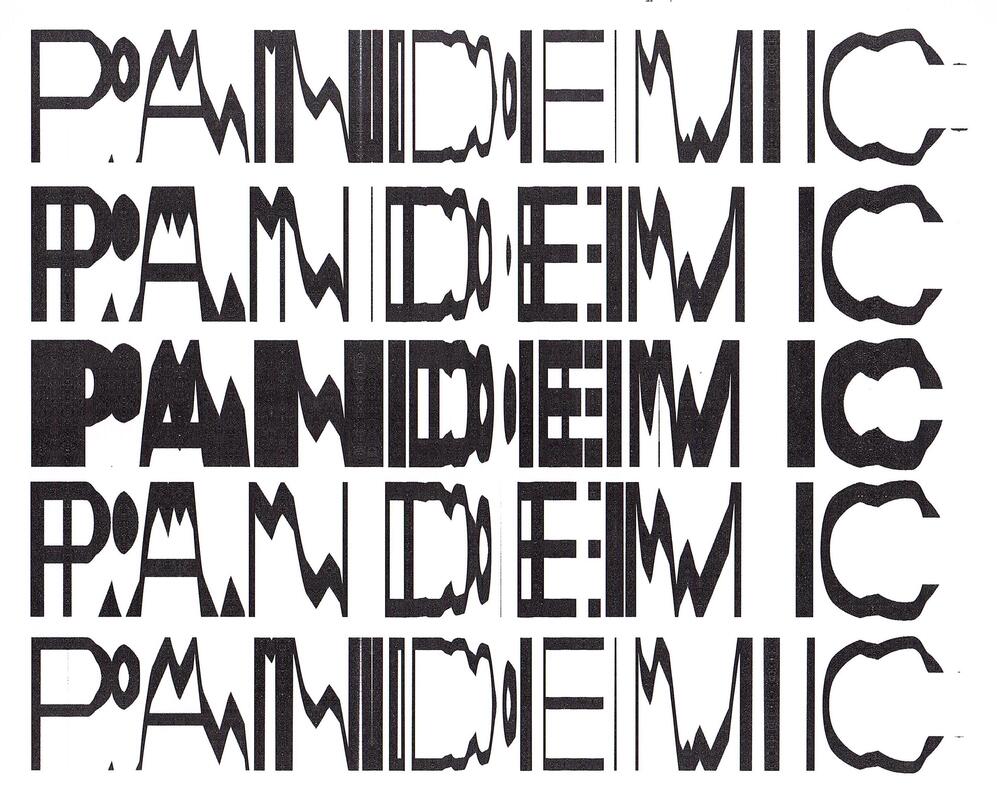
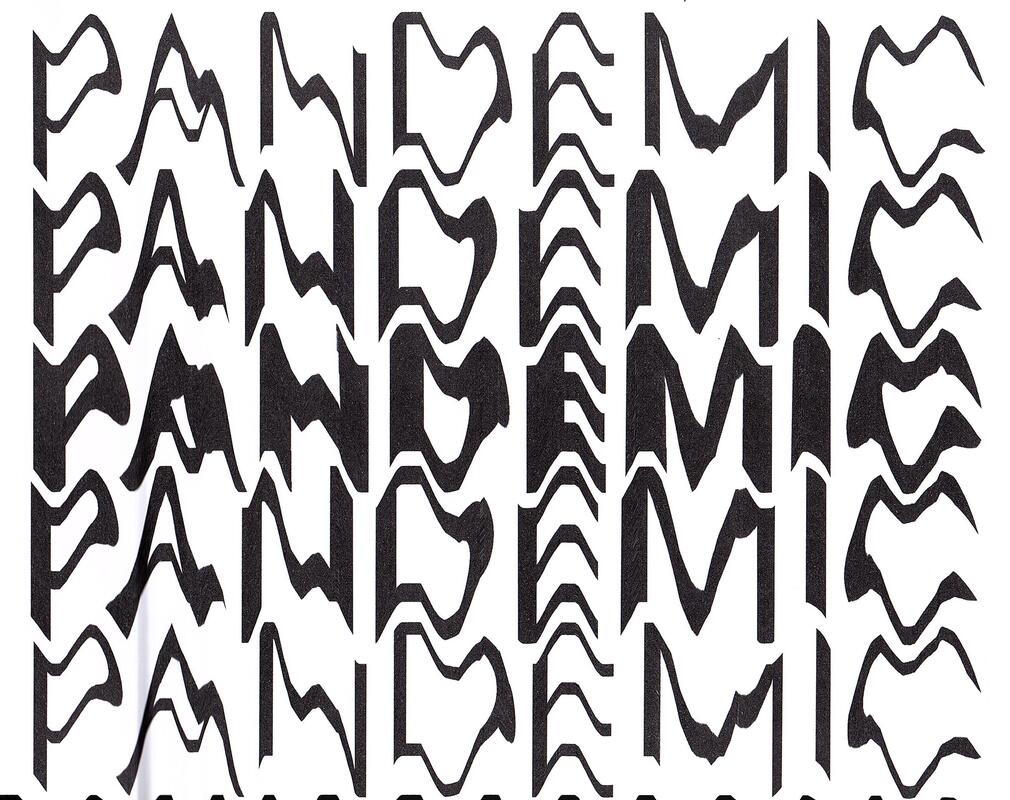
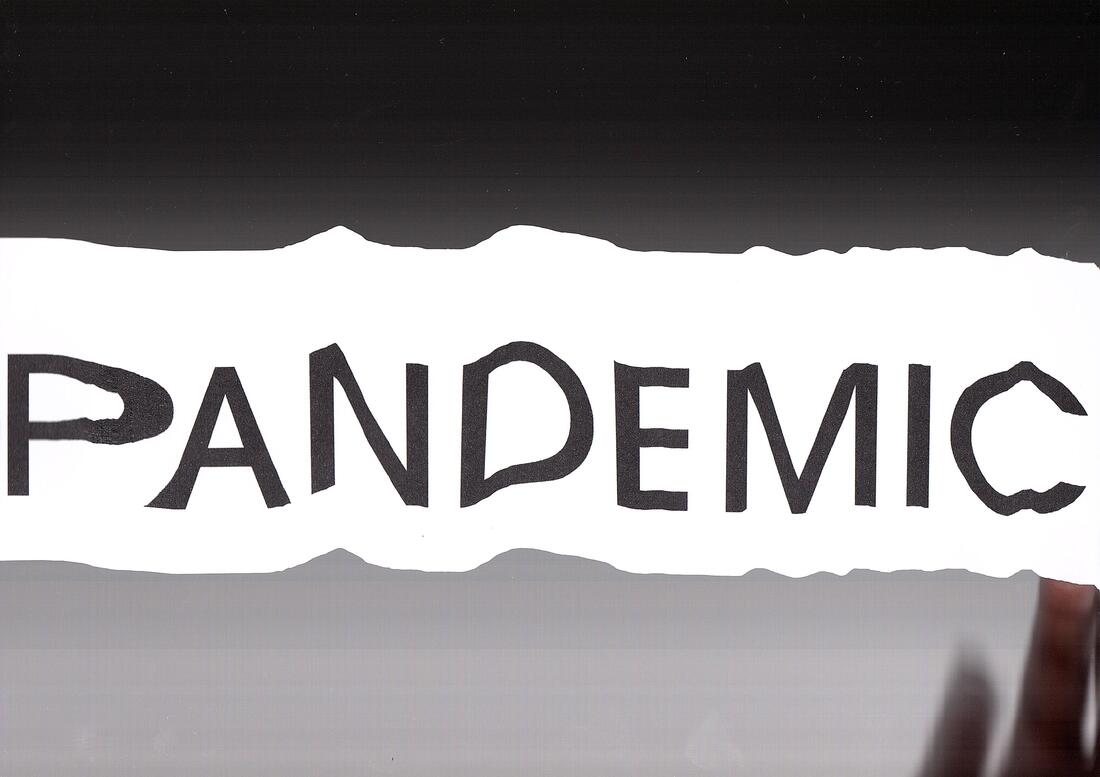
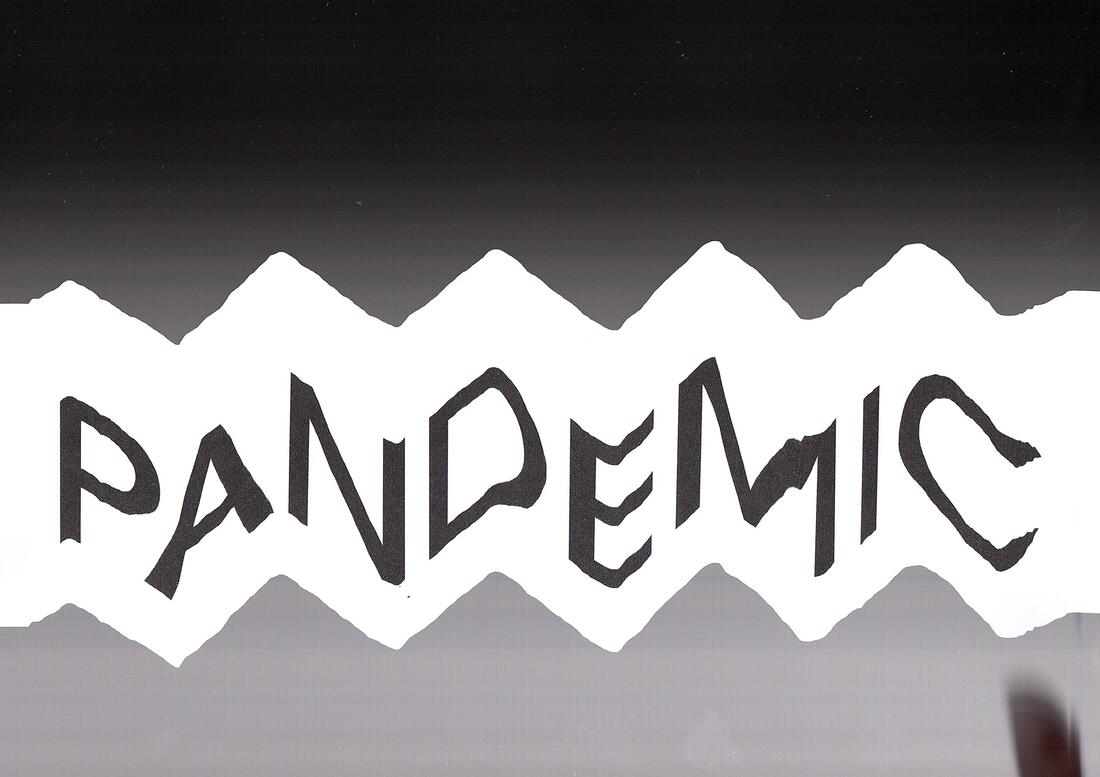
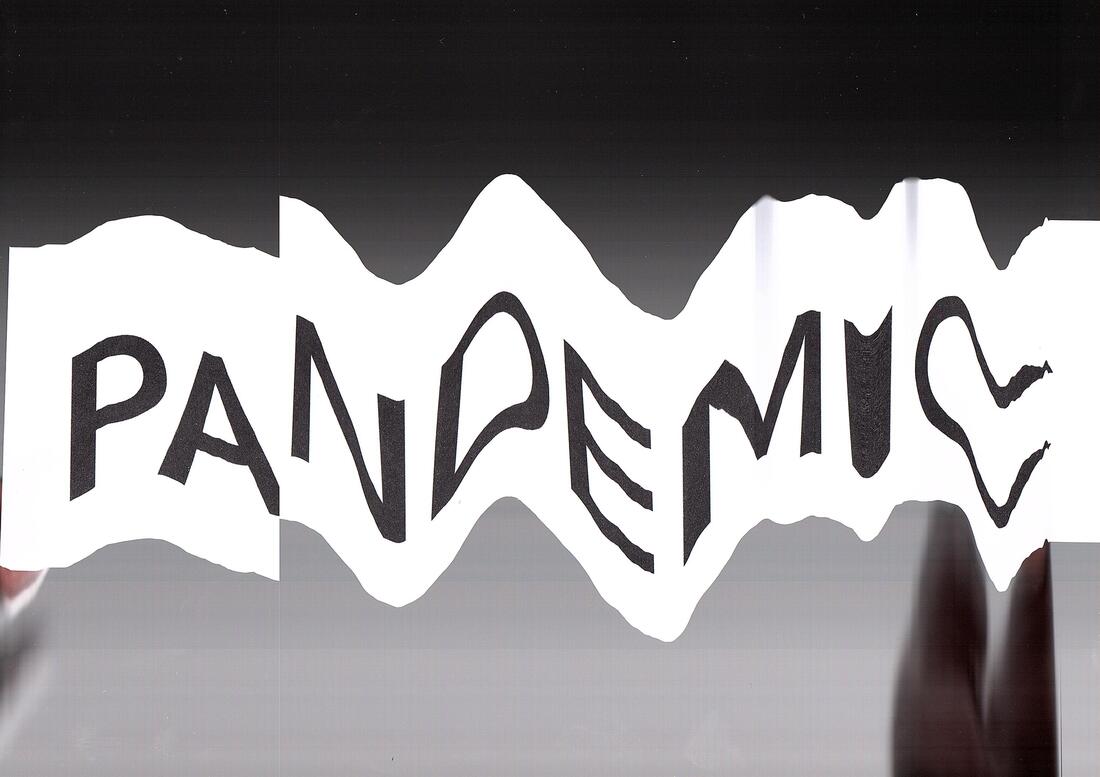
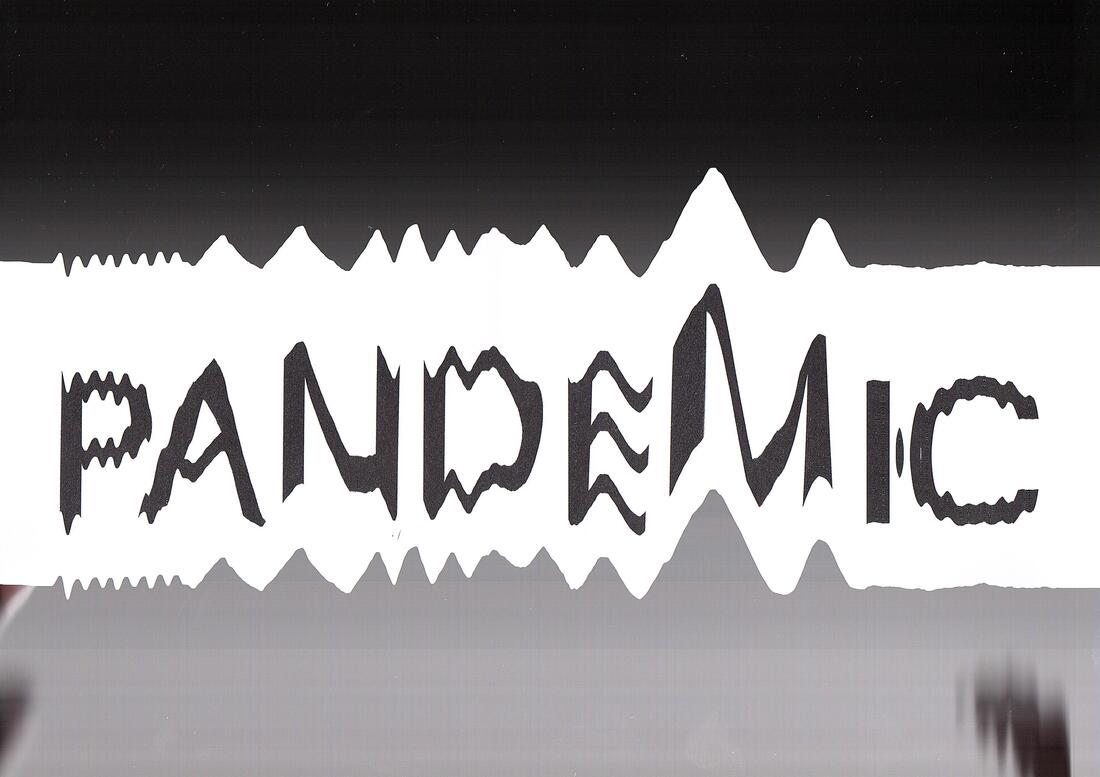
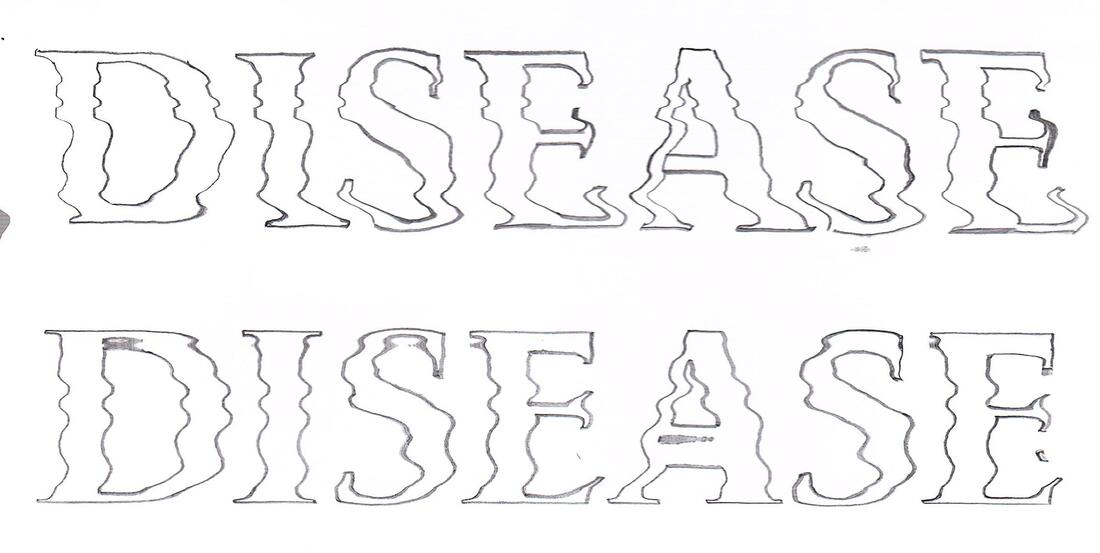
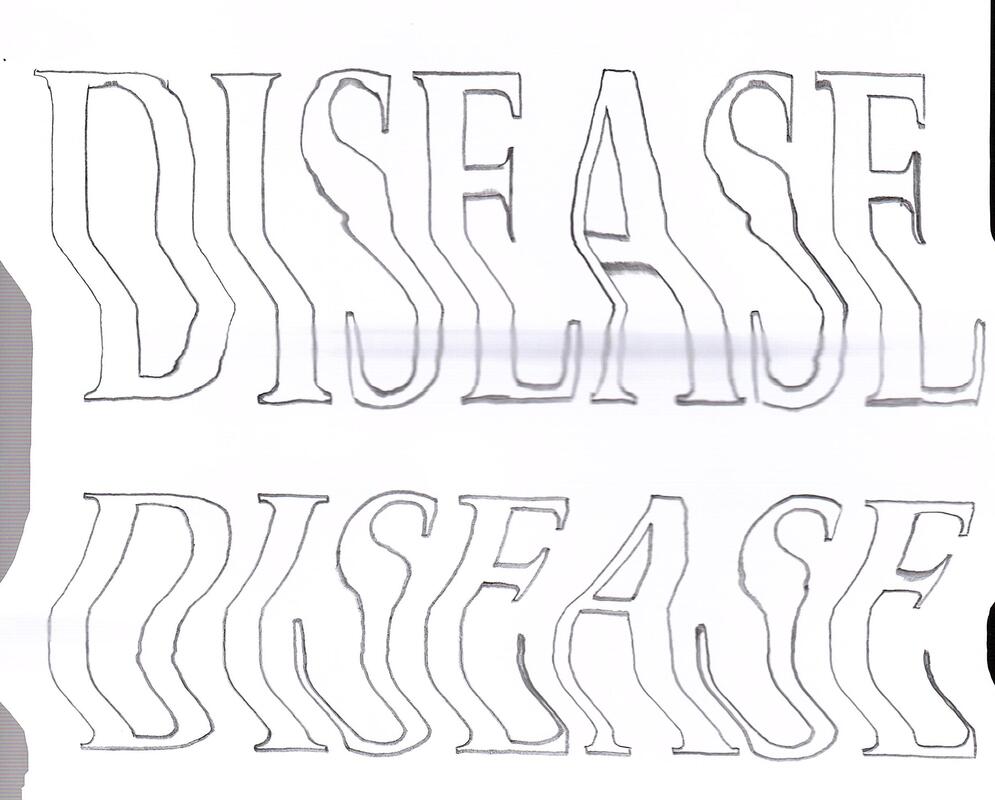
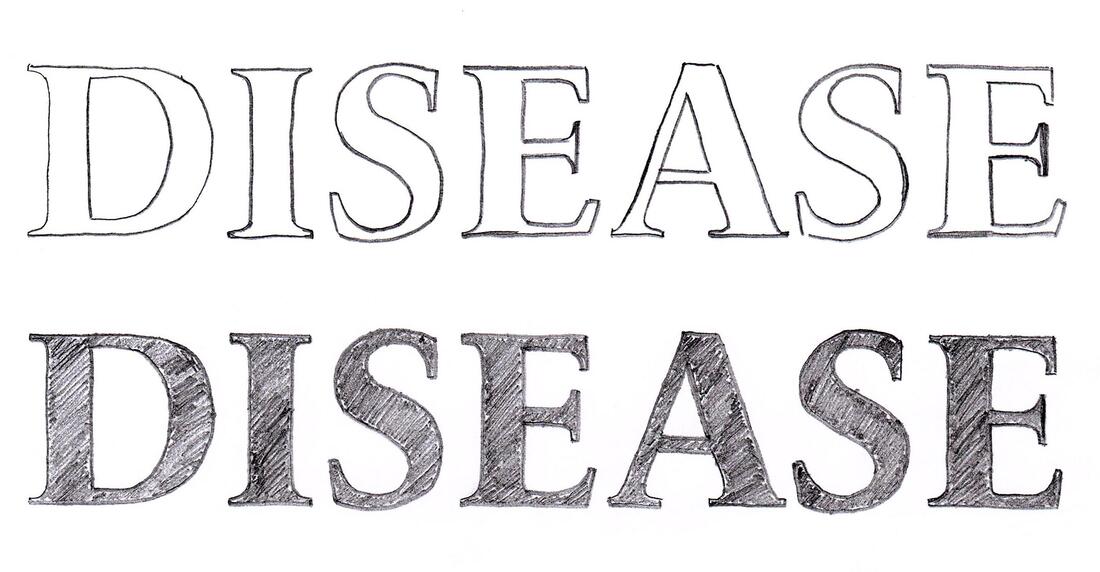
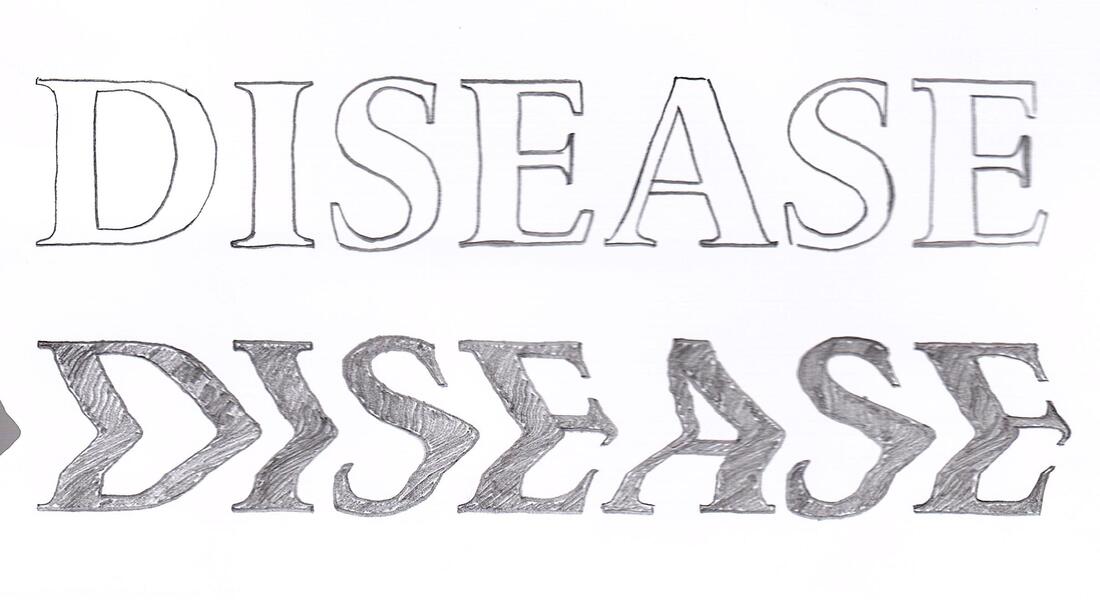
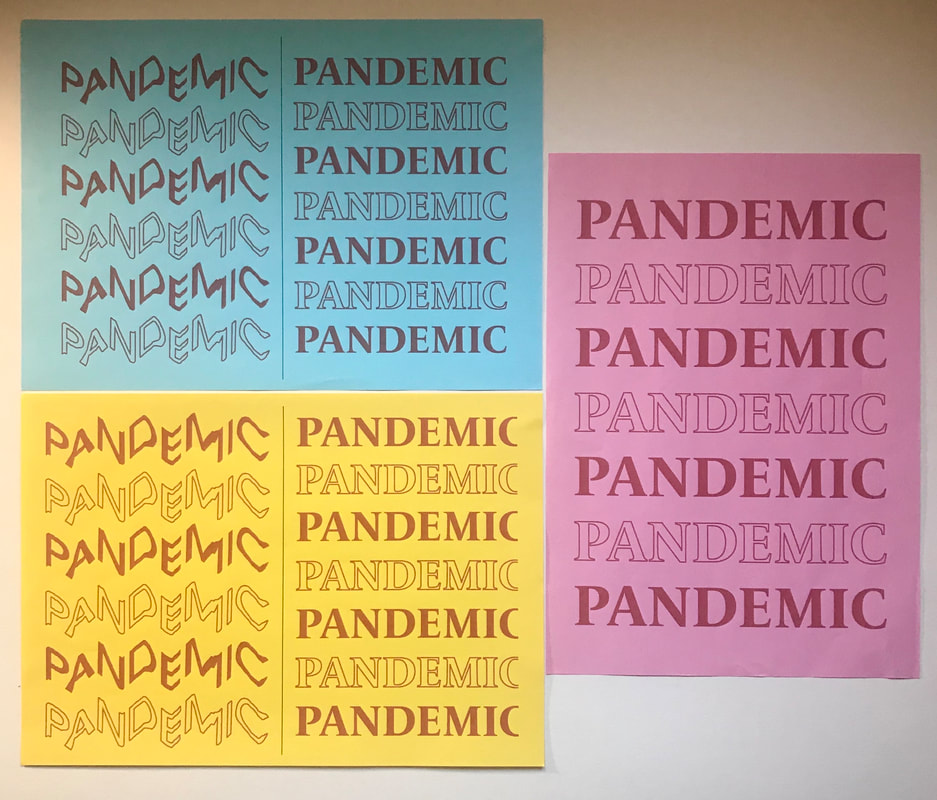
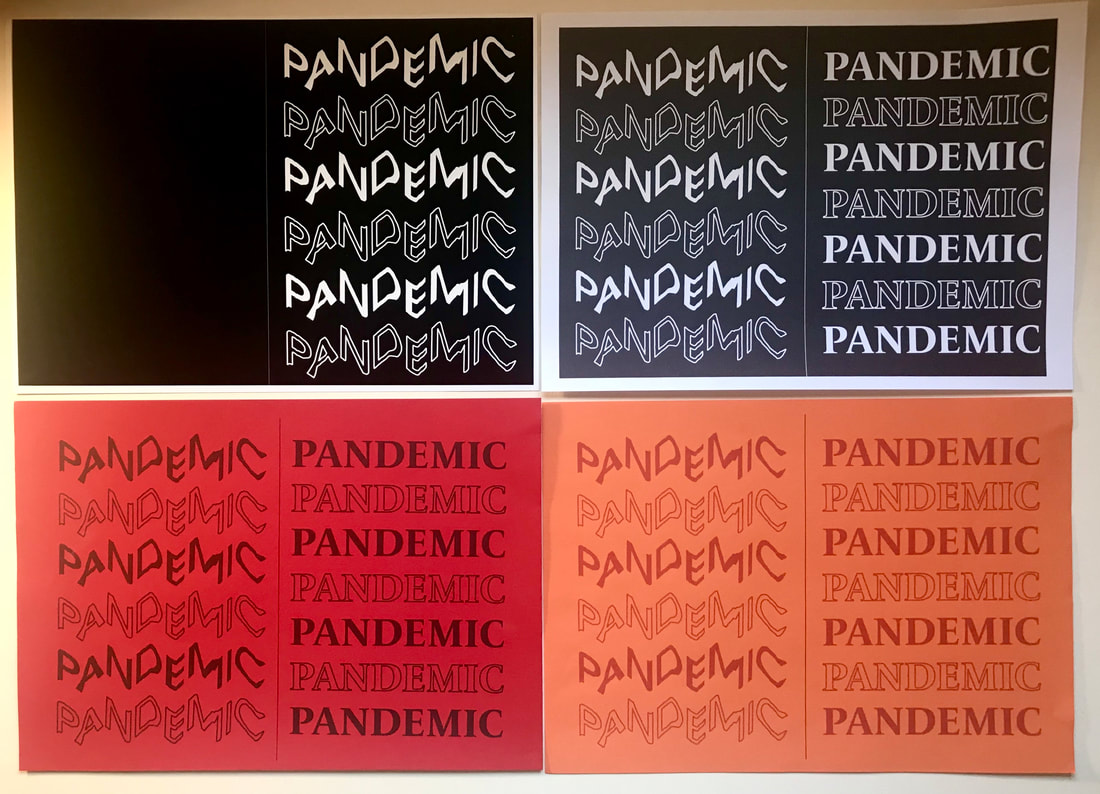
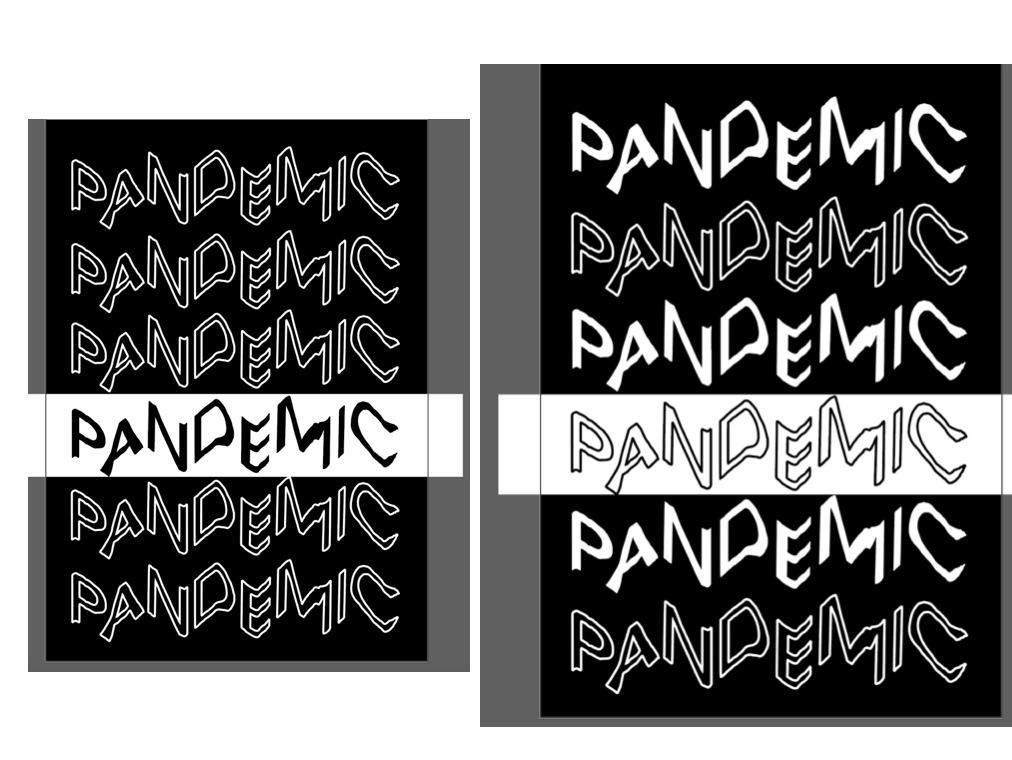
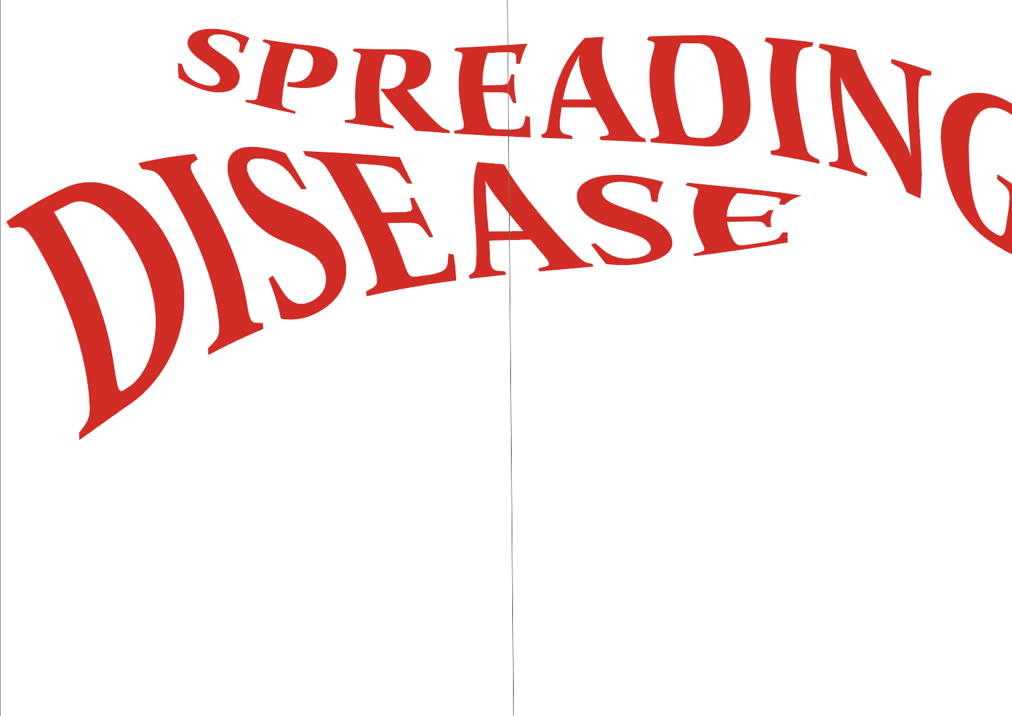
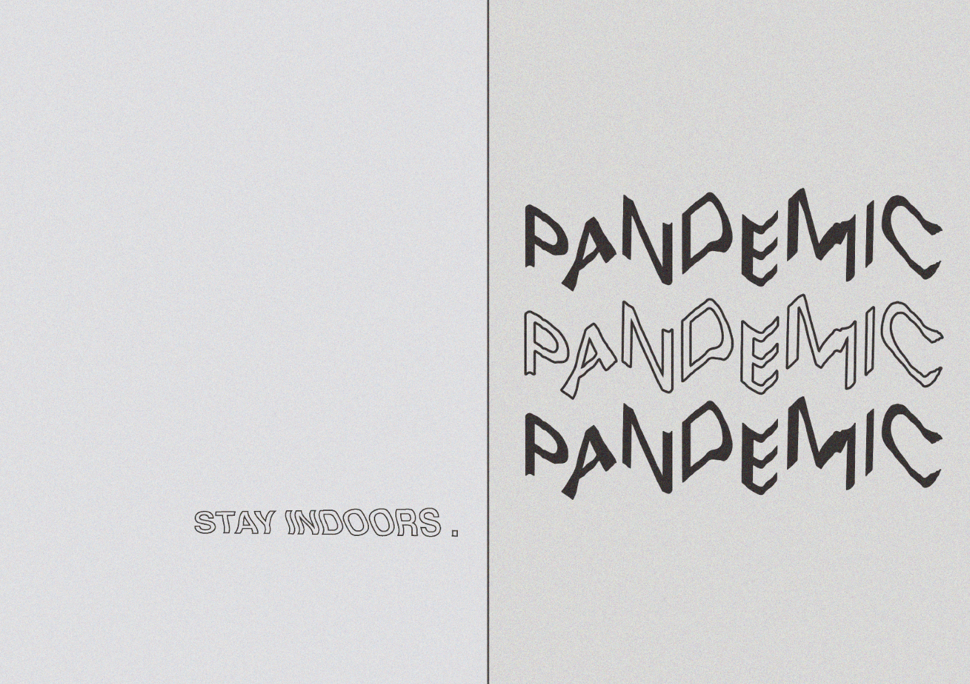
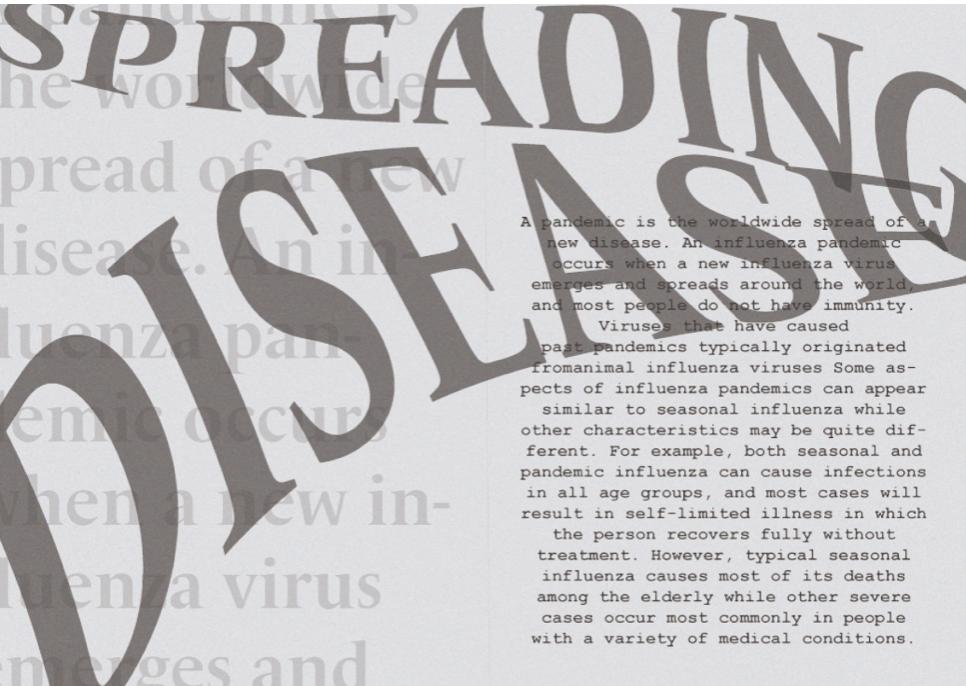
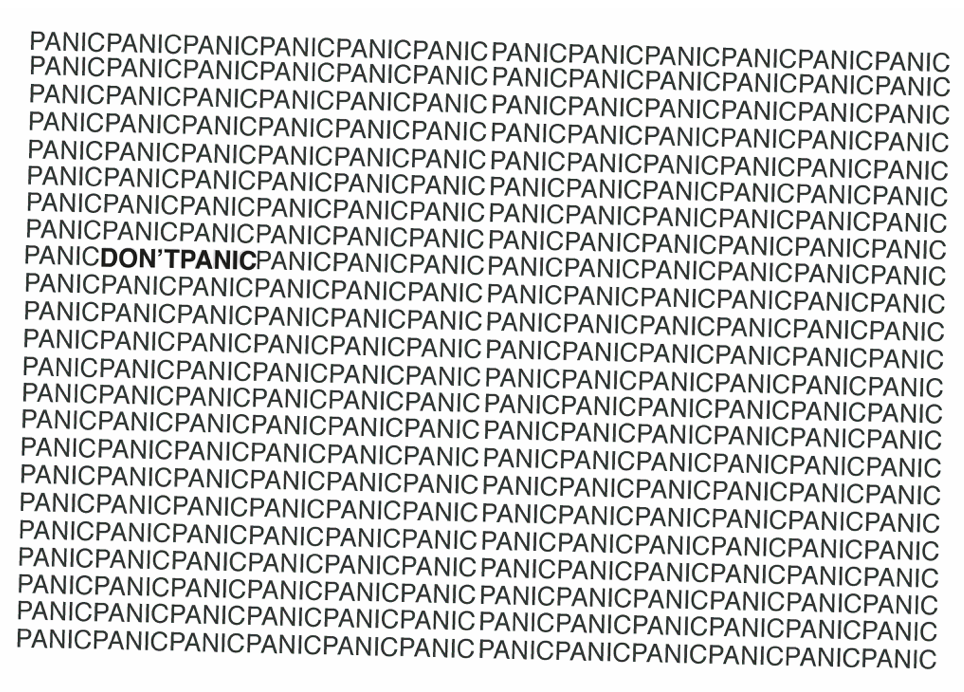
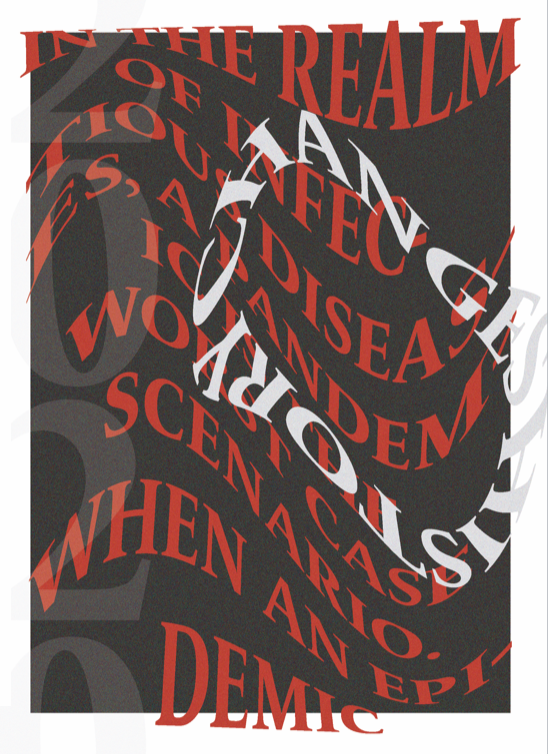
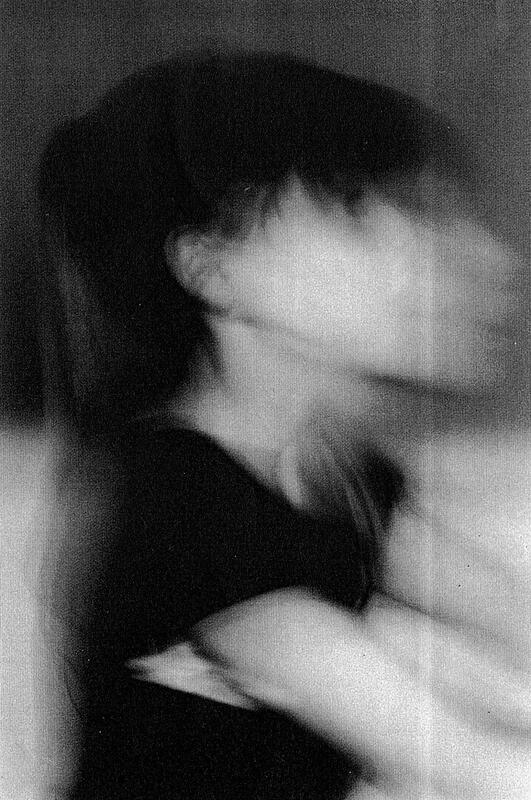
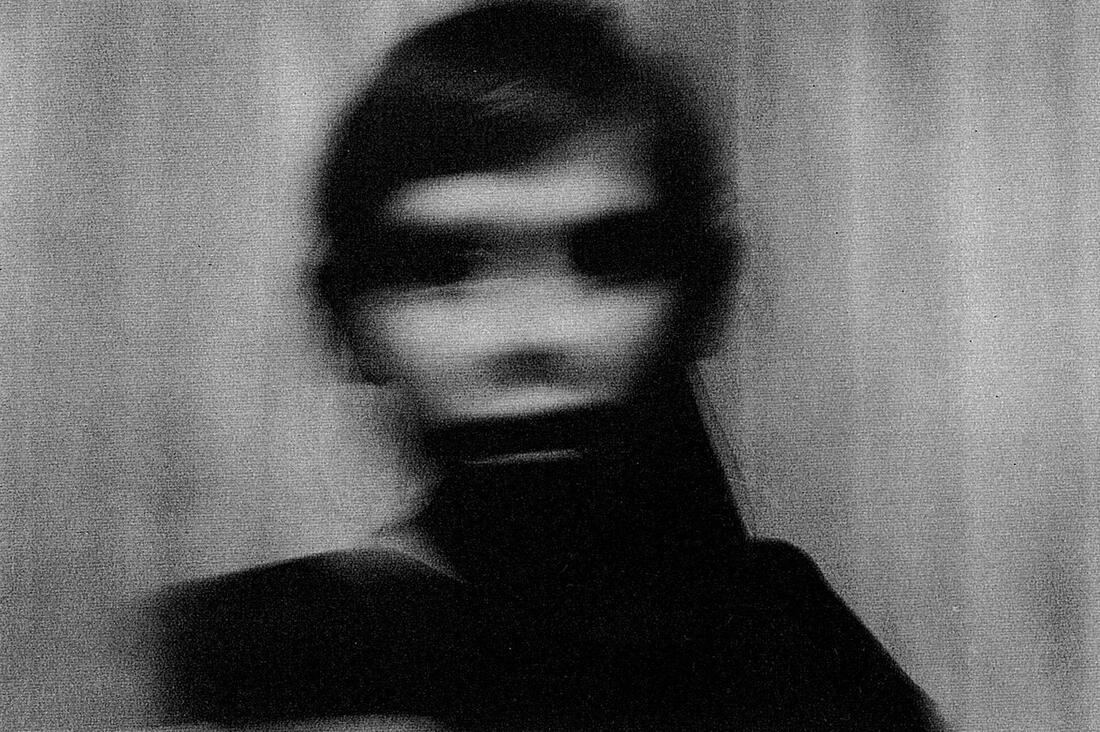
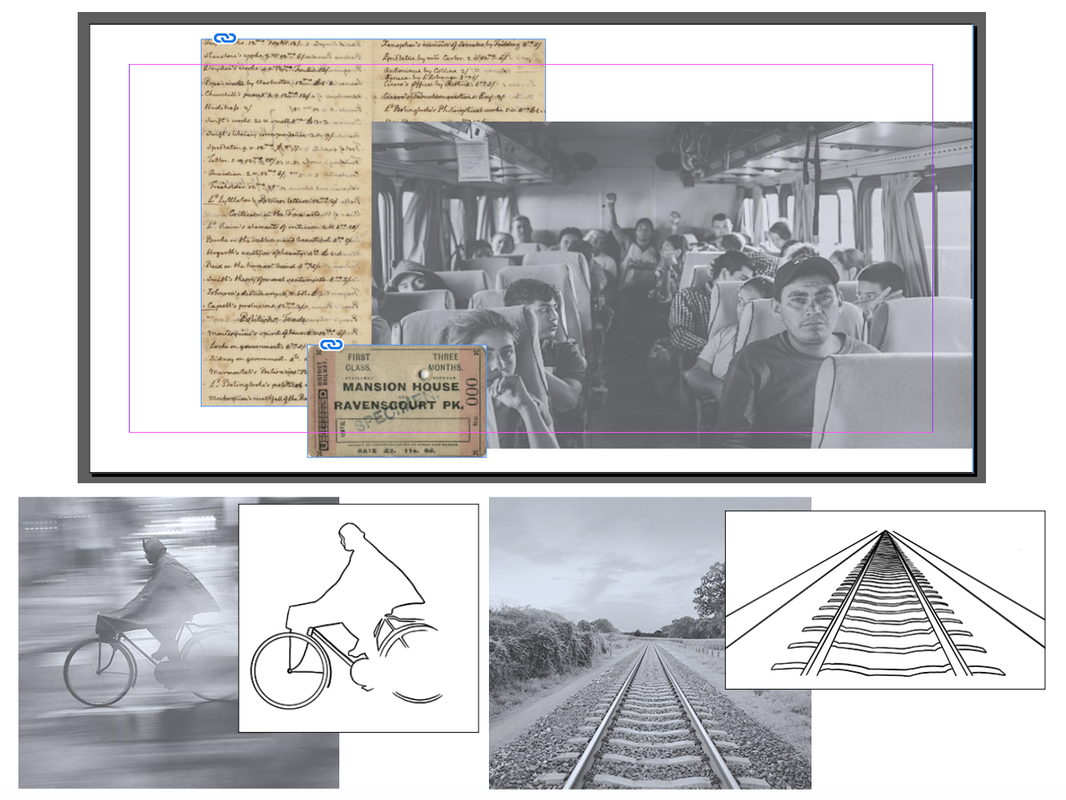
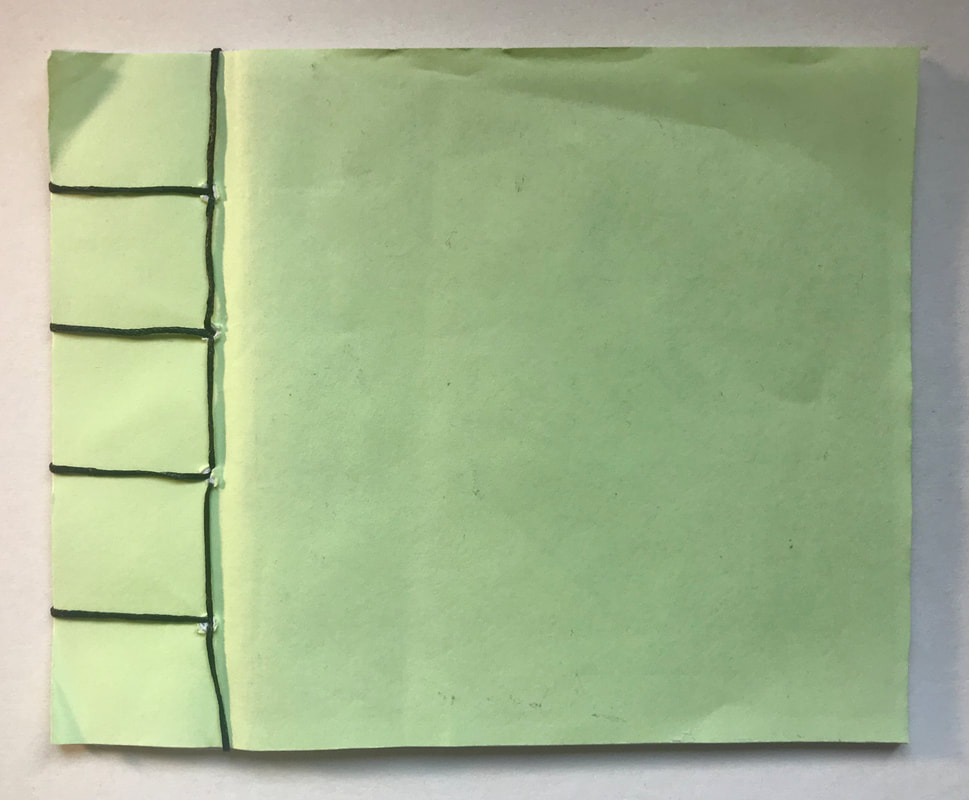
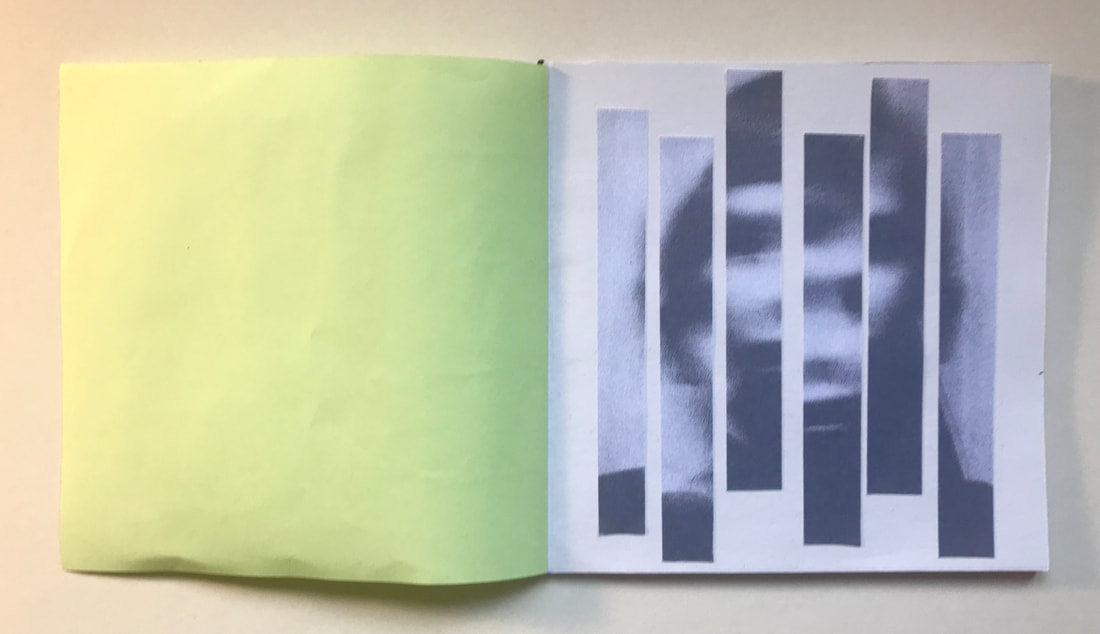
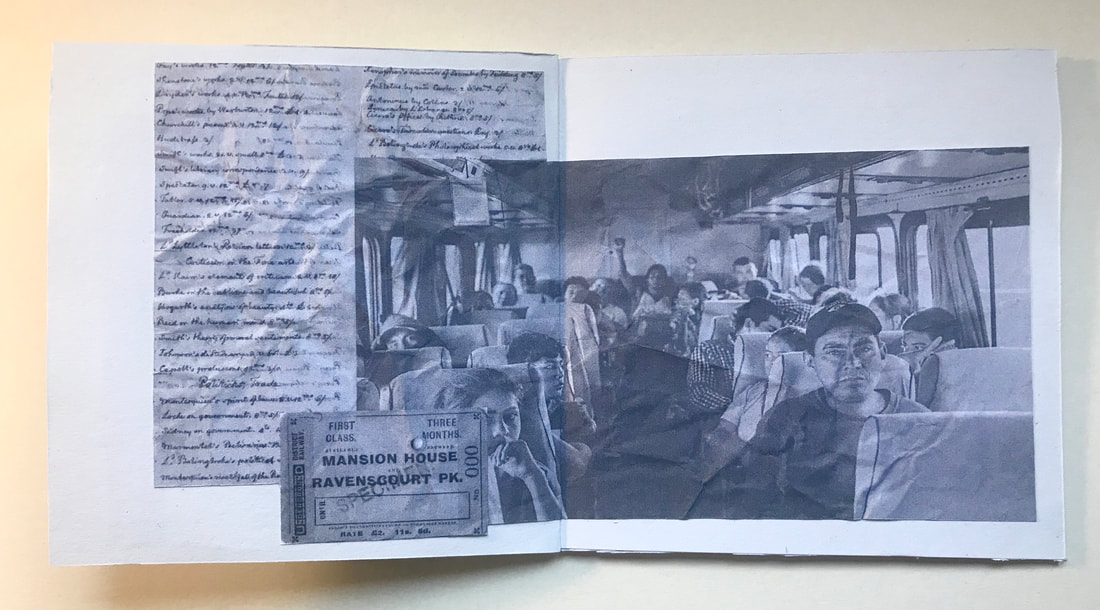
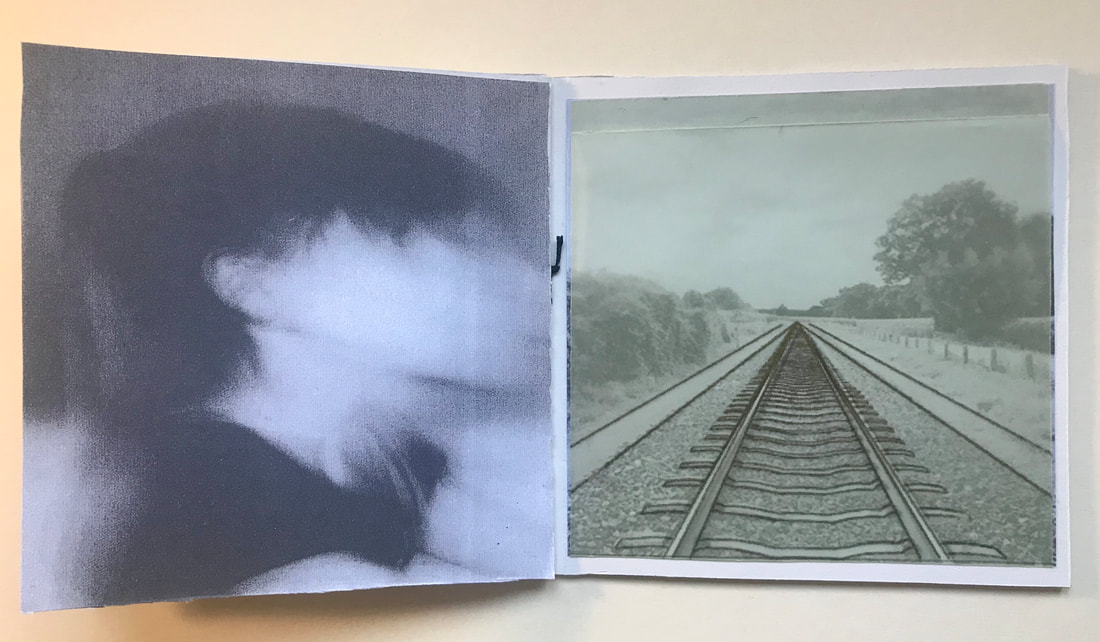
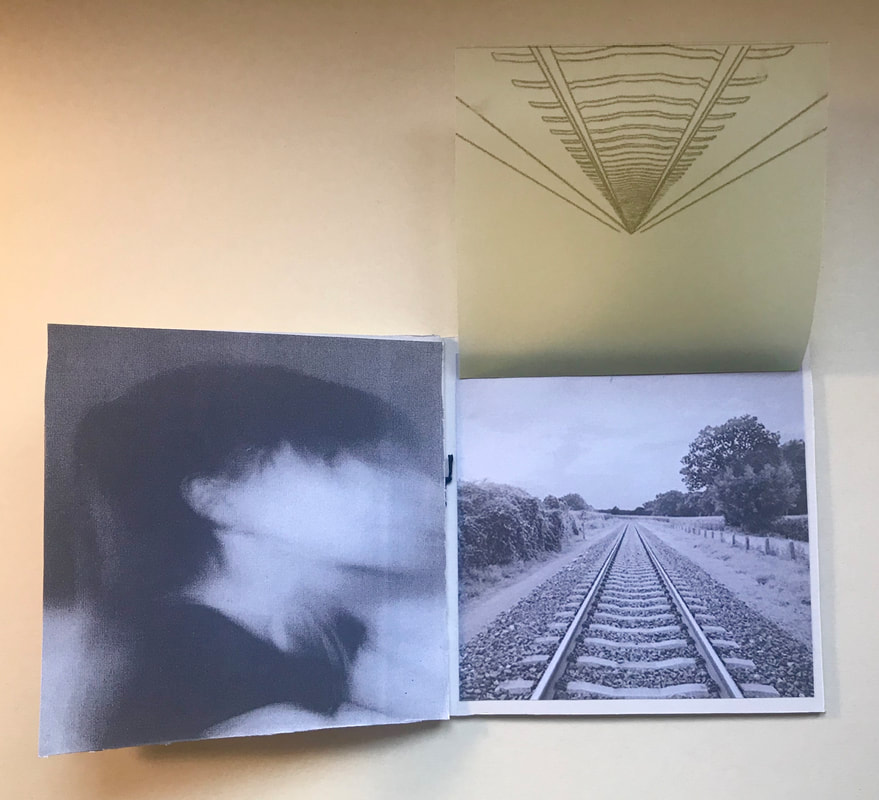
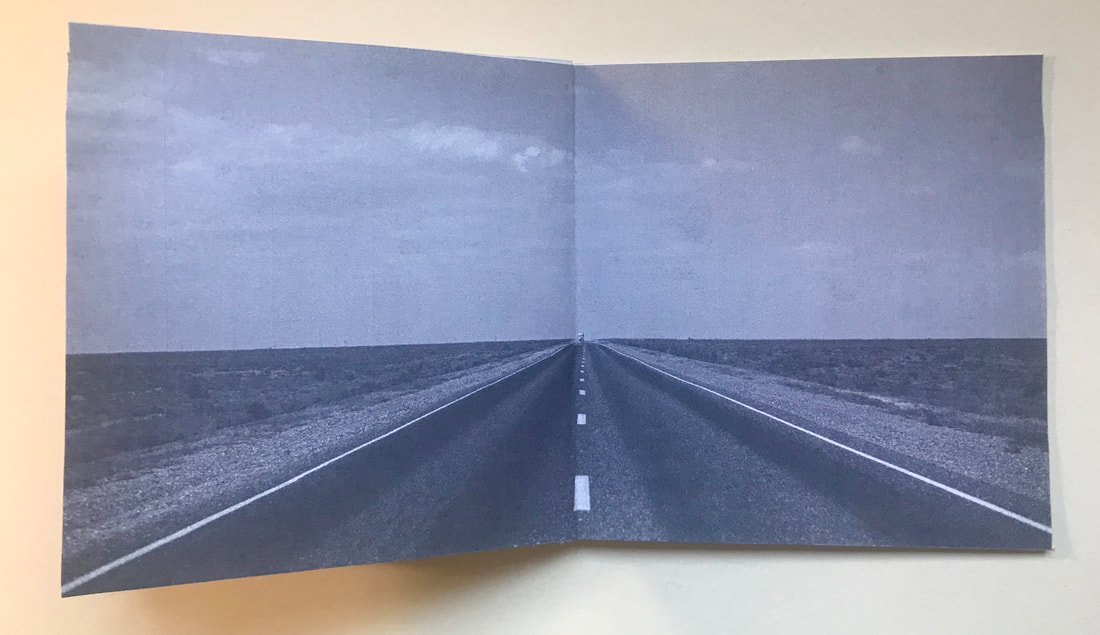
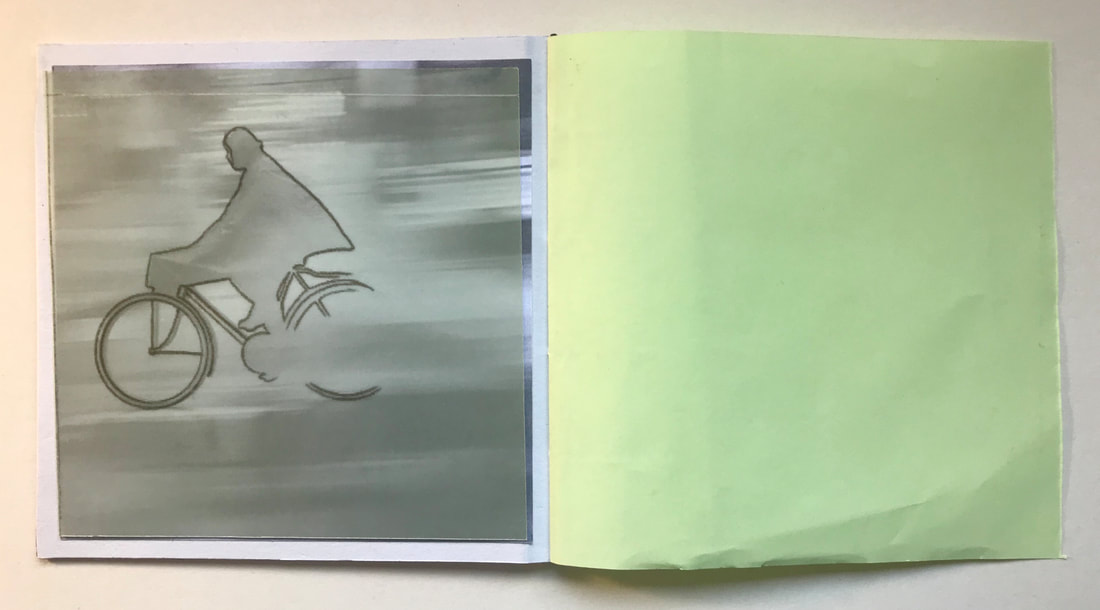
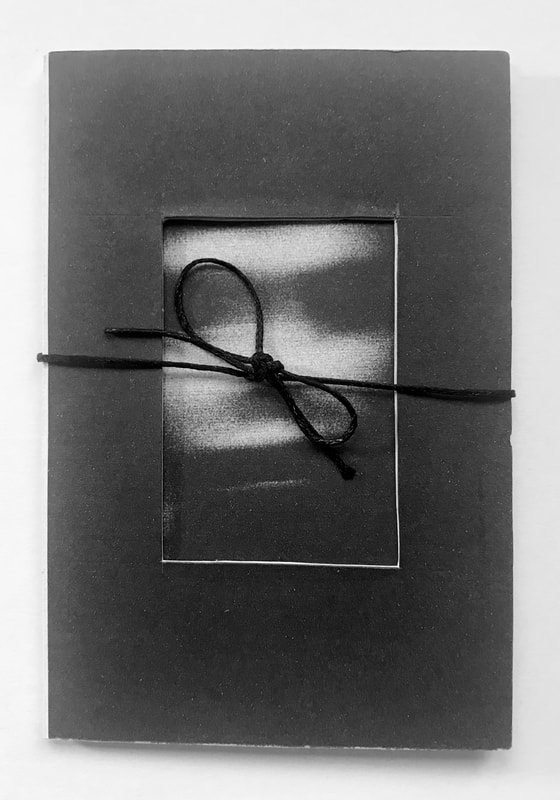
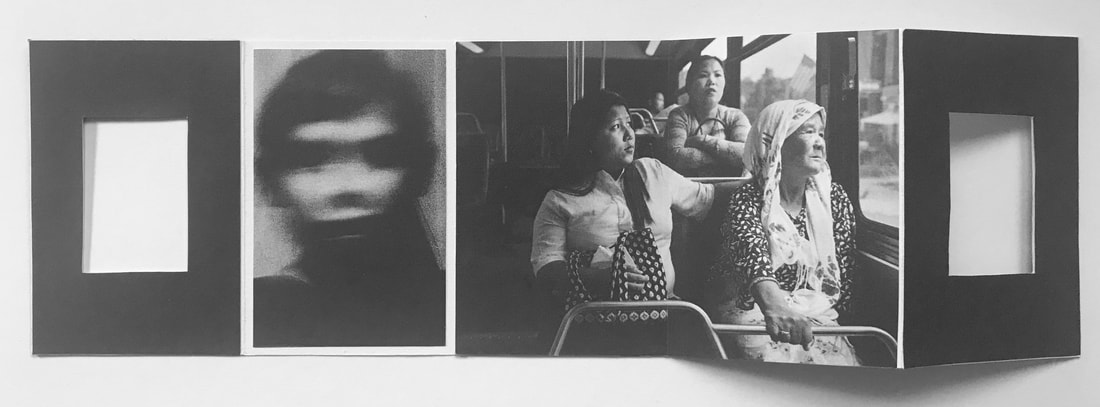
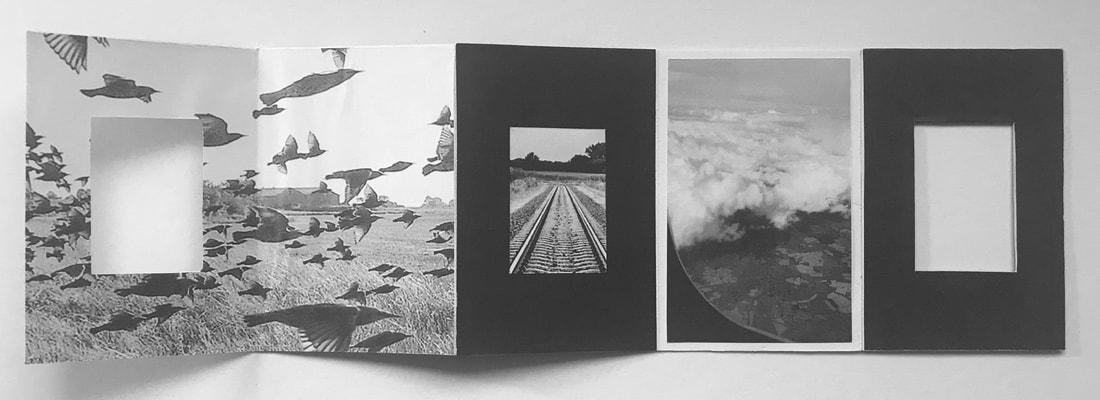
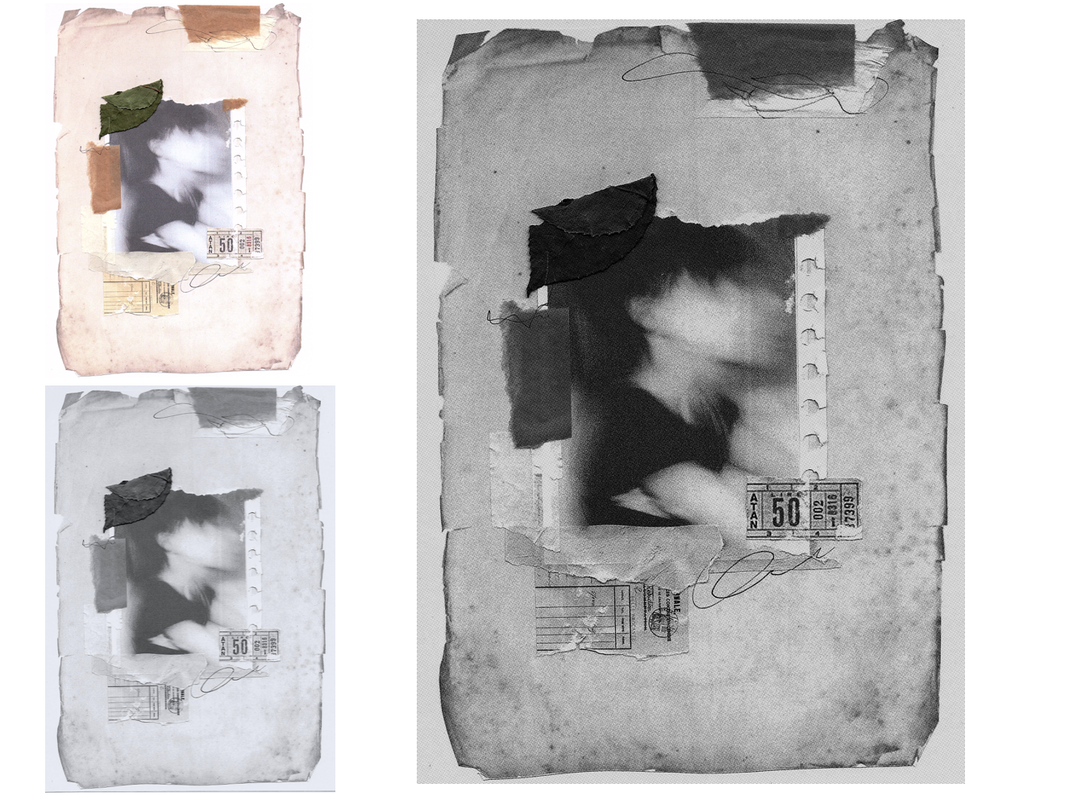
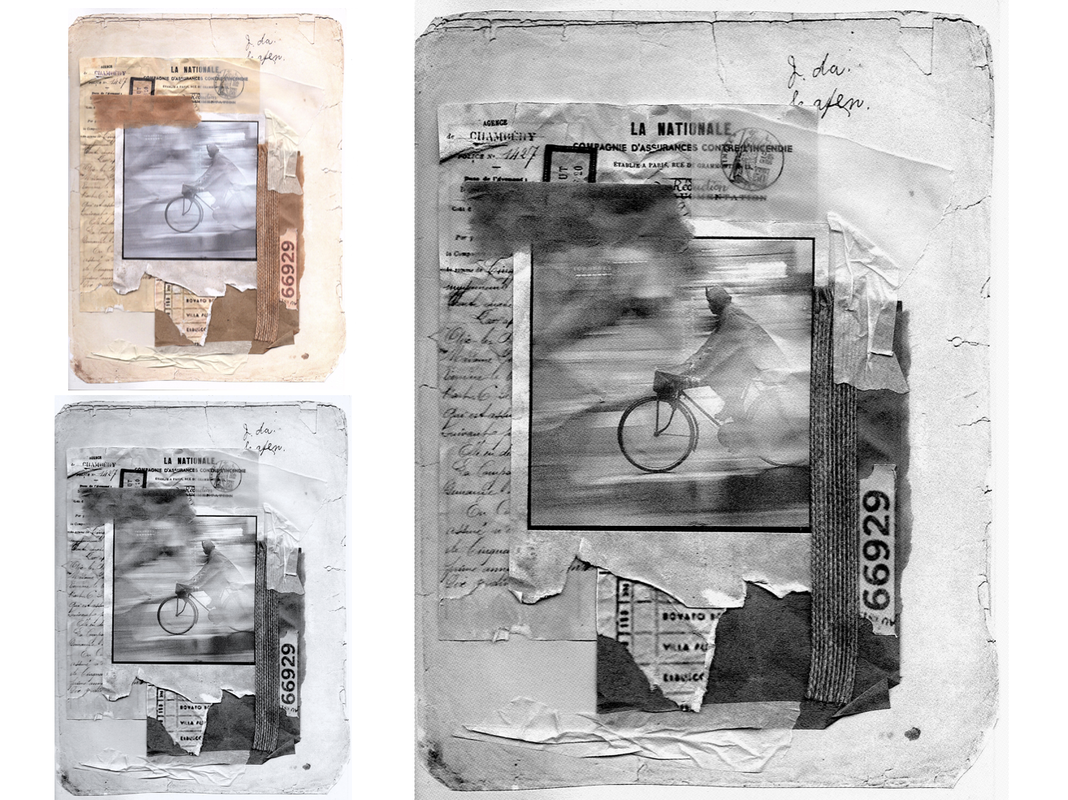
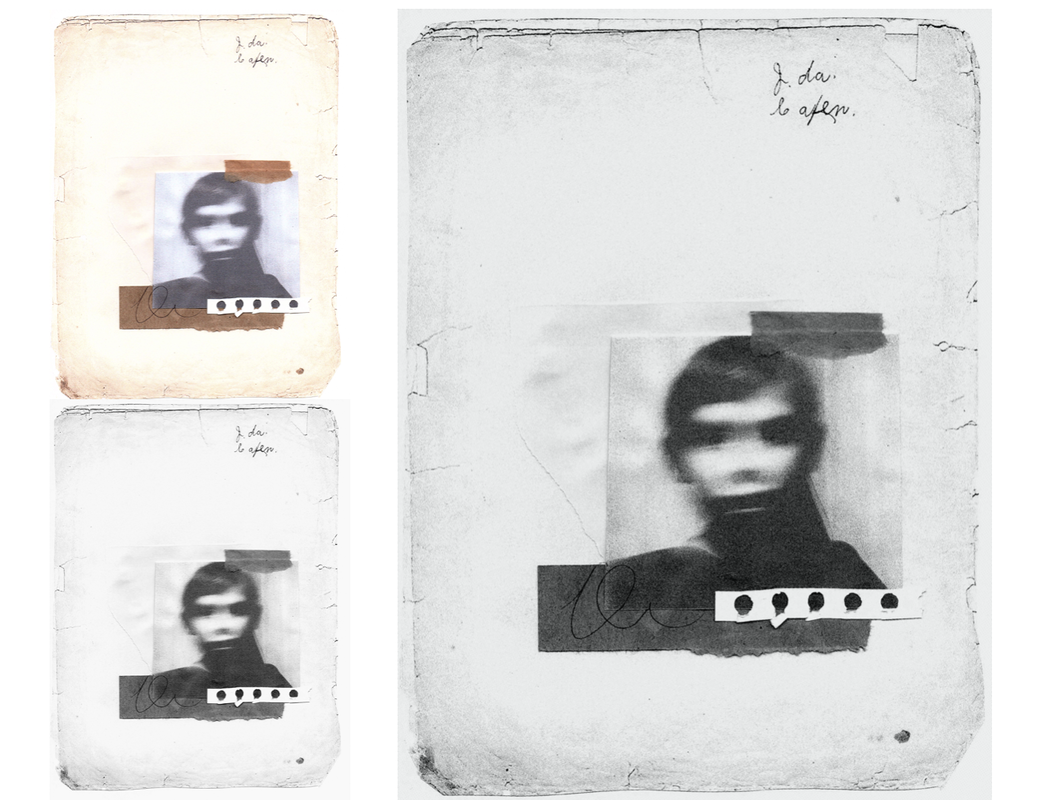
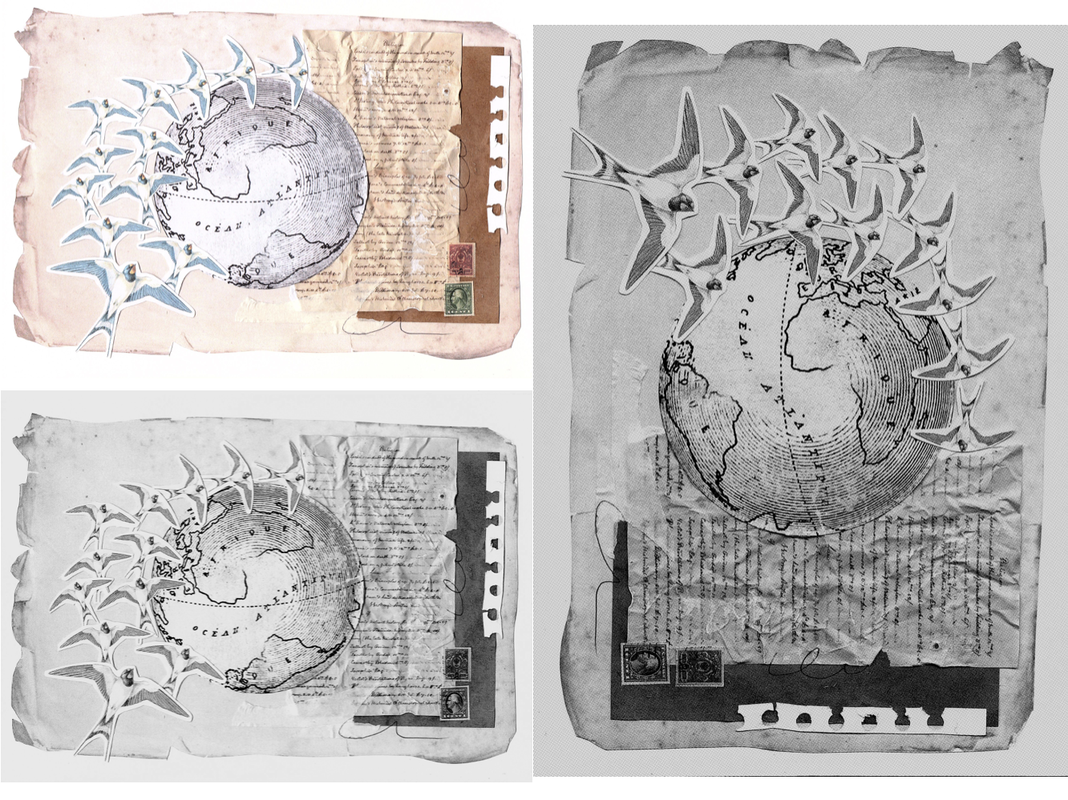
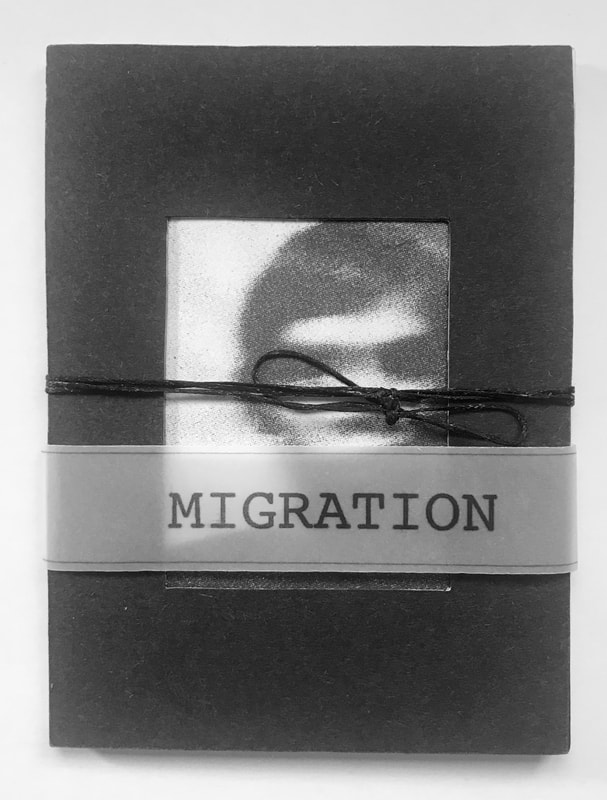
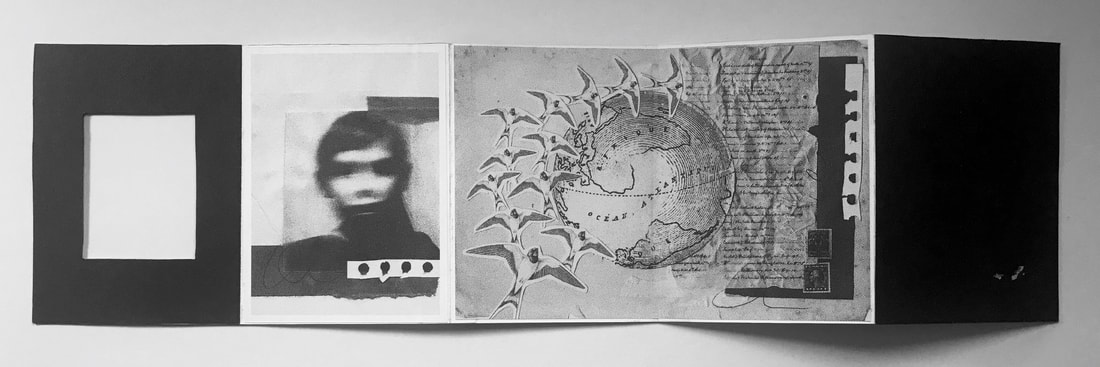
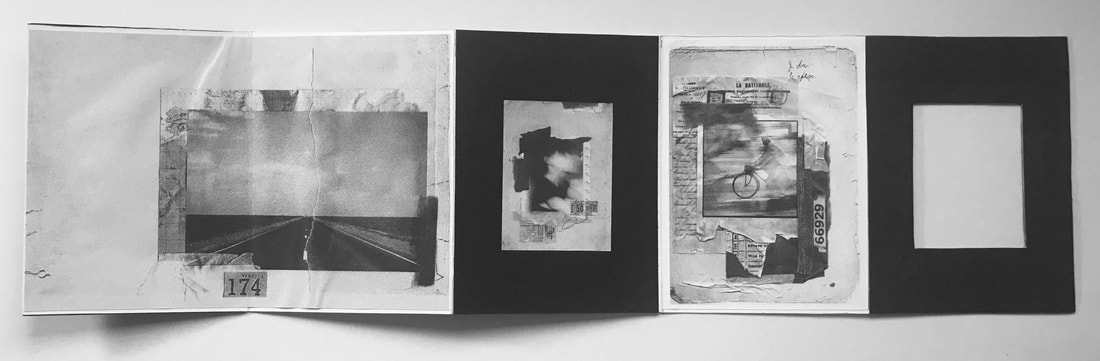
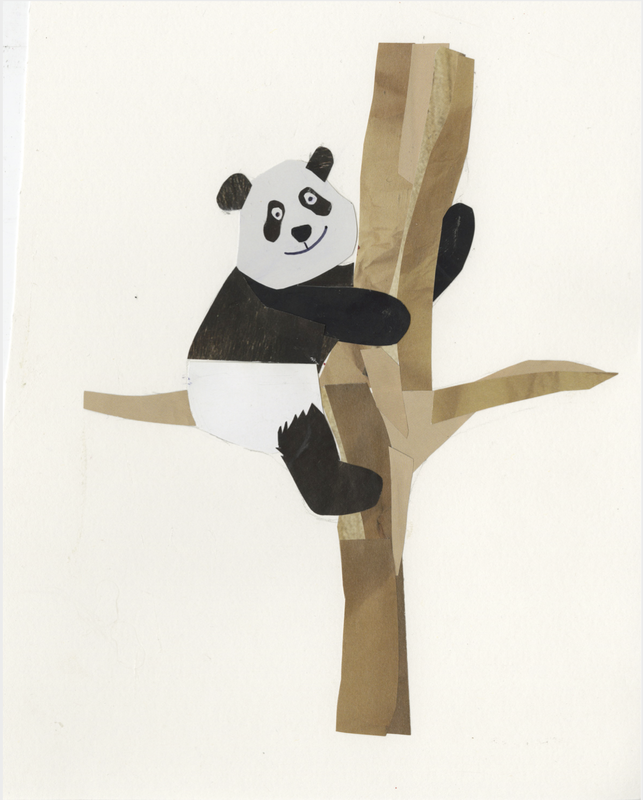
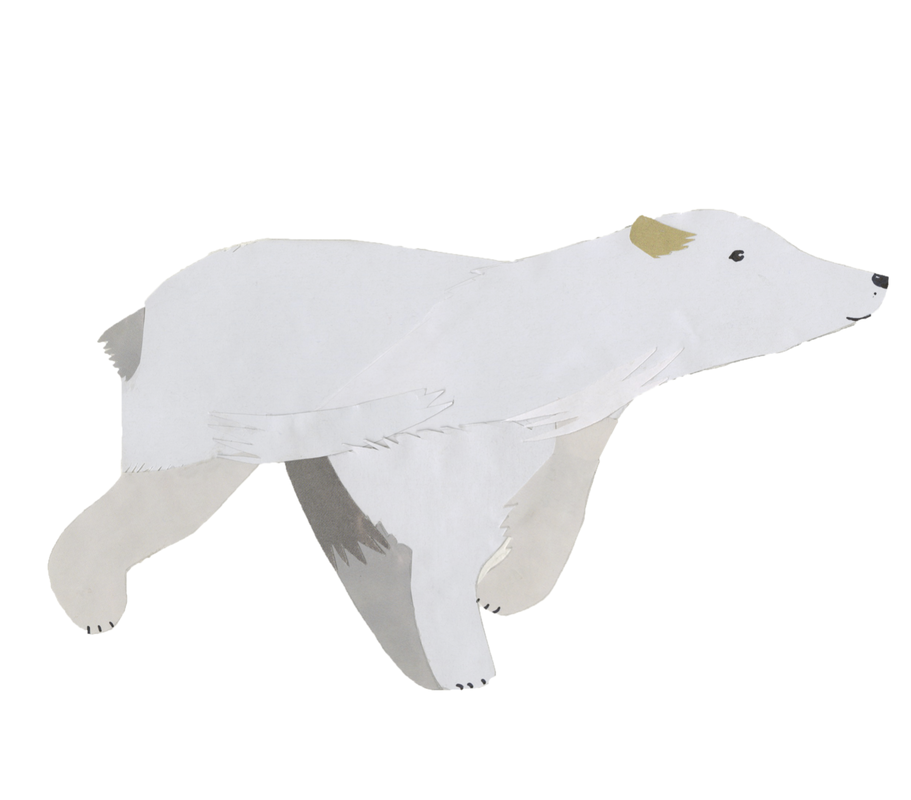
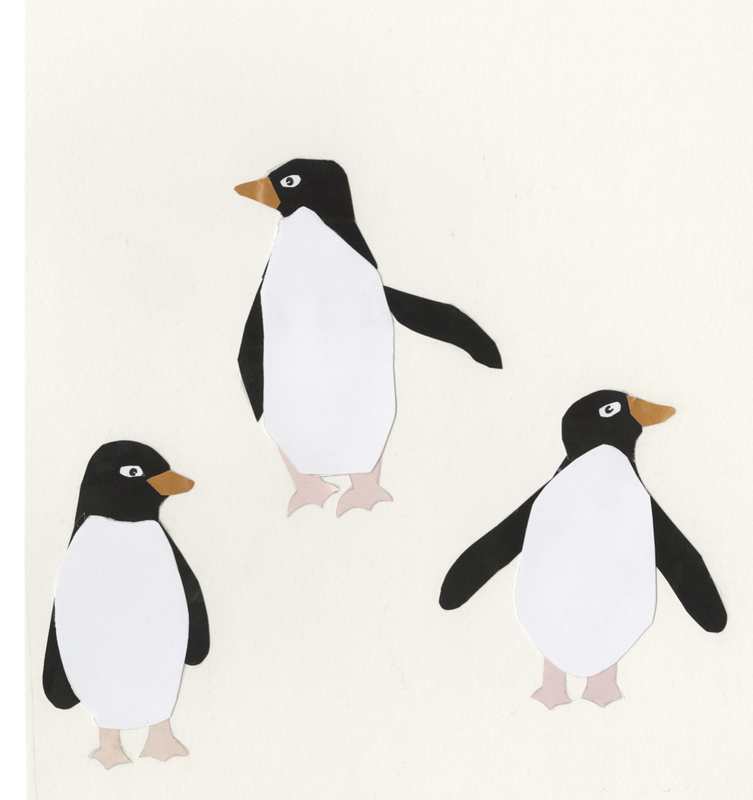
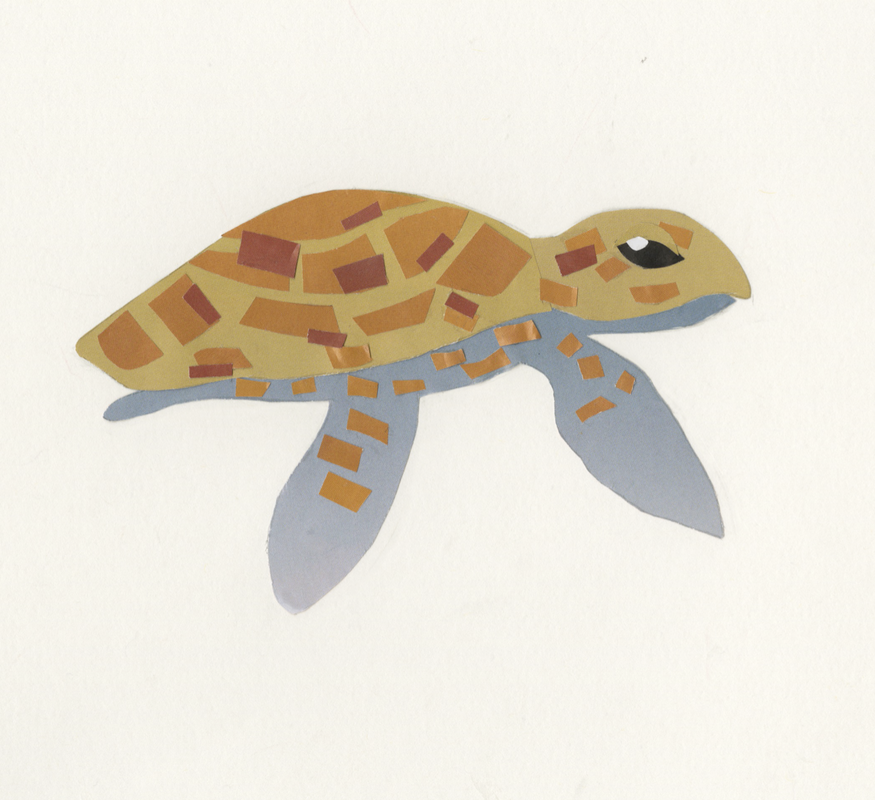
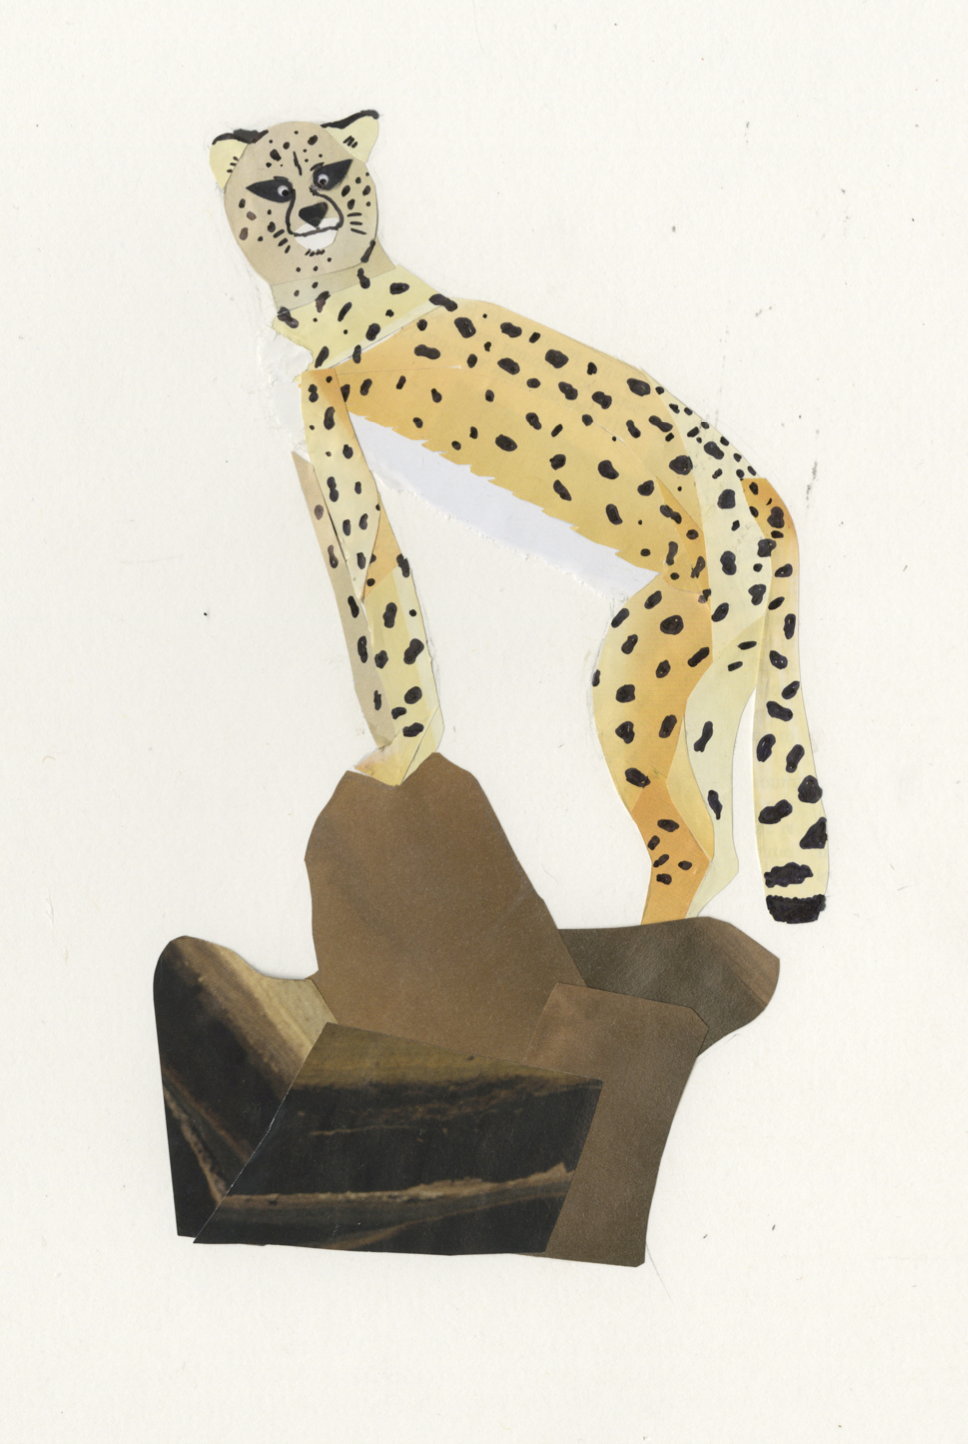
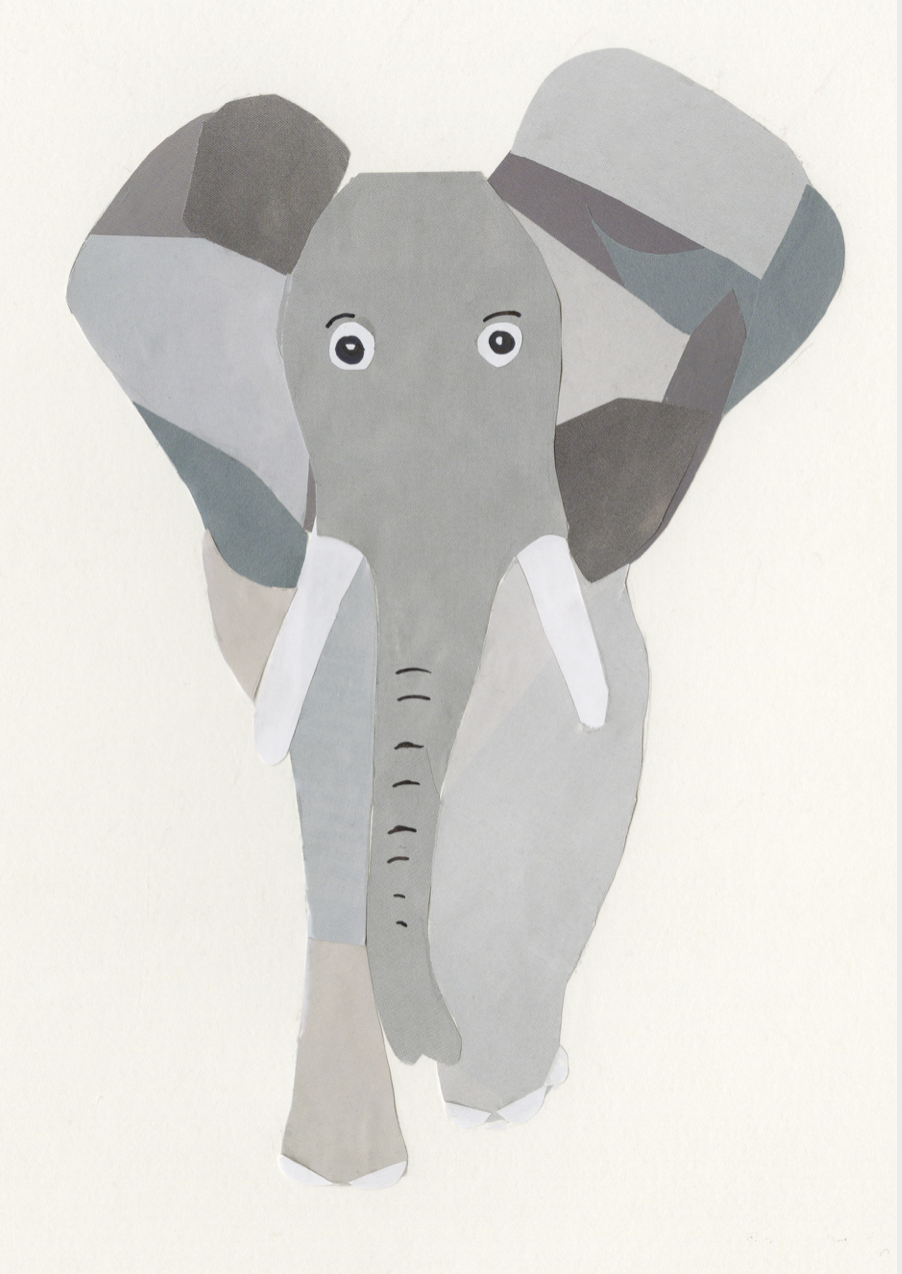
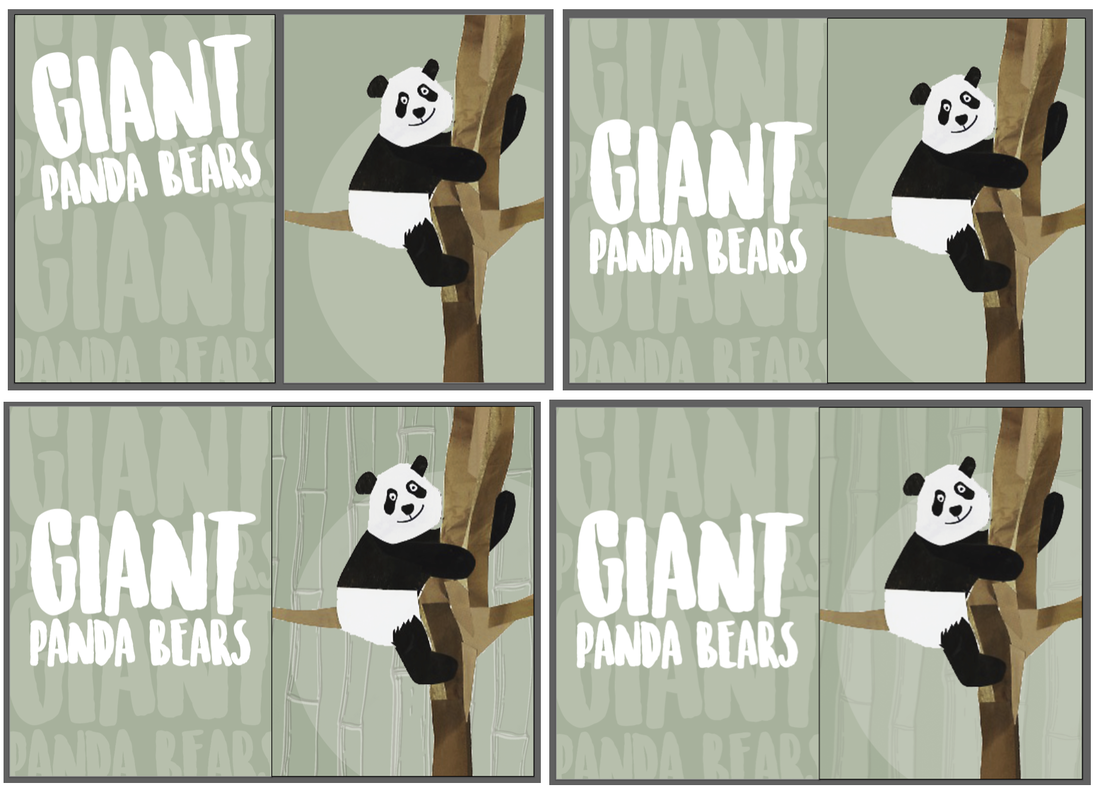
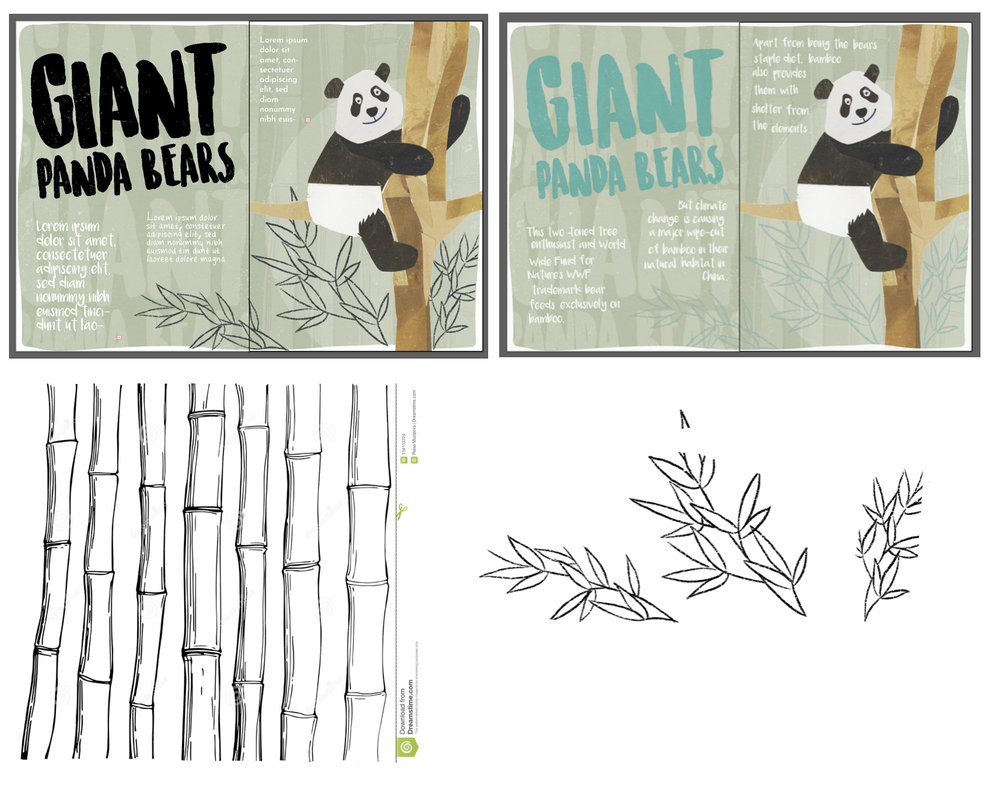
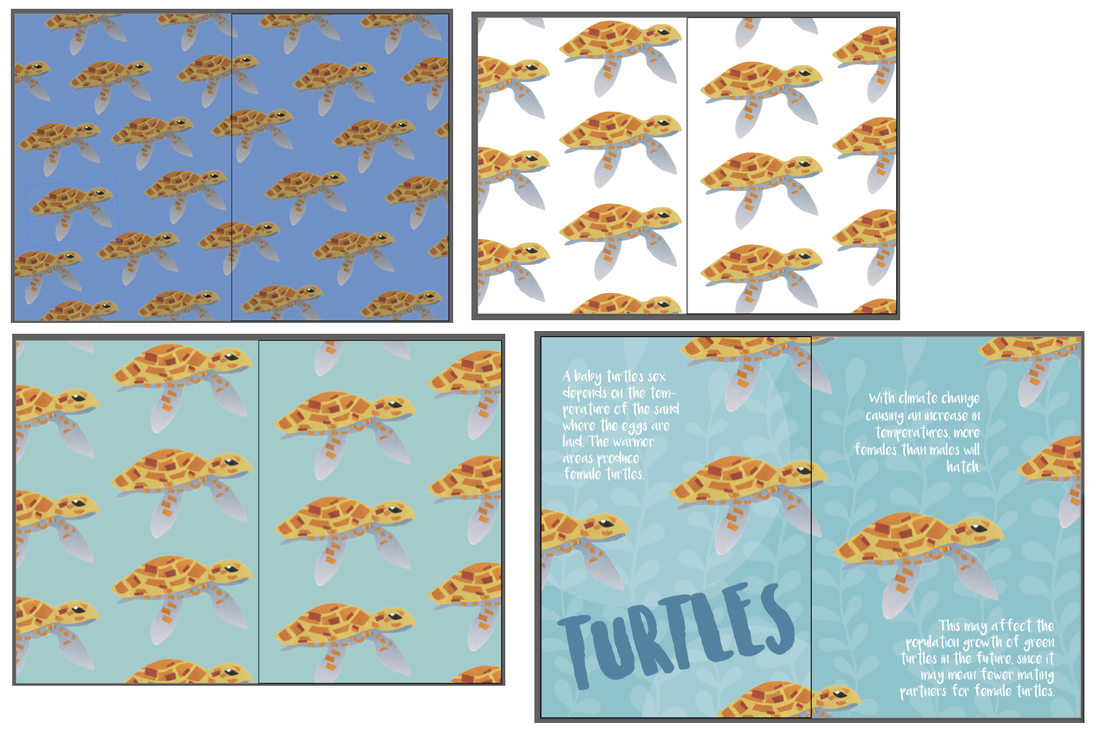
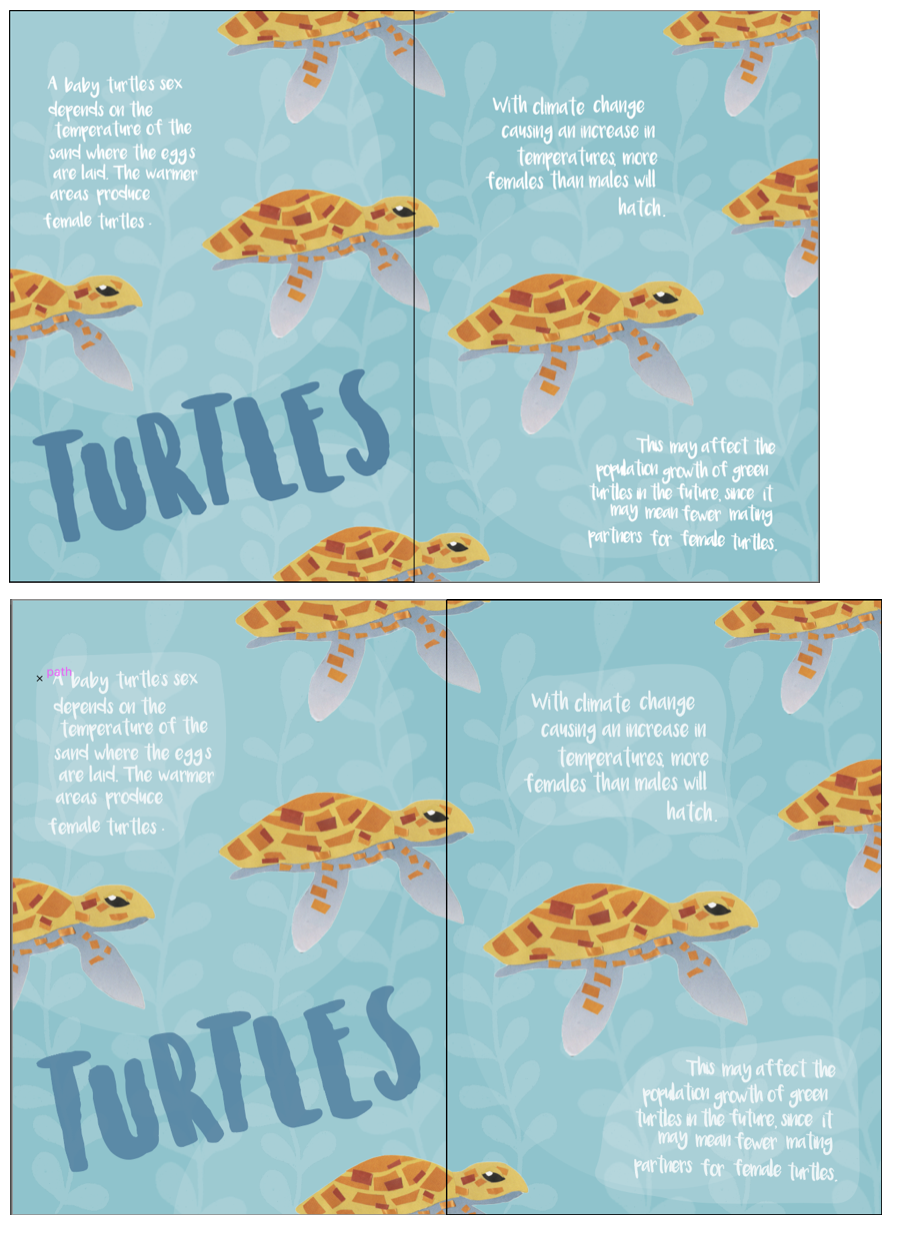
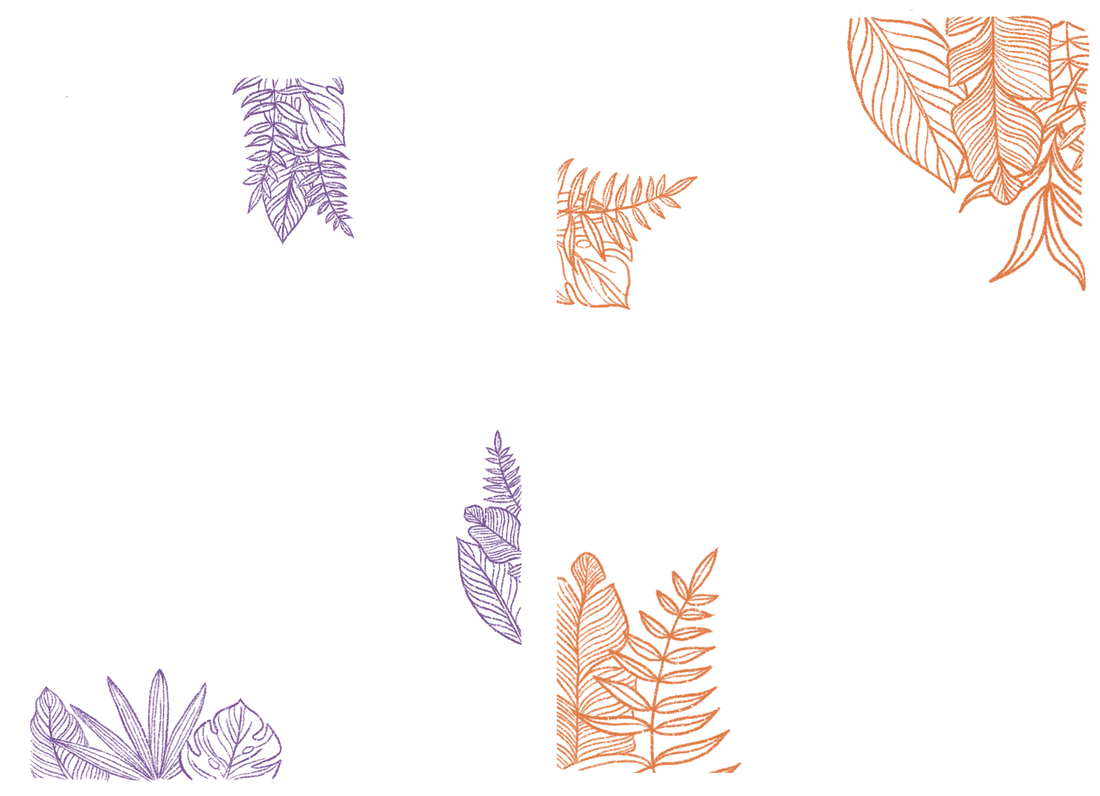
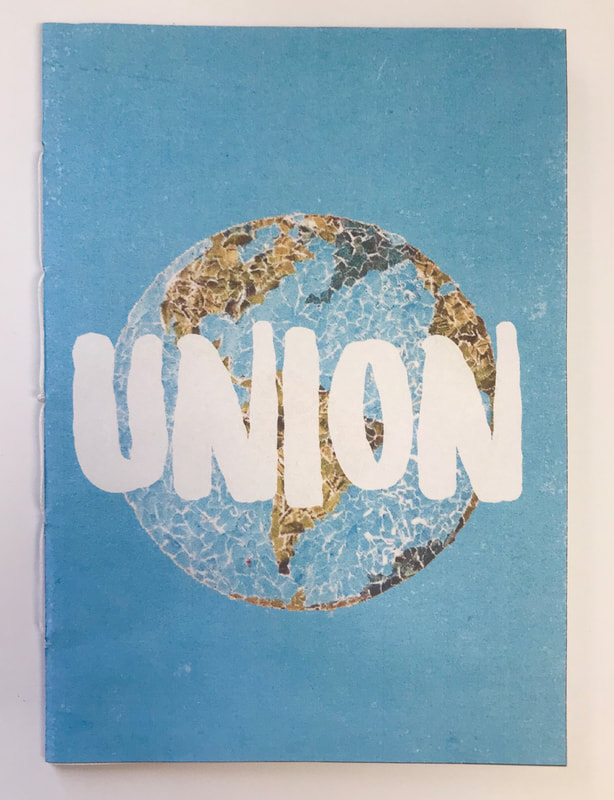
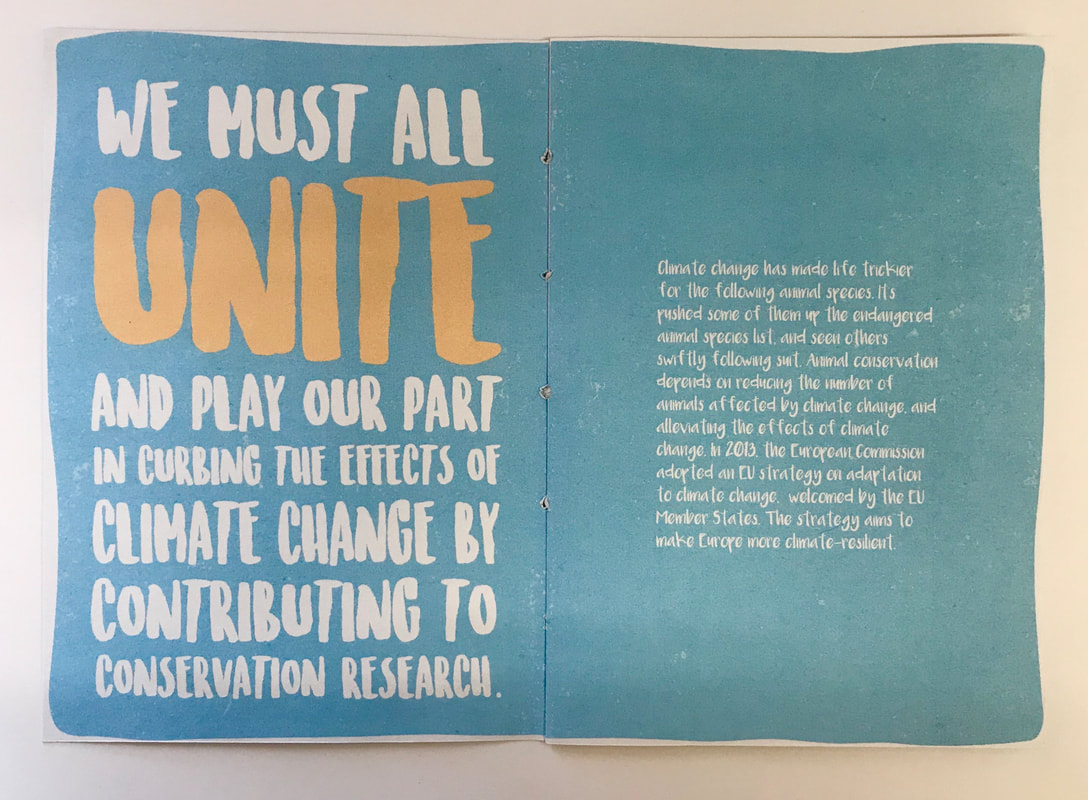
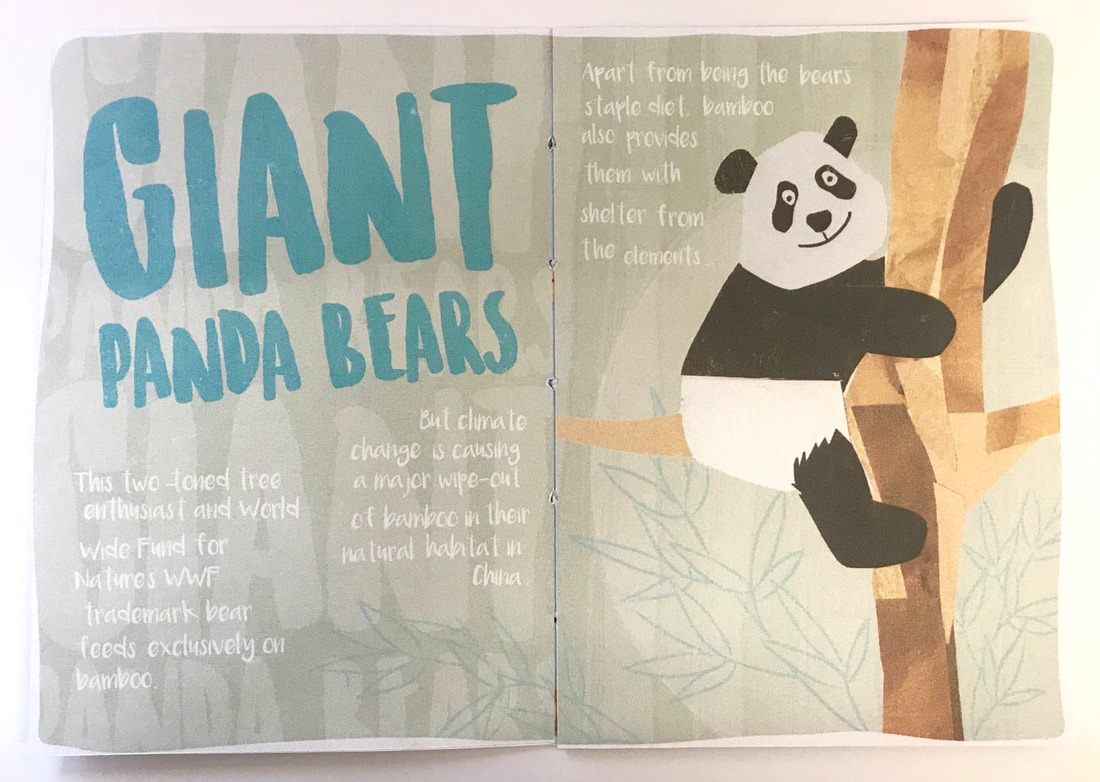
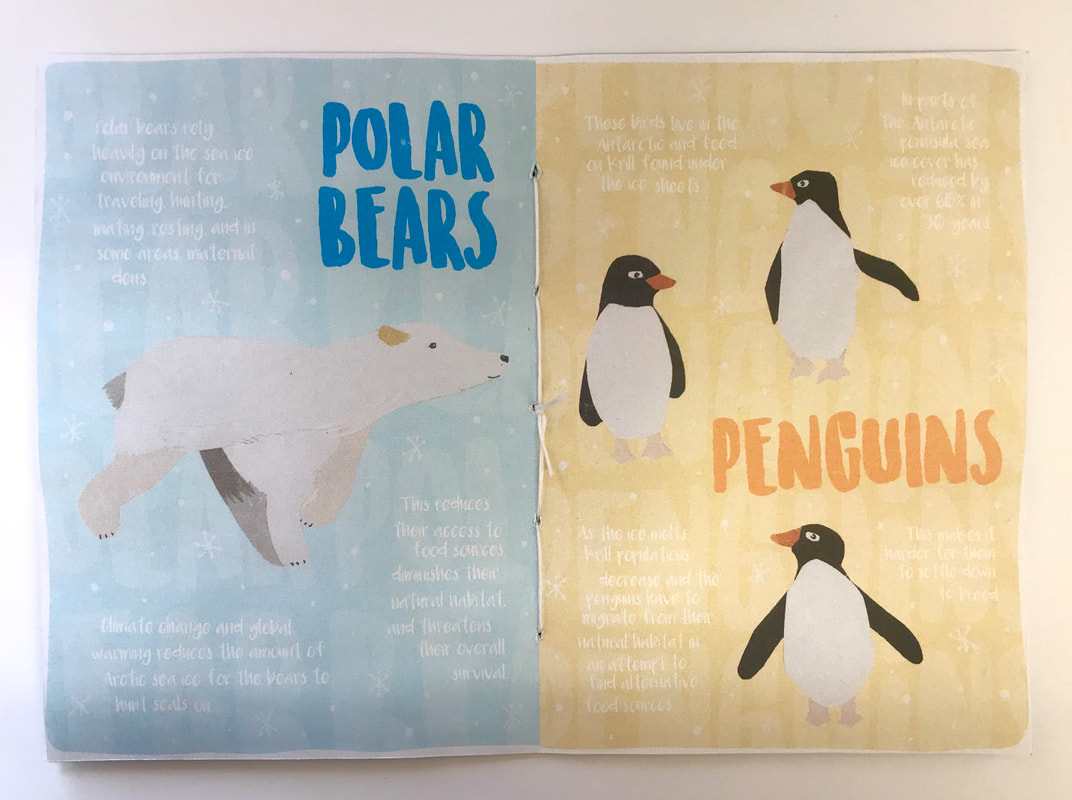
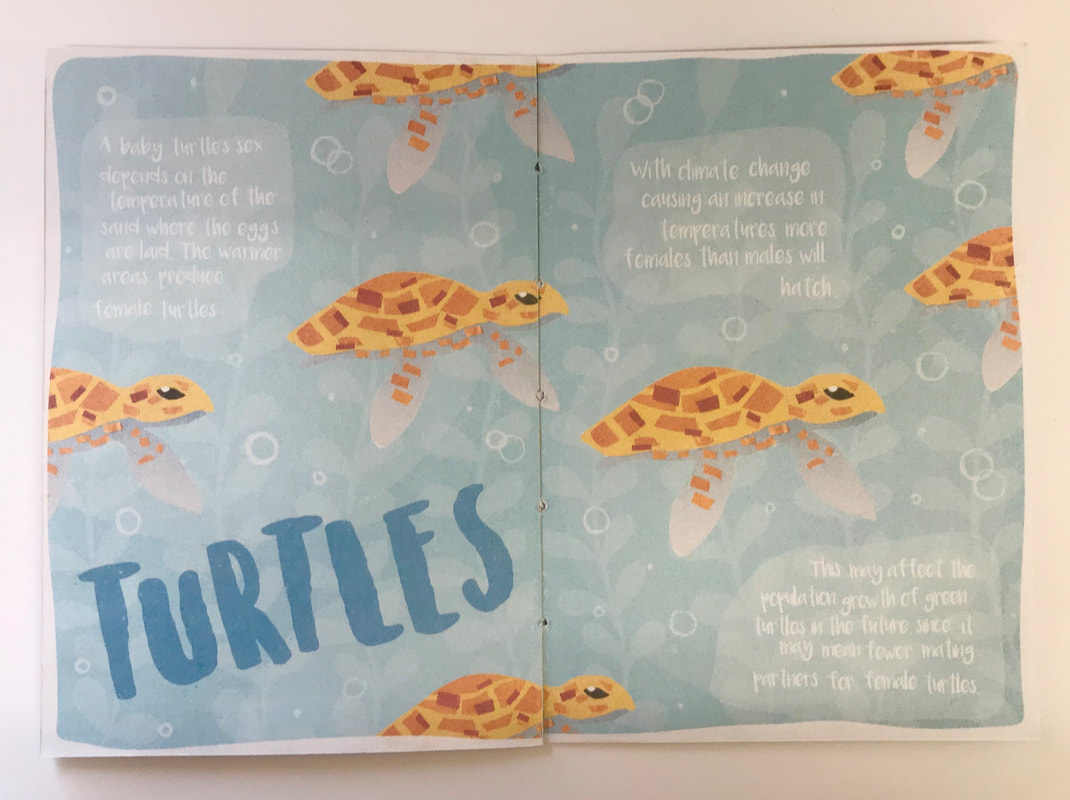
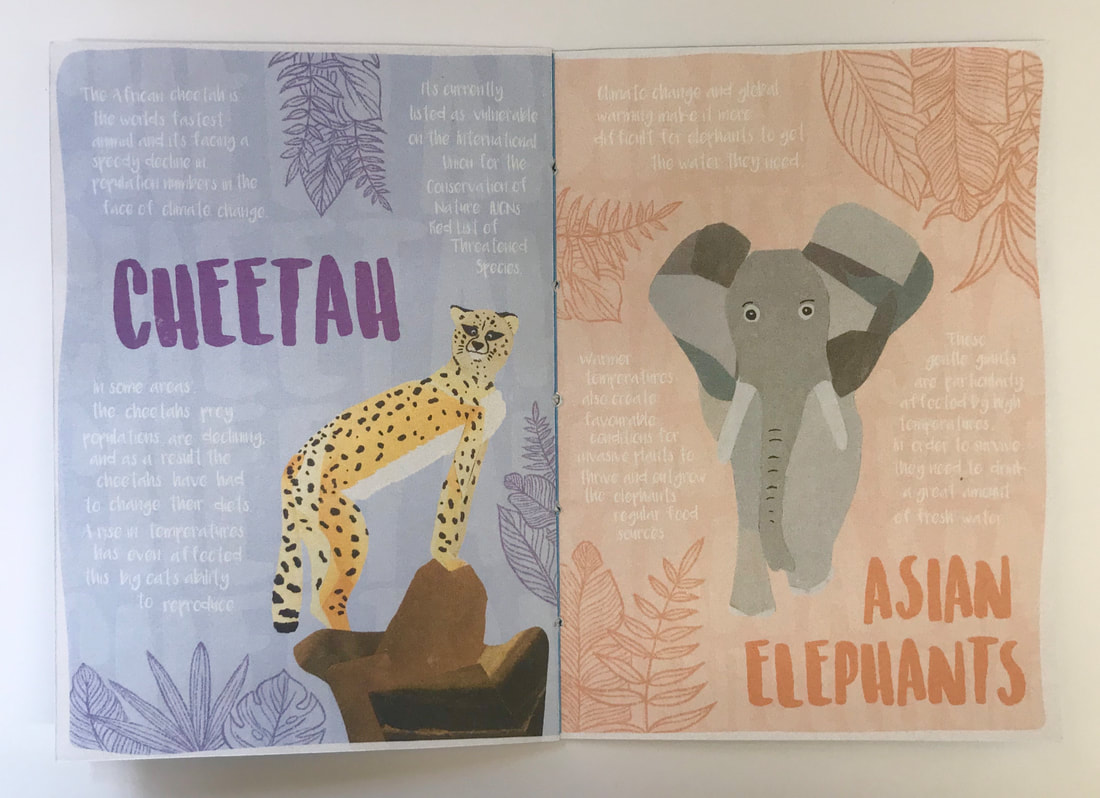
This project focused on 2D illustration and graphic design and was split into 3 parts in which we had to produce a zine for each. A zine is an unofficial publication that can be cheaply and quickly reproduced and are a way for artists to explore and voice their opinions out into the world. Part A: 'Pandemic' For the first zine we had to produce we had to explore the word 'pandemic', exploring how we might represent it visually, but only through the use of type and letterform. I started off doing a little bit of research into zines and the different styles. I knew I wanted to go out of my comfort zone and produce something more experimental. I also did a few quick sketches of possible layouts and ideas.  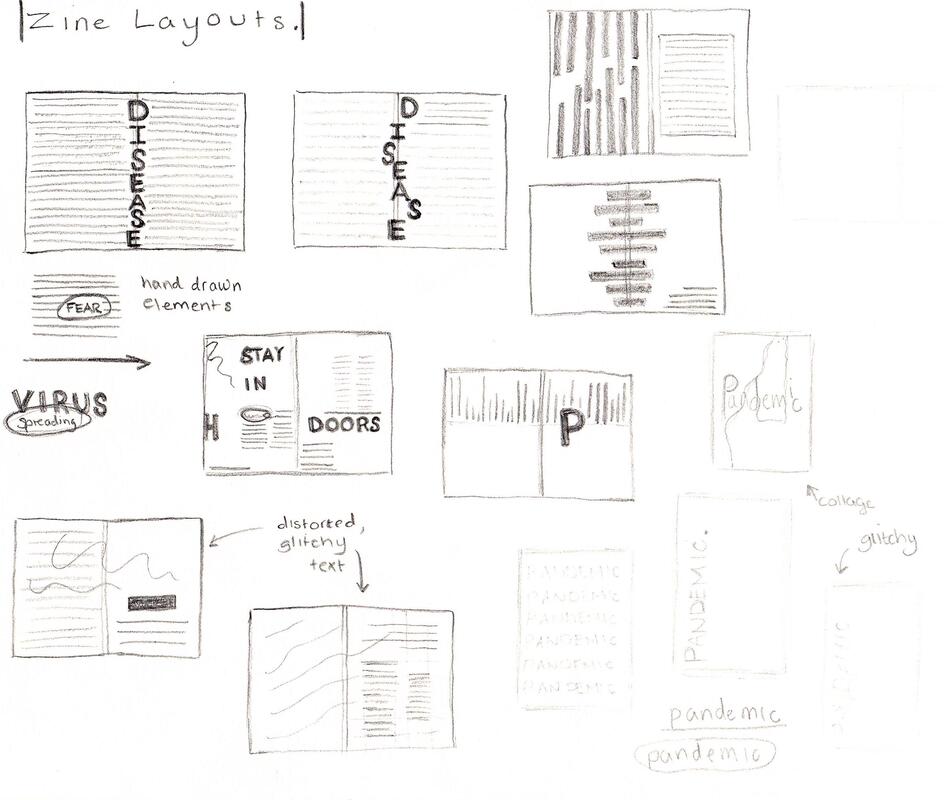 I next explored a few different formats for my zine; one sheet, unbound as well as a saddle-stitch using wax thread, trying to figure out page numbers and layout. I then started experimenting with type. I explored tracing, cutting up and combining words in different typefaces for texture as well as using a scanner to create distorted glitchy text. I thought this was a good way to represent the theme of the zine as it looked visually hectic and showed lack of control. After experimenting further with printing on different paper stocks and colours, I started using Adobe Photoshop and Indesign to develop some of these experiments so that they could be used for the pages of my zine. I included texts that I thought were relevant with the theme using online resources we were provided for the content. After designing all the pages I printed them out onto plain printer paper in red and white. For the front cover I chose to double it up and add a rip just to make it more interesting. I also chose to include a mini zine in the middle and include some of the cutting and scanning experiments I did. 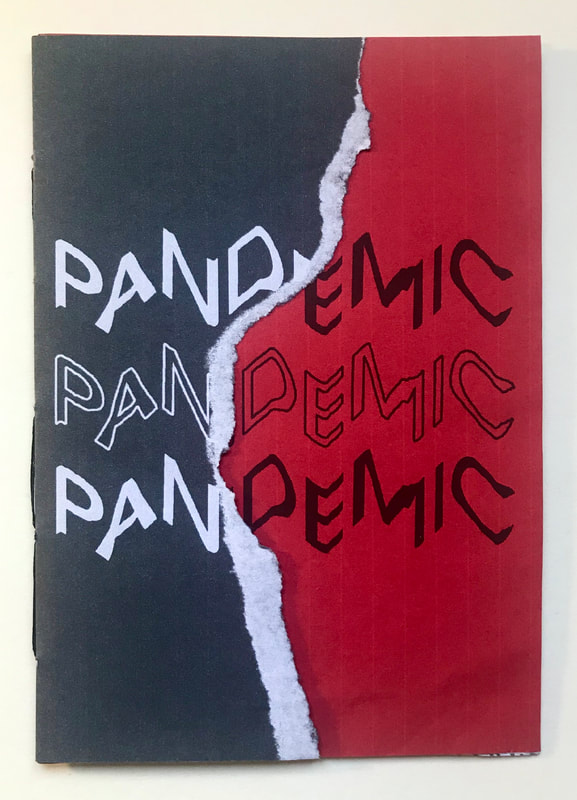 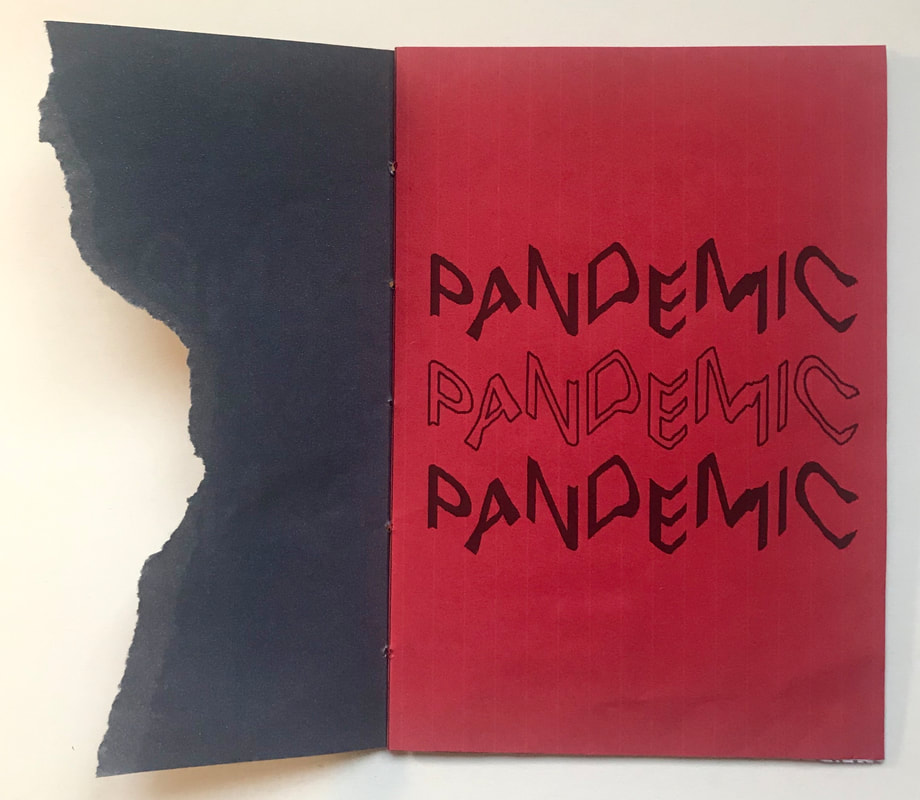 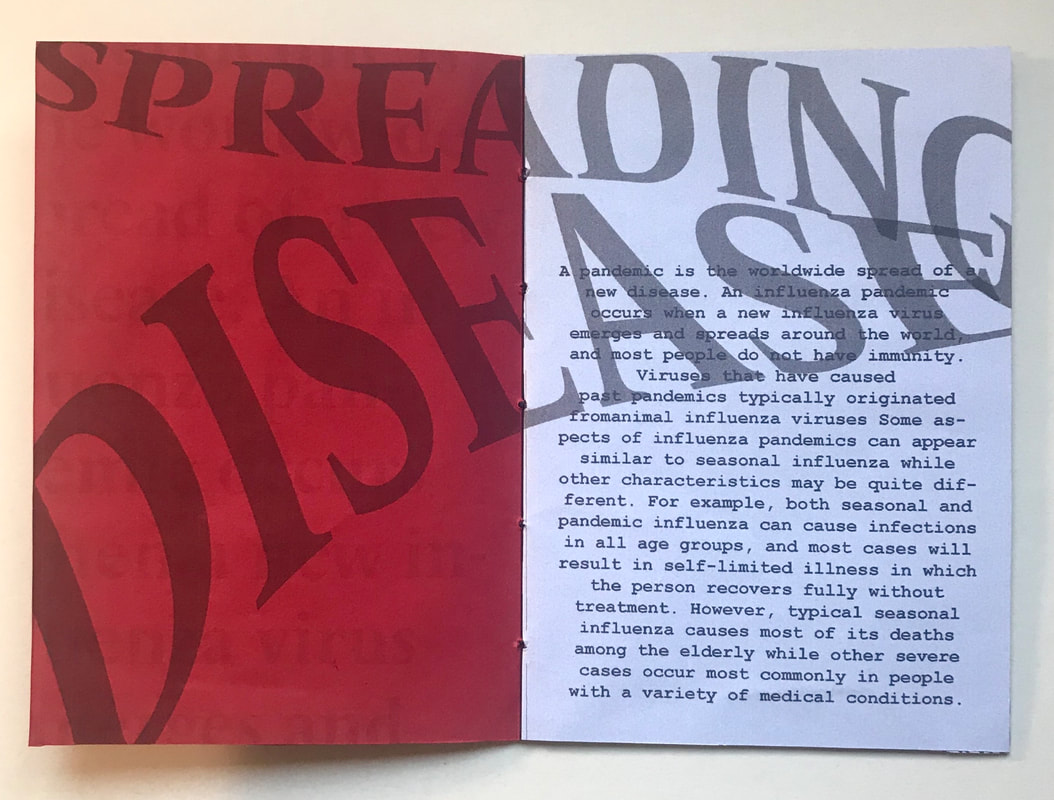 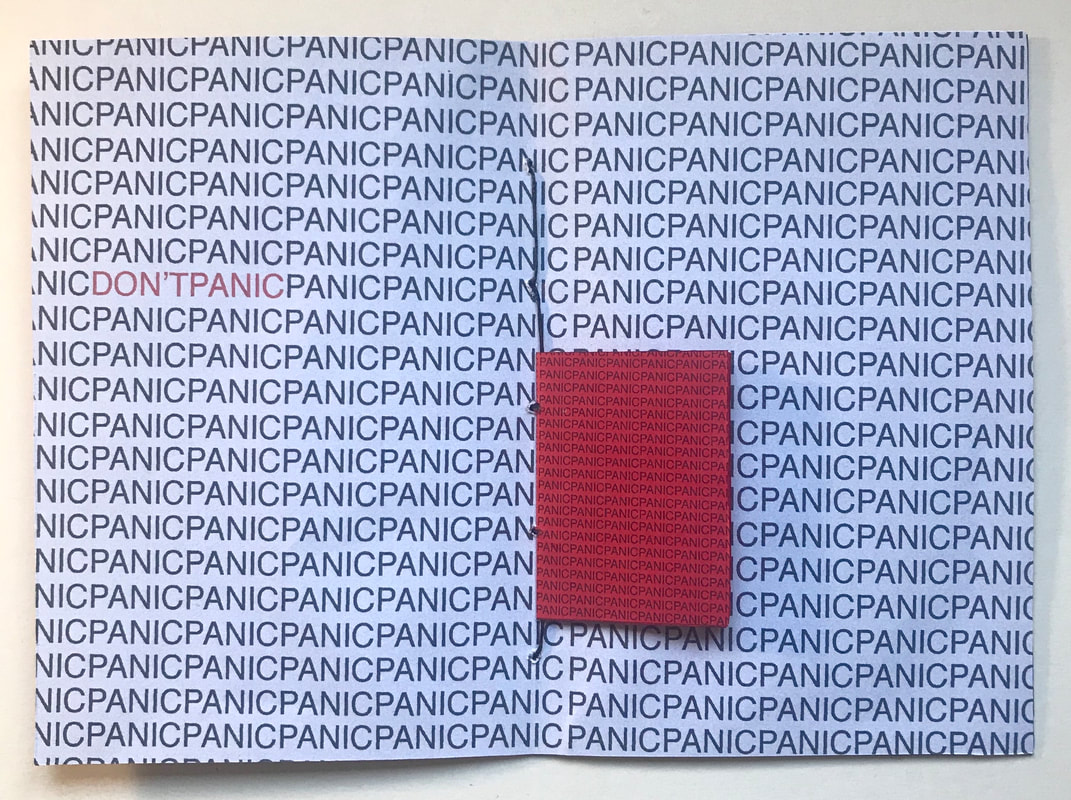 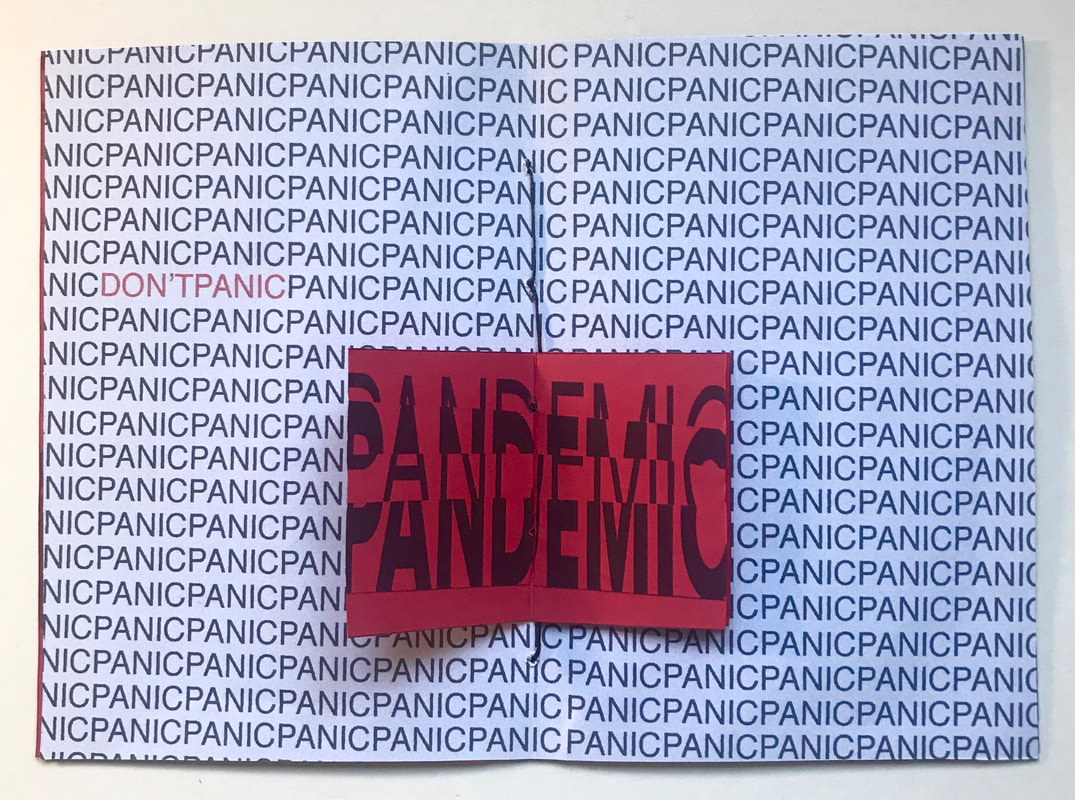 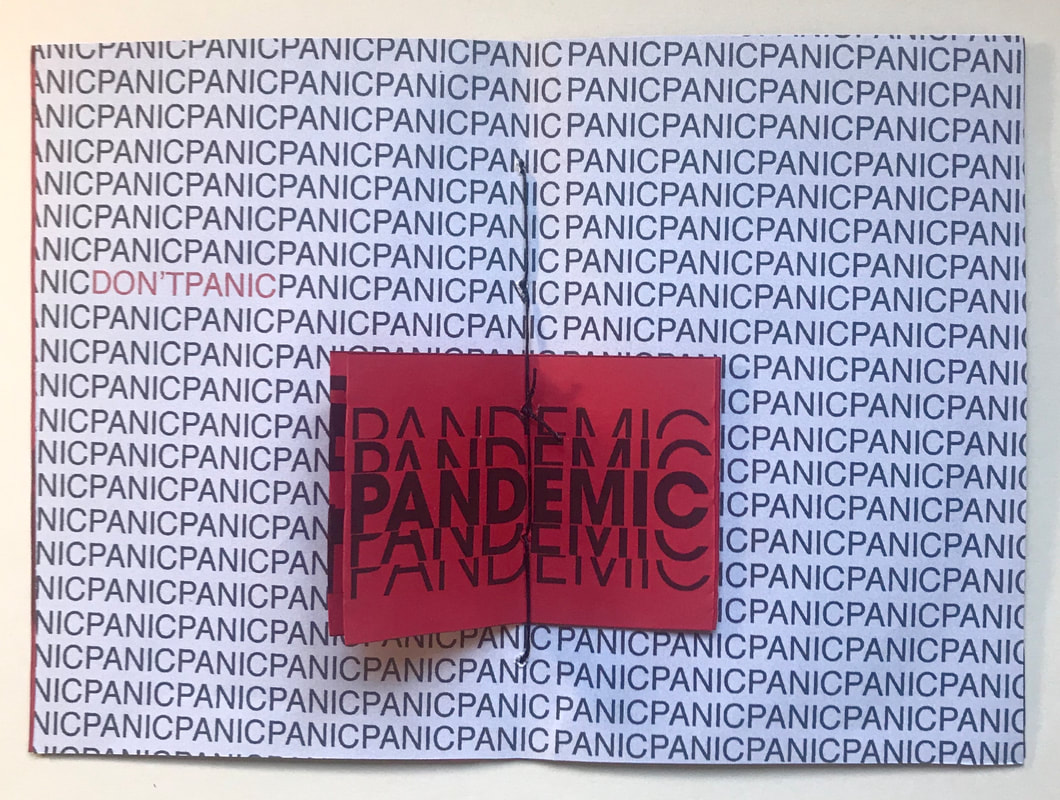 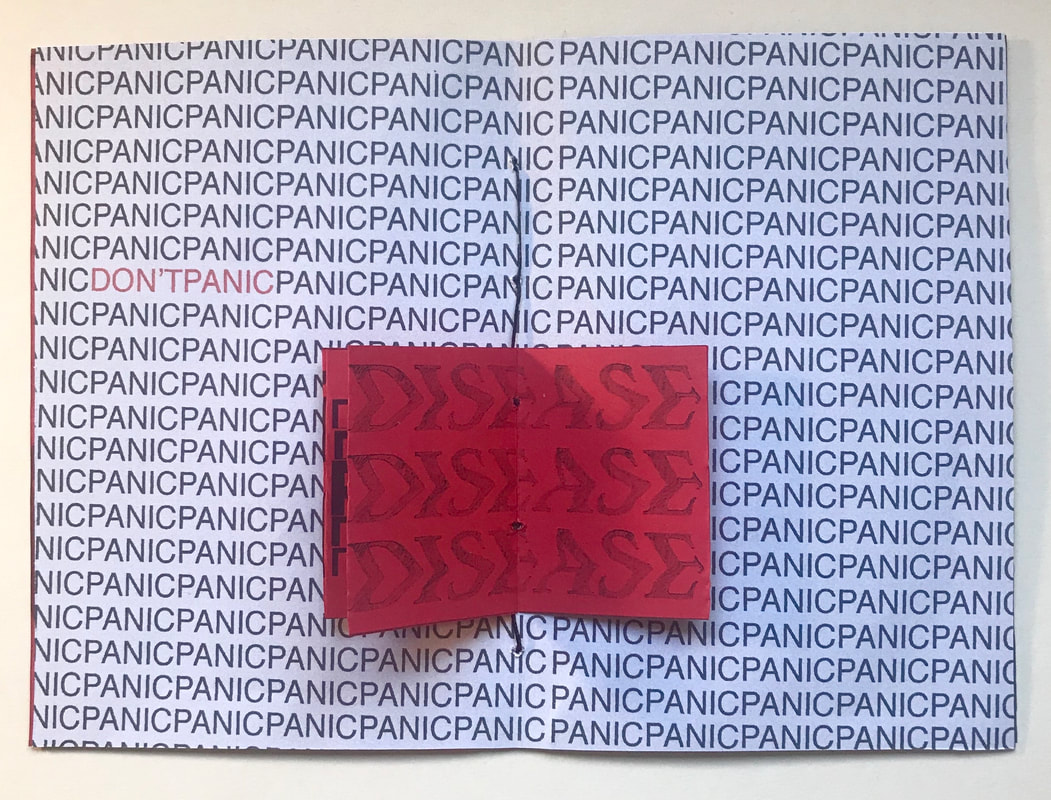 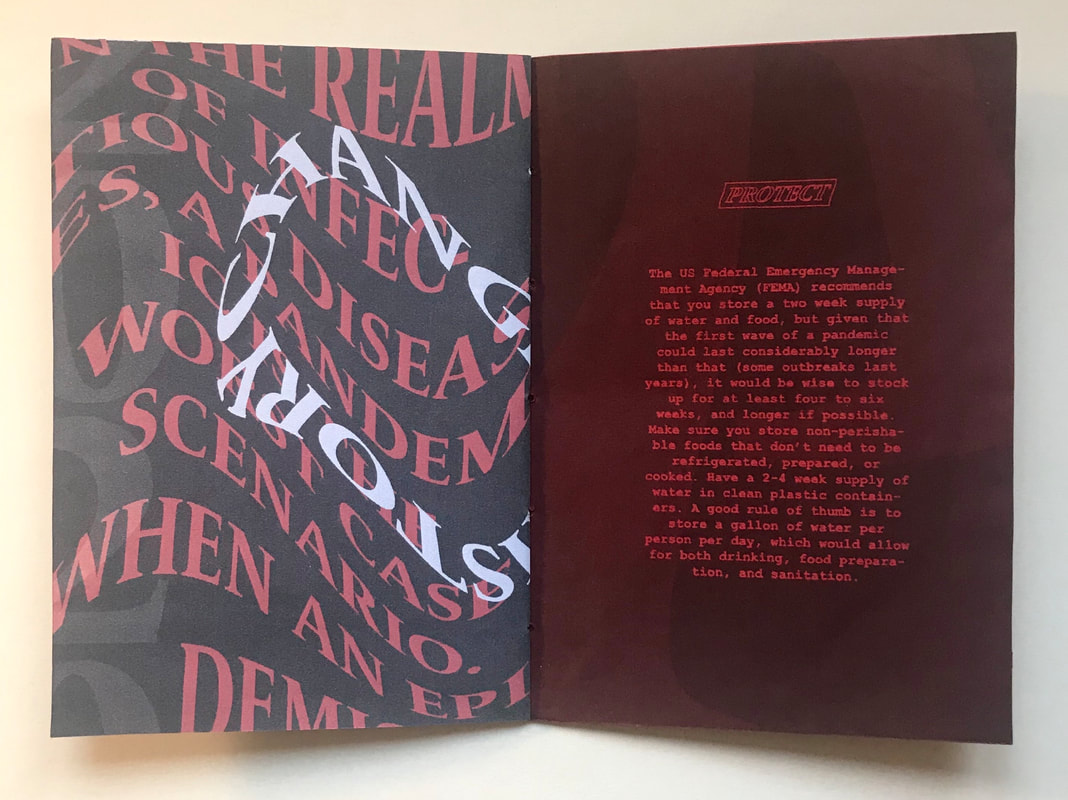 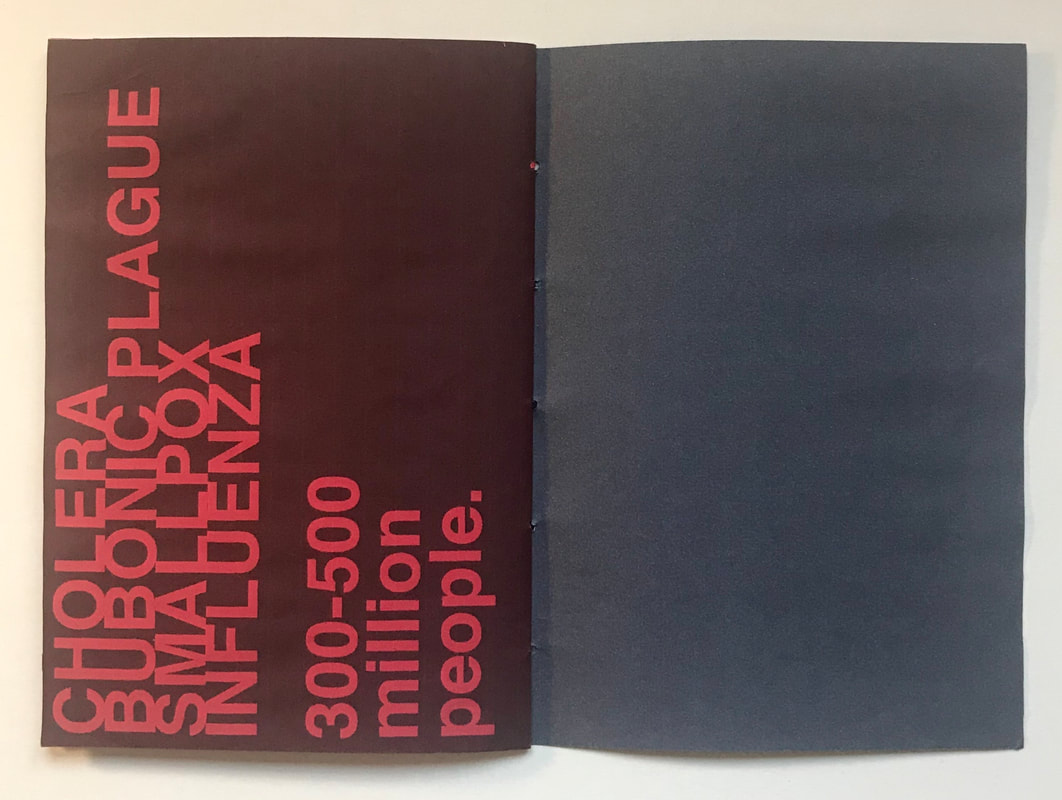 Part B: 'Migration' The second zine we had to produce had to explore the word 'migration', this time exploring it purely through imagery. I began with some visual research, looking mainly at photography zines so that I could incorporate some of my own photographs combined with images found online. I particularly liked the accordion format and I wanted to experiment a little with the use of printed vellum.  The images I used created myself I took by changing the shutter speed to show the motion of the movements and making them greyscale to give them more of an eerie vibe. I thought these photos linked in well with the theme of the zine as migration is a type of movement. After printing them out I scanned them into my computer to add more texture. I chose to create a mock up zine first to experiment with a few ideas, using a Japanese binding and experimenting with some collaging and vellum techniques to add interest. I used a combination of my own images with ones I found online related to travel. I then went on to produce another mock up using an accordion format. I love the aesthetic of using purely black and white so I continued with that. I also stuck the images onto thicker card with an added black wax chord to make it feel more professional. I wanted to combine the two mock ups I did to create my final zine. I produced a series of collages, combining my own photography with collage elements I printed out such as tickets, maps and paper scraps. I love how converting them to greyscale added more contrast. I then arranged the collages onto the pages, using thick card and increasing the scale so you could see the details better in the collages. I decided to also add a vellum belly band and black wax chord as a sort of packaging and to keep the whole thing together. Part C: 'Union' The last zine had us explore the word 'union' but this time not only did we have to use both type and image, we had to produce it in collaborative teams. I was responsible for all the graphic elements whilst my partner produced the main illustrations. We decided to base our zine around endangered animals and how we should all unite as one to combat the issue. All information used came from this website. Whilst my partner started working on the illustrations for each animal we were going to cover, I did some visual research on how the graphic design could look to match. In contrast to the two previous zines, I wanted this one to be colourful and fun with hand drawn elements. 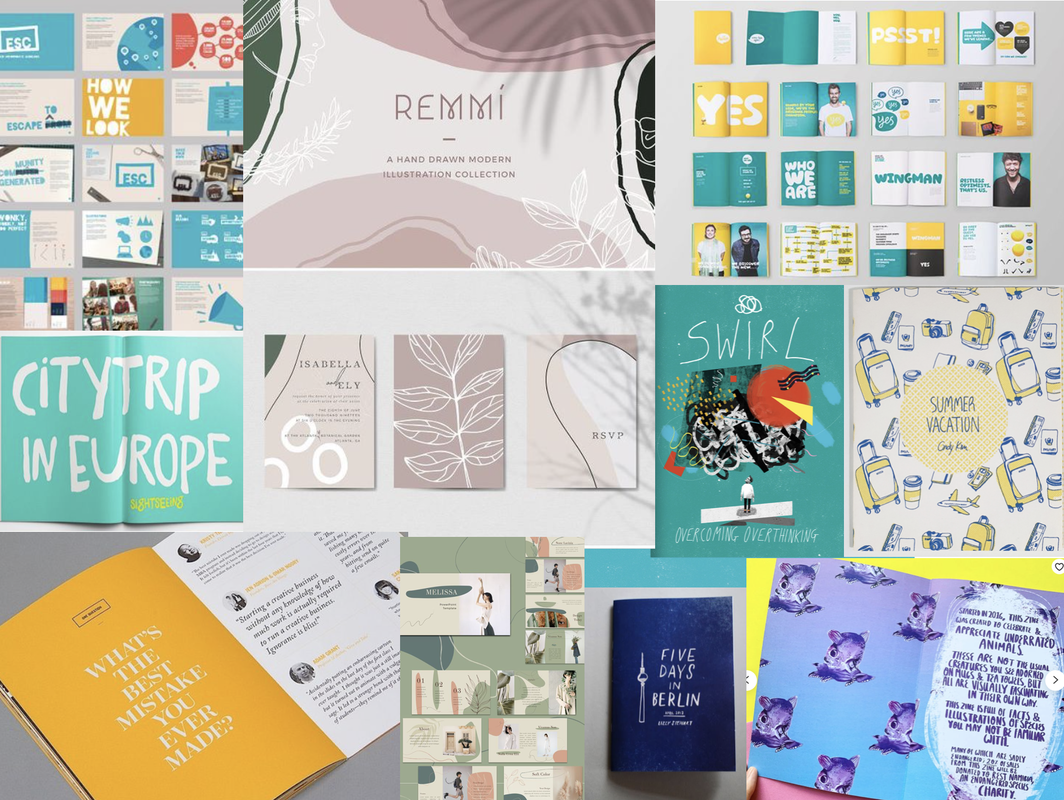 These are the collaged illustrations my partner sent me which I later edited using photoshop, removing the backgrounds and doing some general tweaking of saturation and contrast. I then got to work on the graphics using Adobe Illustrator and Photoshop.. Below you can see the process I went through when designing a few of the pages. I add hand drawn elements throughout the backgrounds that related to each animal such as leaves and bubbles and added all the type, using handwritten looking typefaces. After I had finished designing all the pages I added textures and adjusted the contrast and exported them as jpegs to add to an InDesign file ready to be printed. 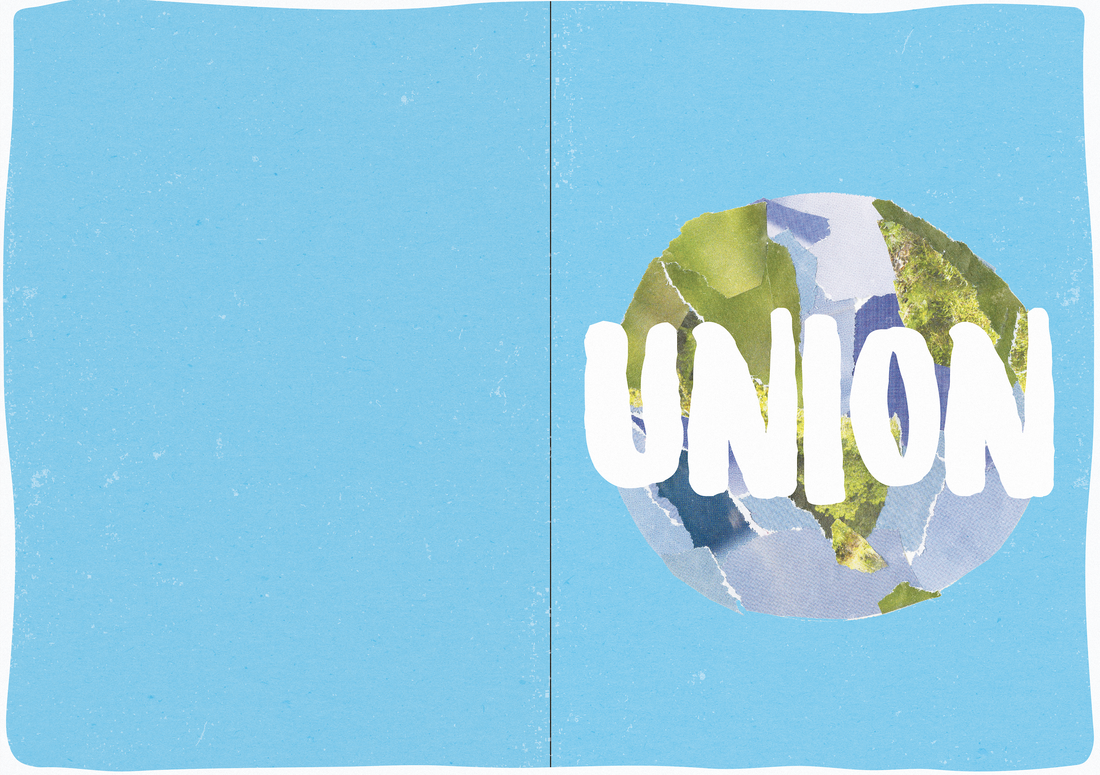  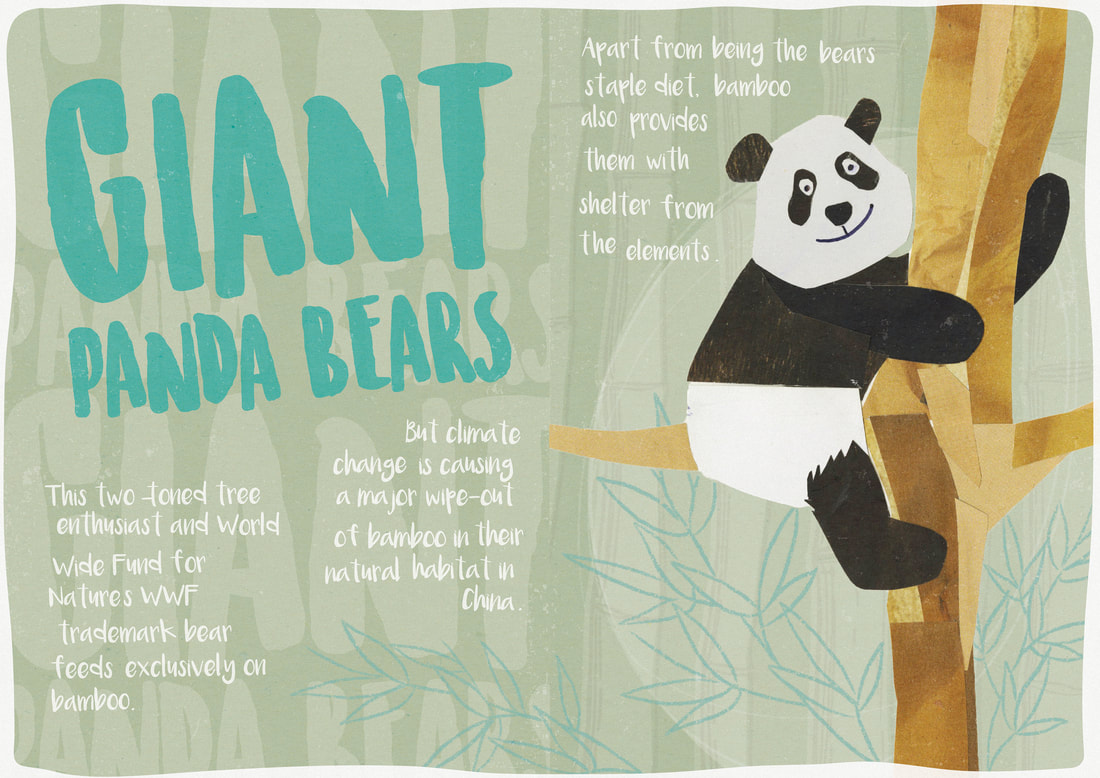 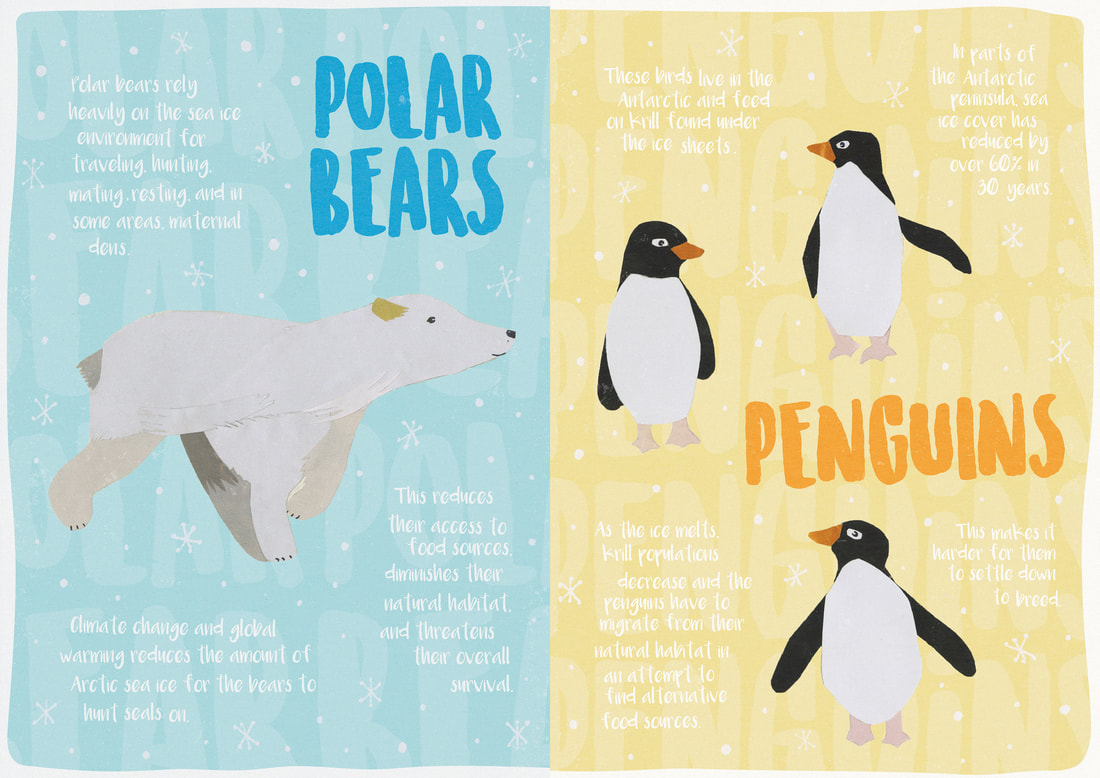 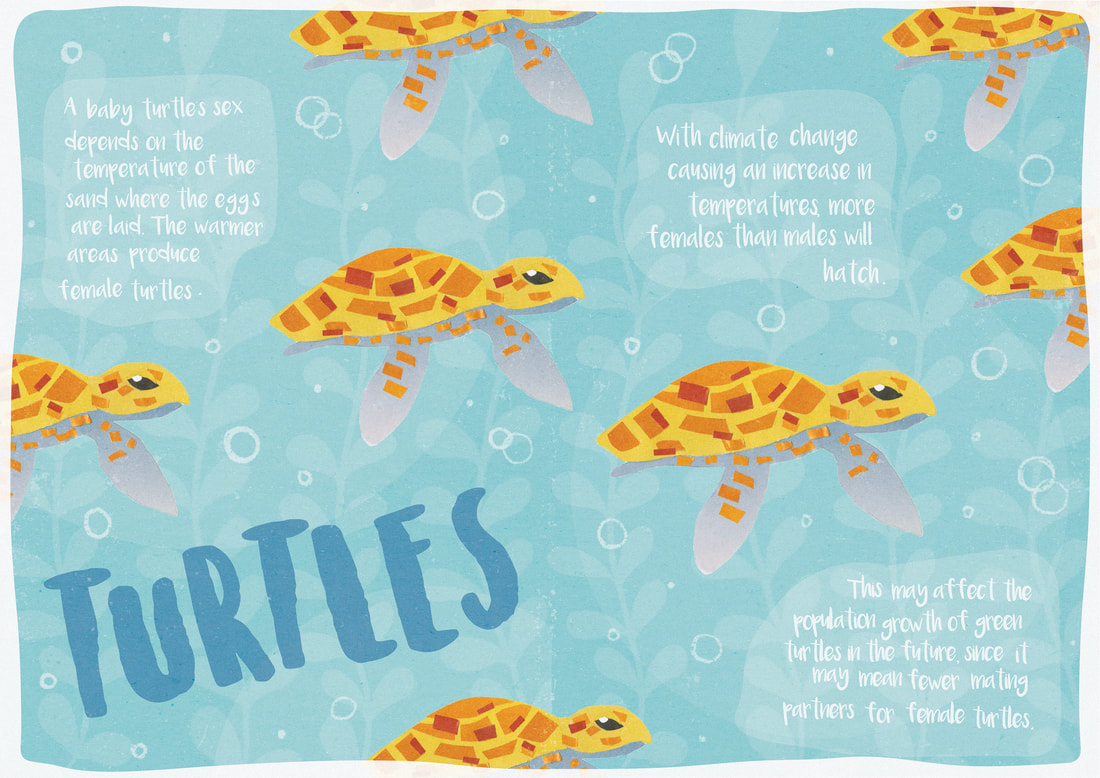 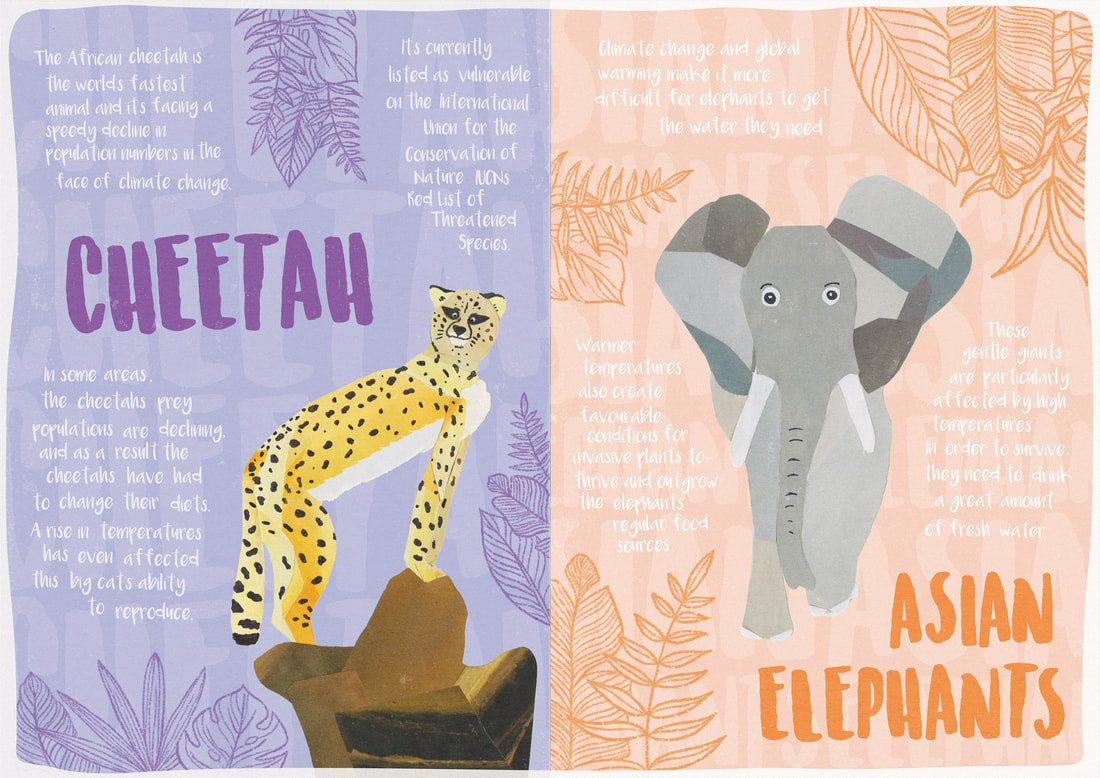 I first created a mock up printed out on regular printer paper, creating an A5 booklet which I bound using a simple threaded saddle stitch. This zine was my most ambitious and took the longest out of all three zines and so I wanted to make sure it looked professional. I decided to print this zine out onto nice A4 matt photo paper, to enhance the colours and sharpness so no details were lost. Then to create the A4 booklet I bound each single sheet using a coptic sewing variation to maintain that homemade touch.  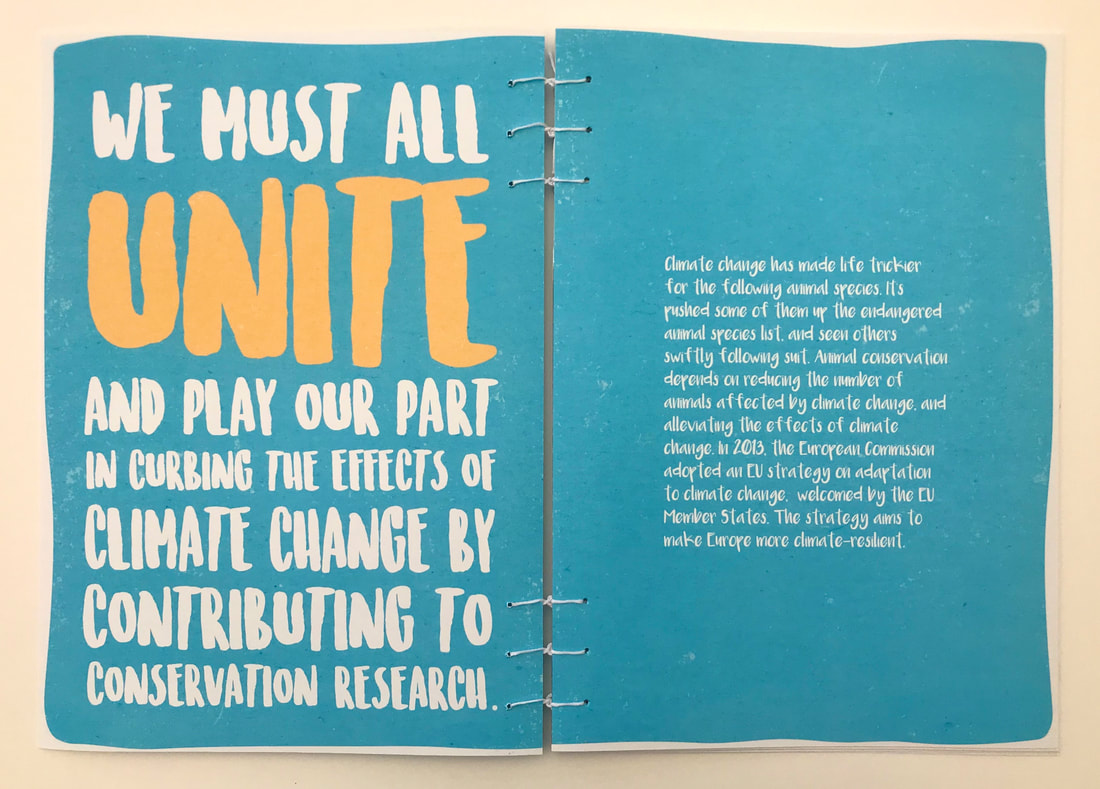 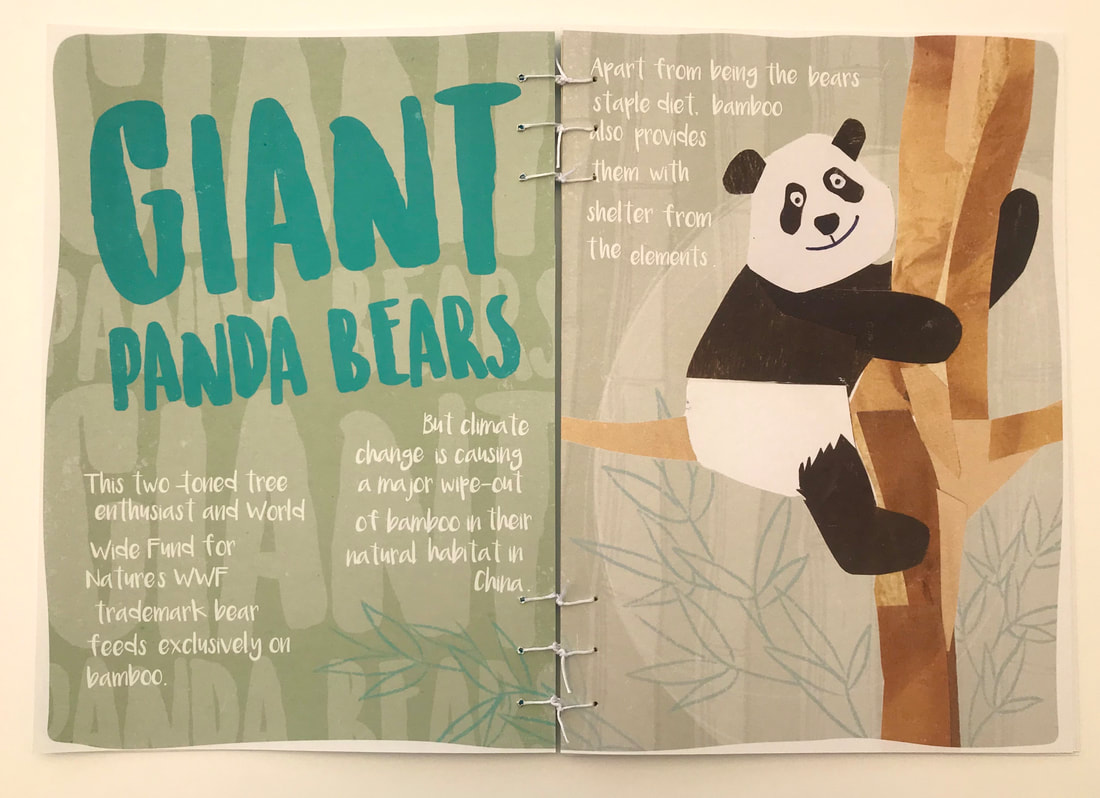 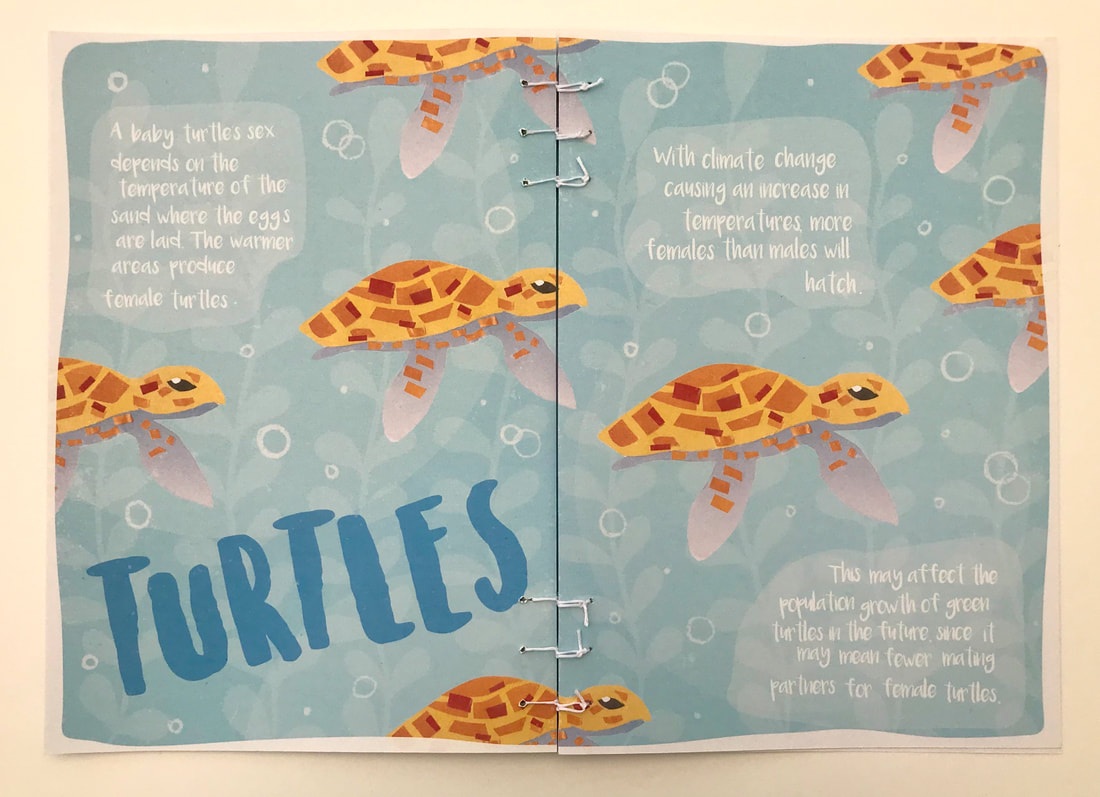  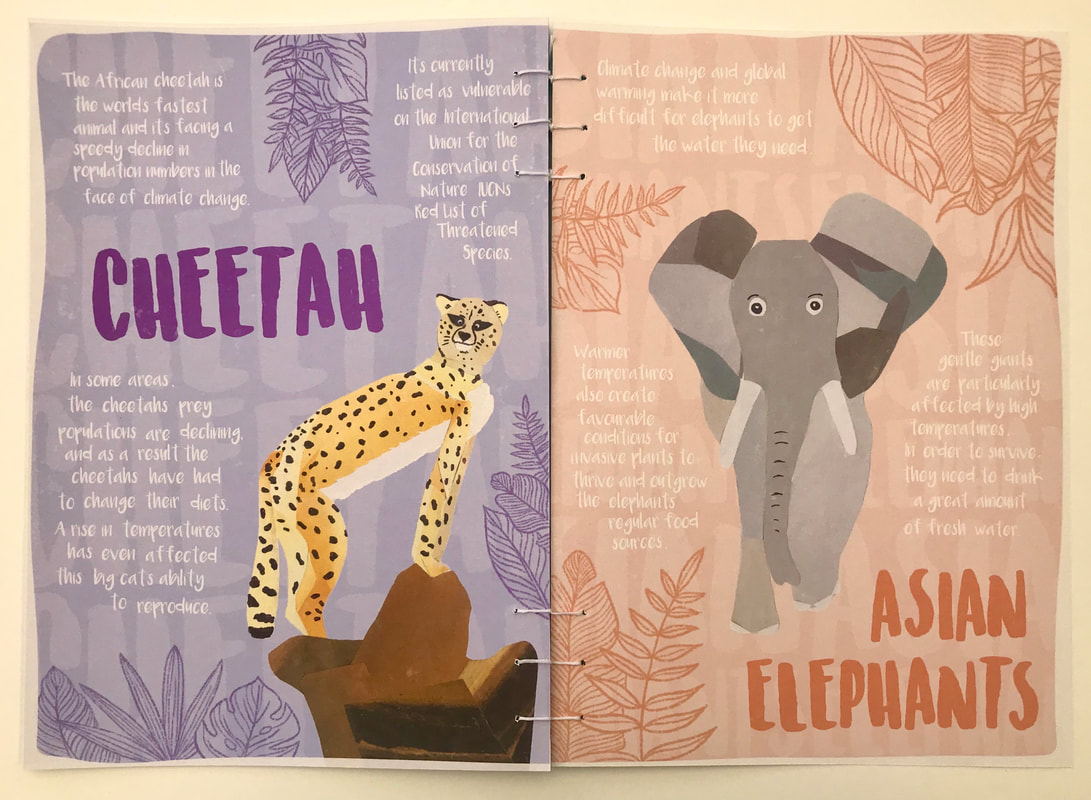 
0 Comments
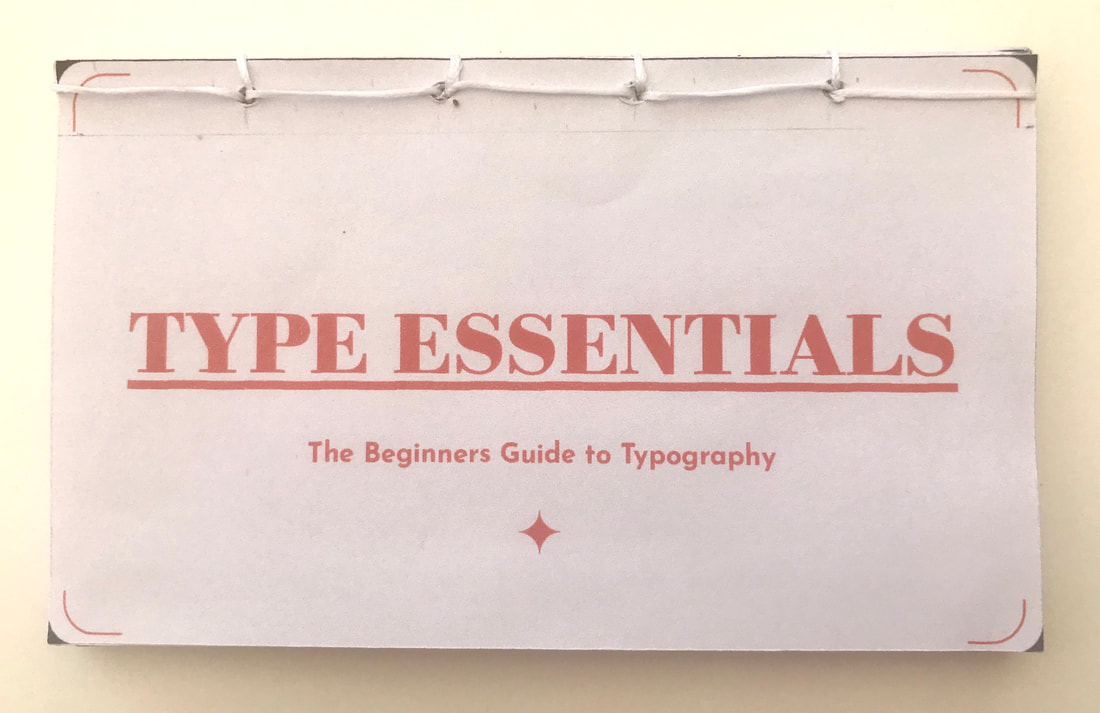
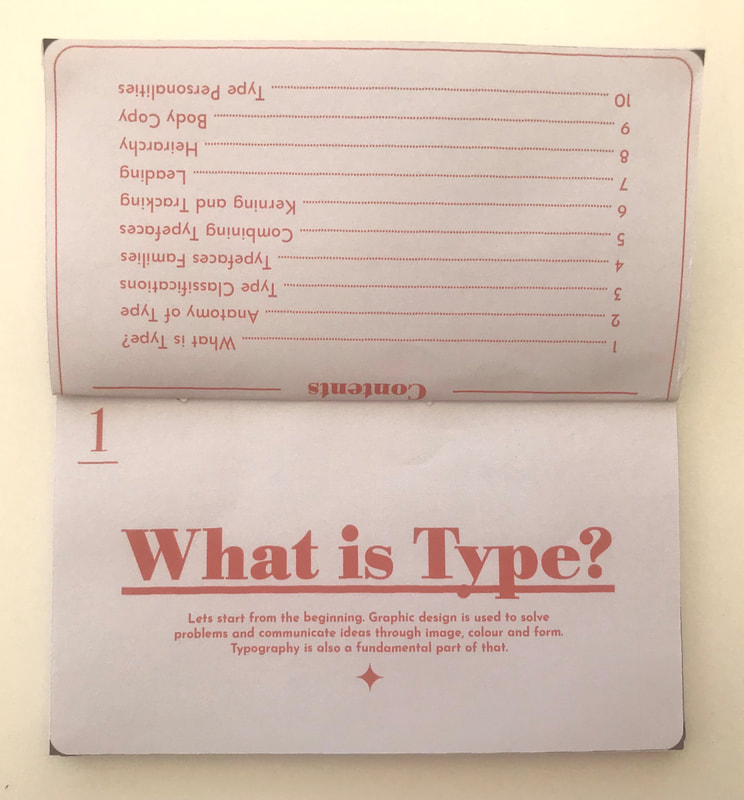
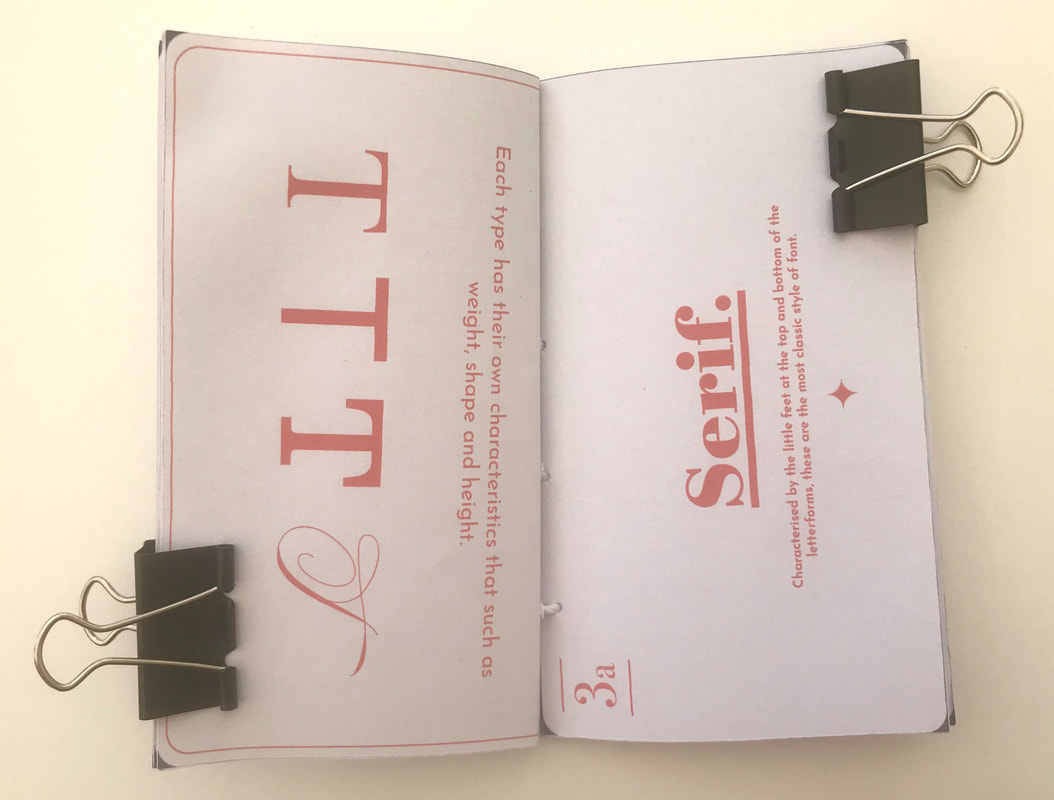
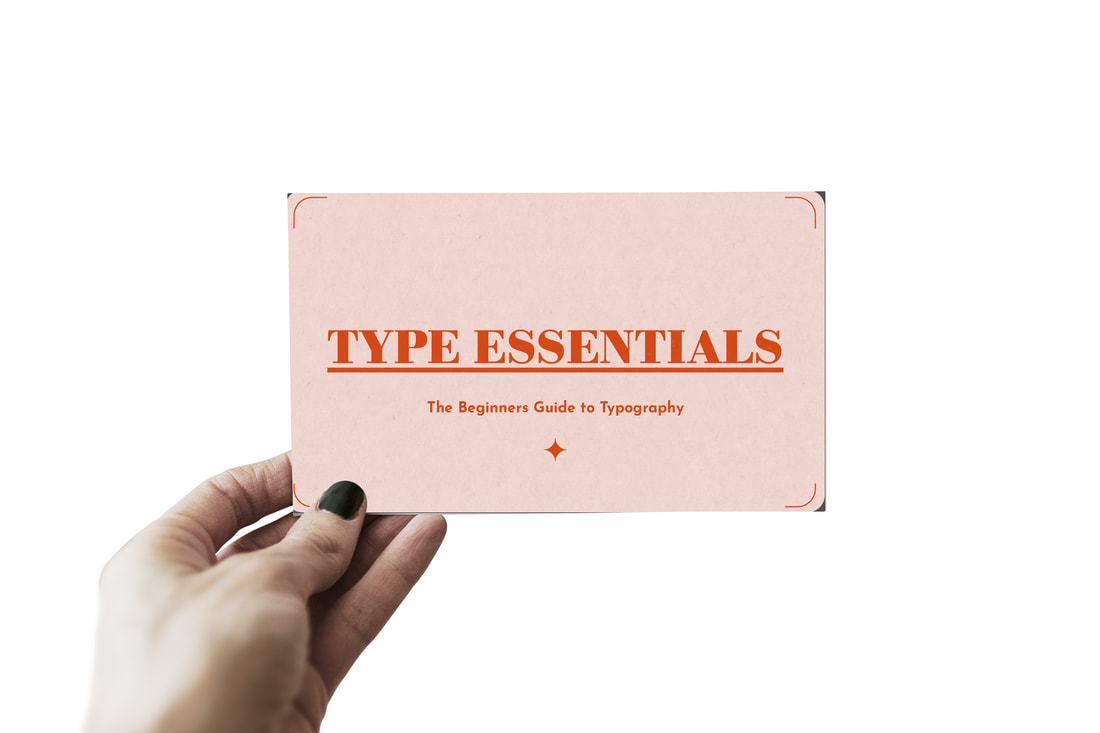
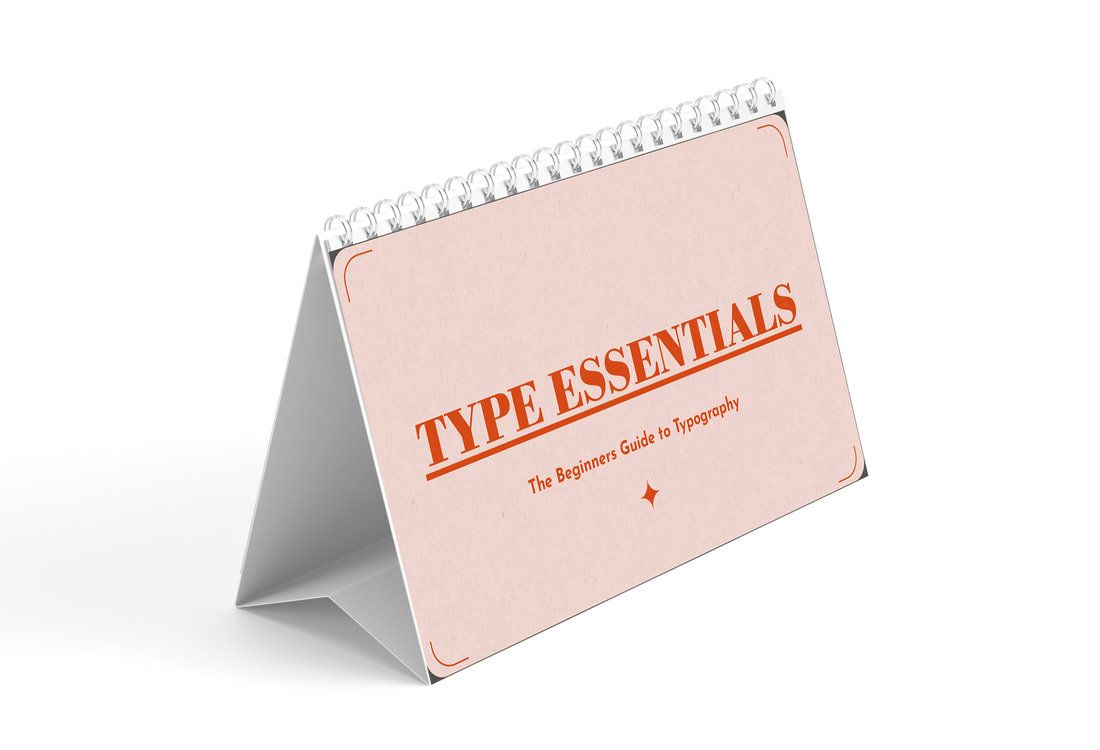
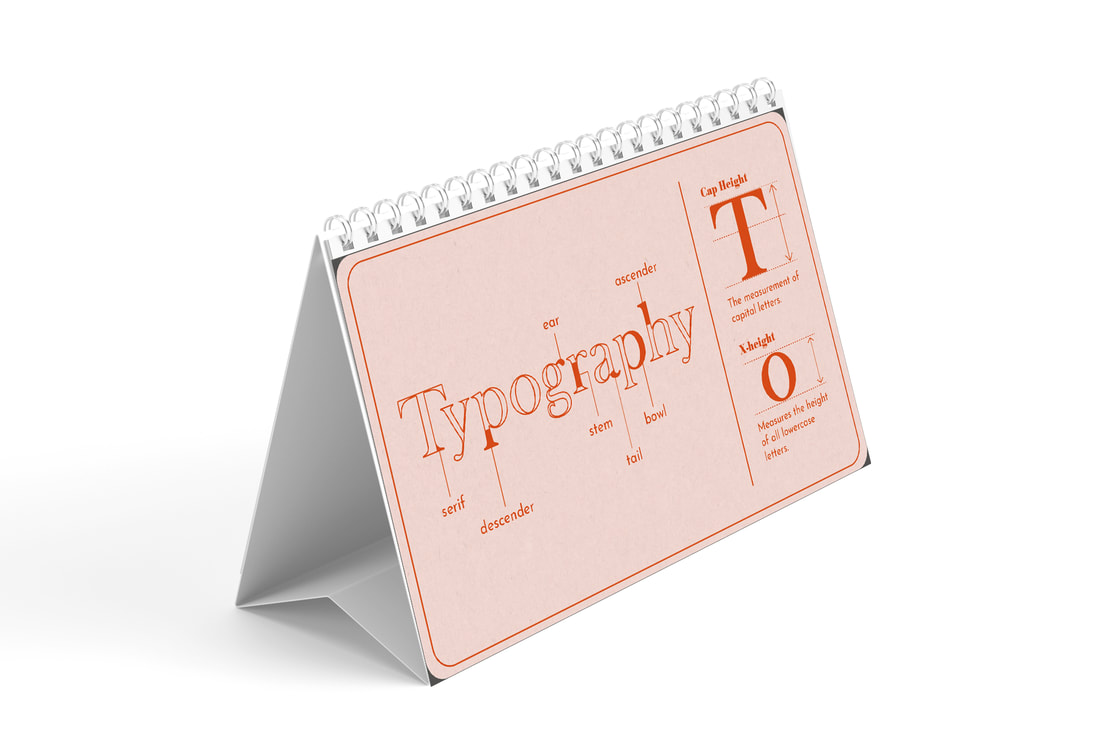
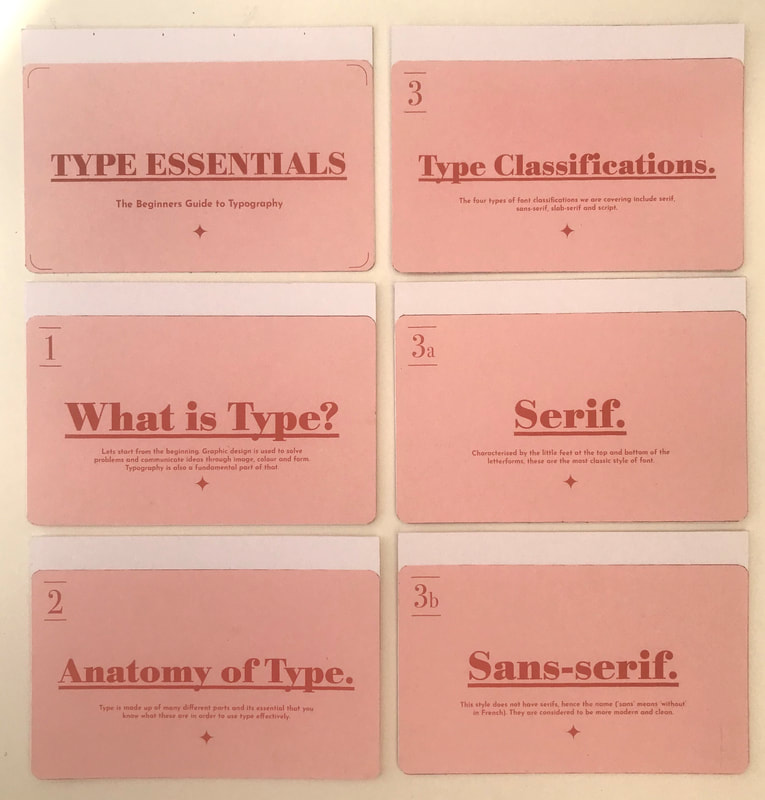
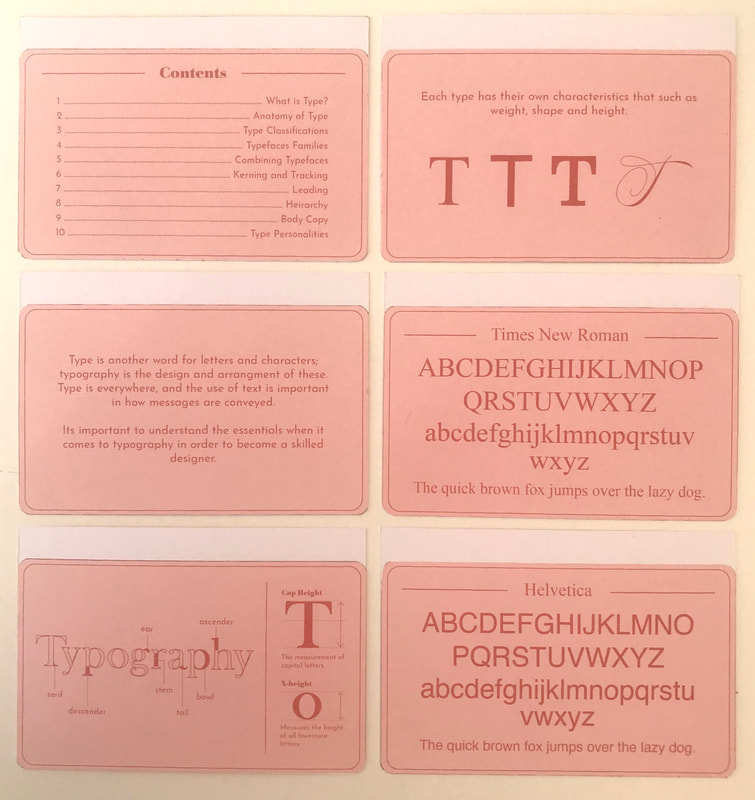
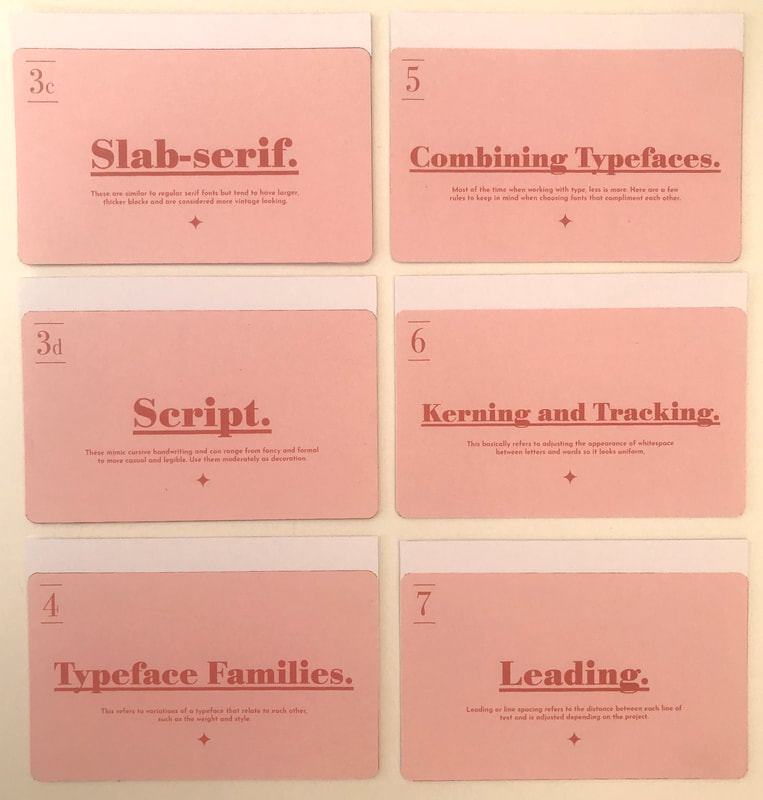
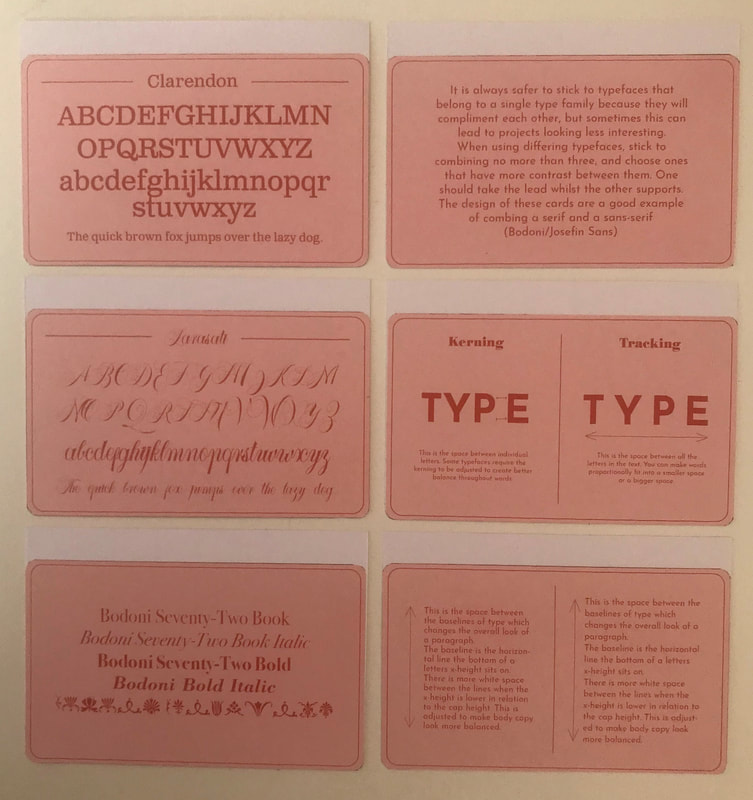
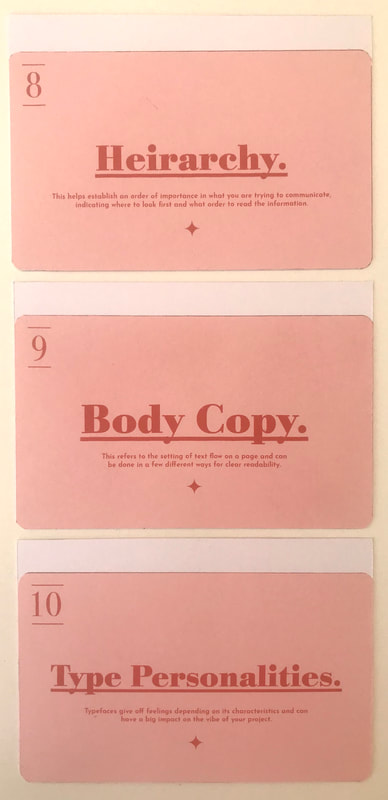
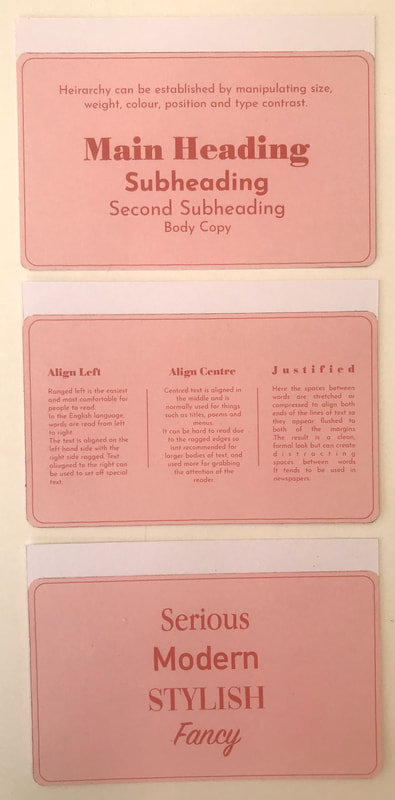
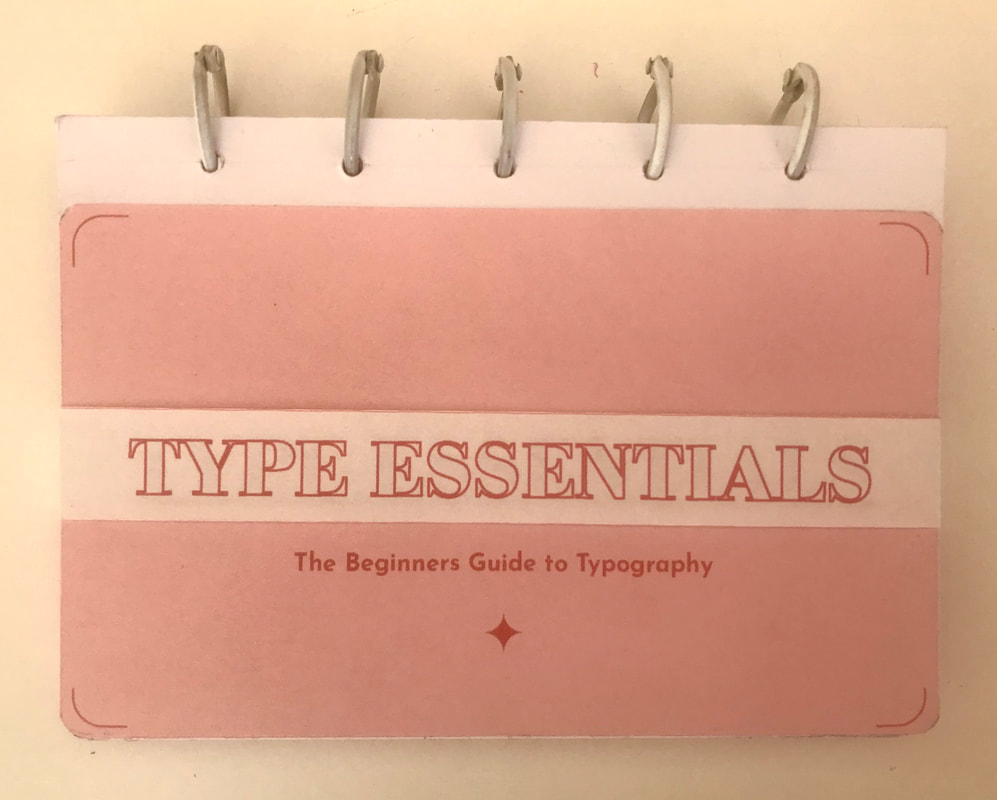
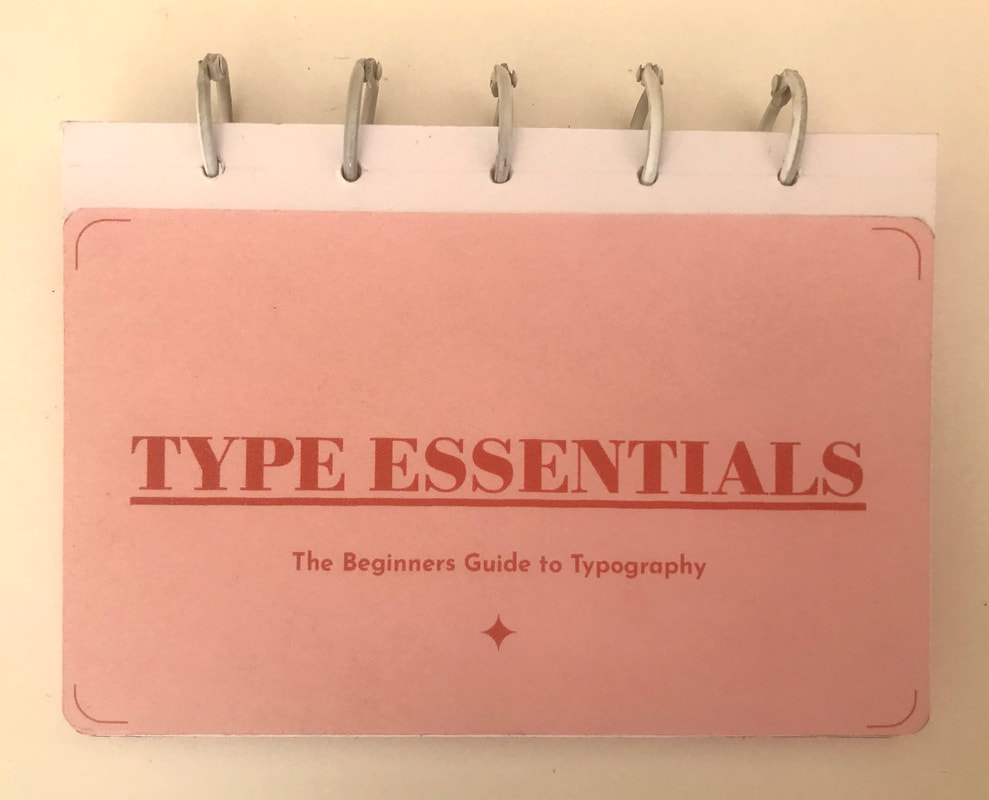
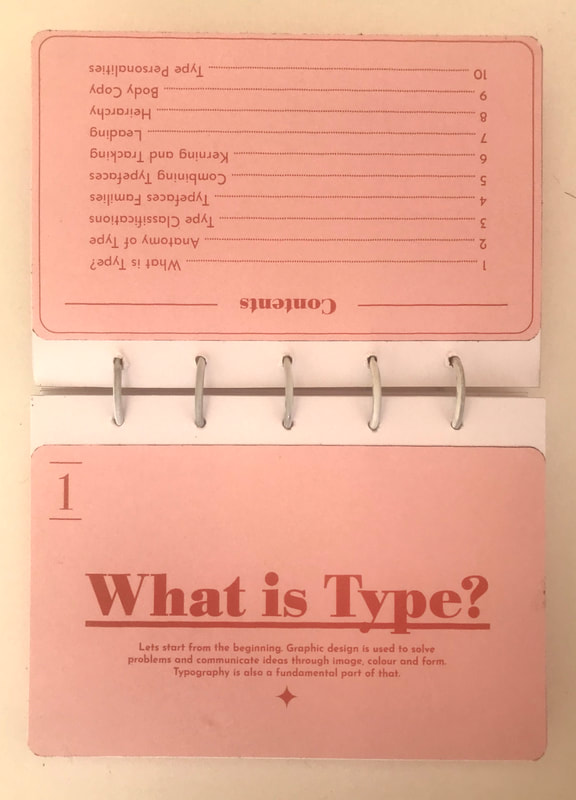
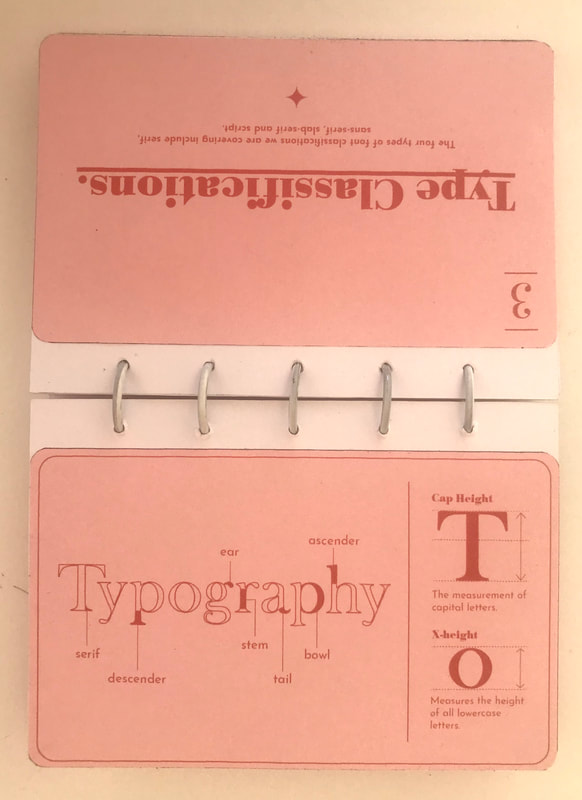
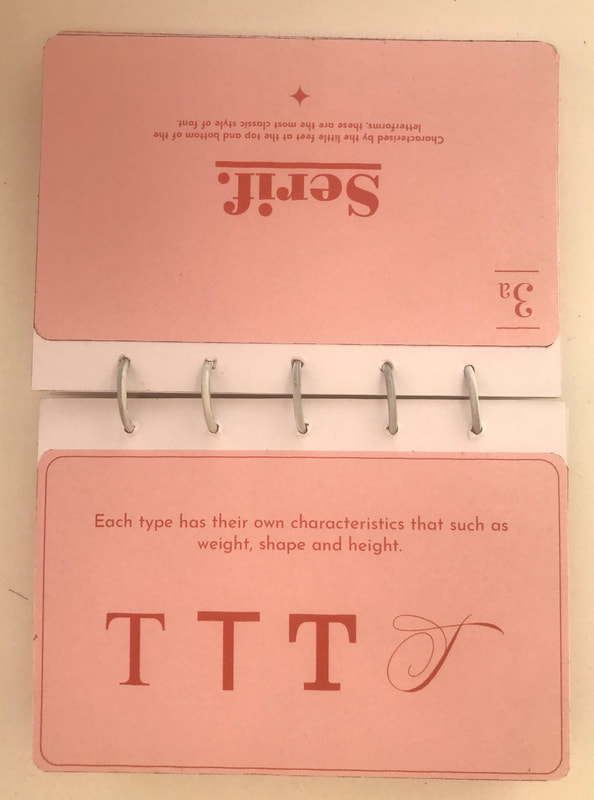
Brief For our first project for this module we had to design and create a 'manifesto', rule book or instruction manual that informed learners of the basics of typography in ten steps or facts. Theme, content and format had to be carefully considered. Research I began my research looking in books and online for some inspiration to get me started. I initially thought about creating an interactive hard cover book with pop-ups and other interactive elements, however due to unforeseen circumstances I felt it necessary for me to change this idea to something simpler to guarantee I could present a finished piece. Due to this my initial research was geared more towards my first idea but I still took inspiration from the design layouts I found when working on the idea I finally went with. I wanted the design of the pages to be as simple as possible so that the information was easy to see and understand. I found looking at other published books on typography that I found them too cluttered, with too much information on the pages which caused me to feel overwhelmed and not want to read everything. I wanted the theme and content of my piece to appeal to the absolute beginner, focusing on the absolute basics. 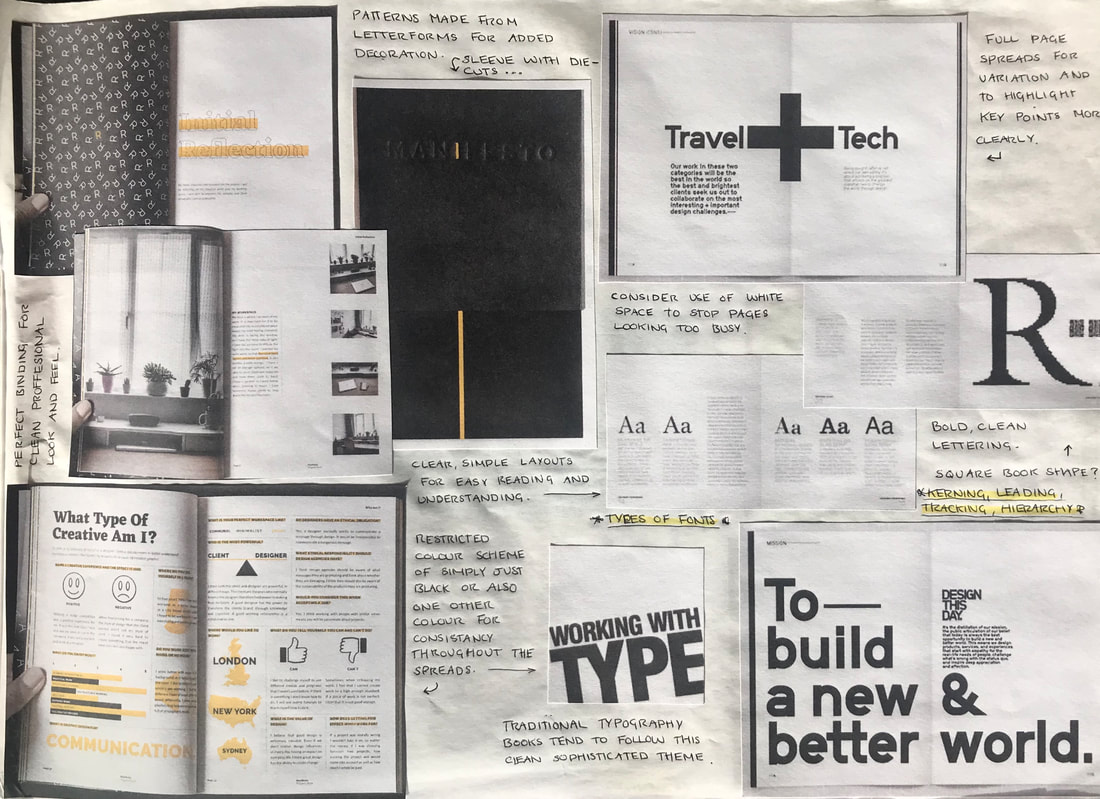 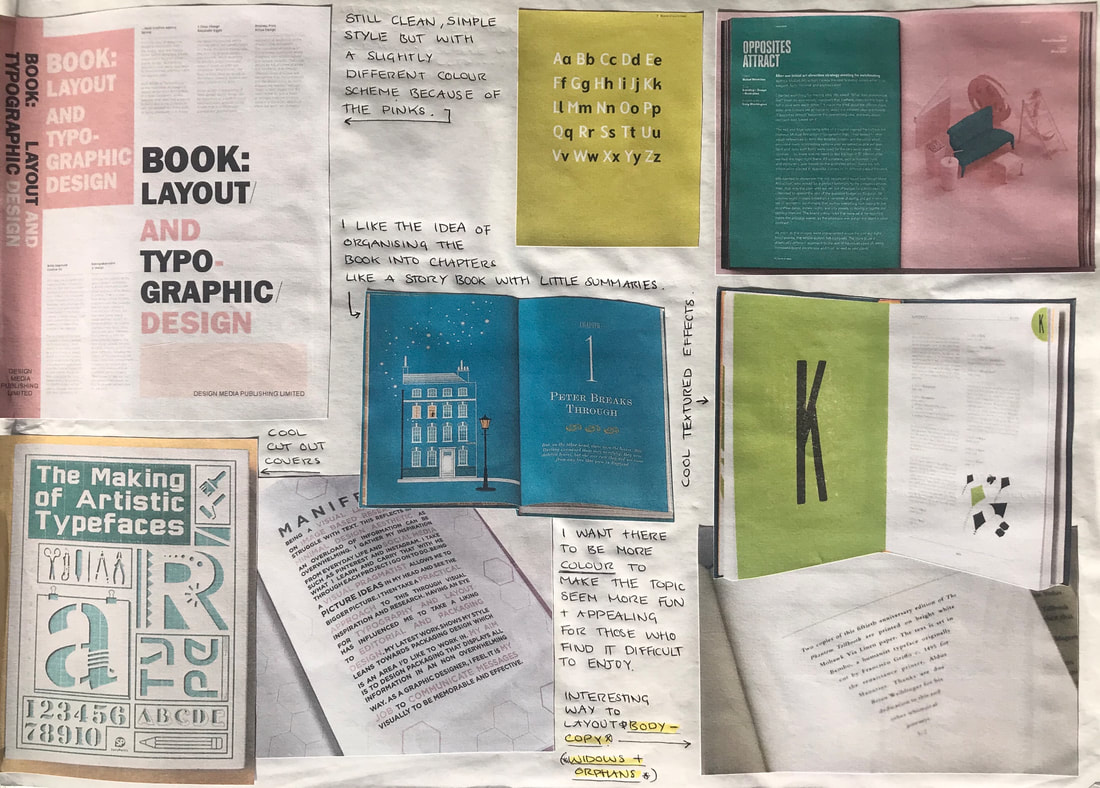 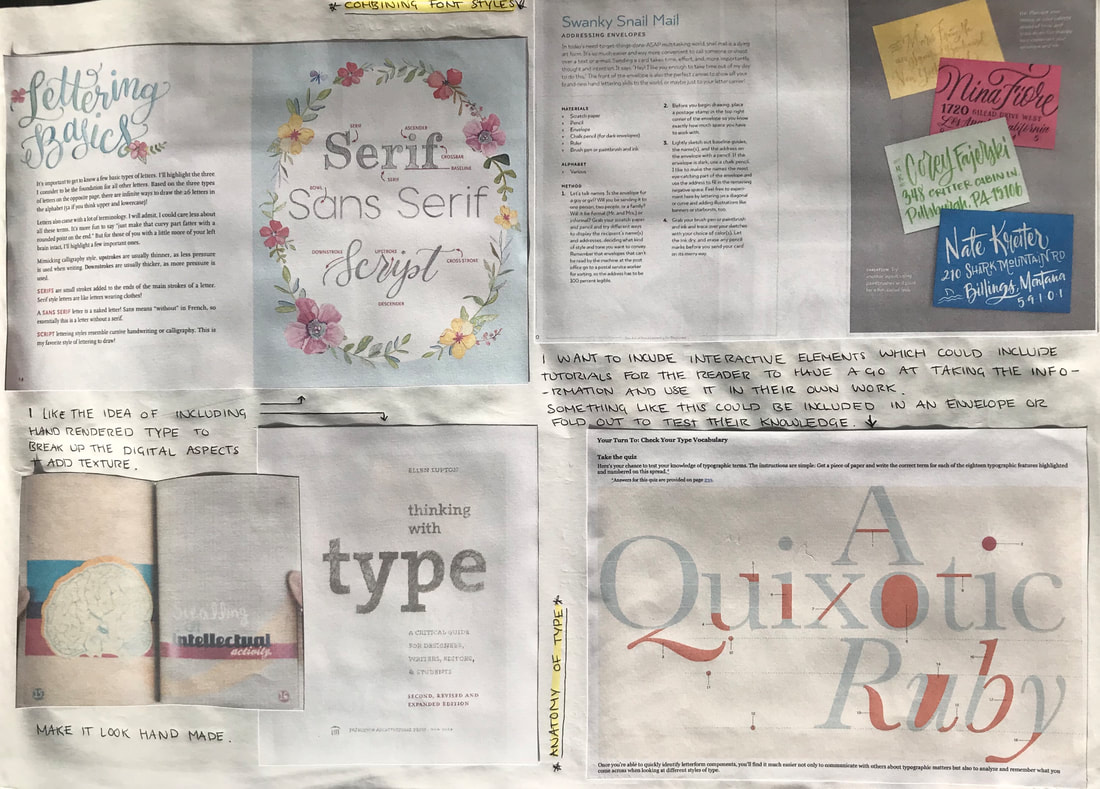  My second idea was inspired by study cards, used to learn and memorise key points of information in a simple and portable way. I thought this was a good idea as it meant I could summarise the absolute necessities when it comes to understanding typography due to the smaller format and keep the graphics themselves clean and simple in order to utilise that limited space. 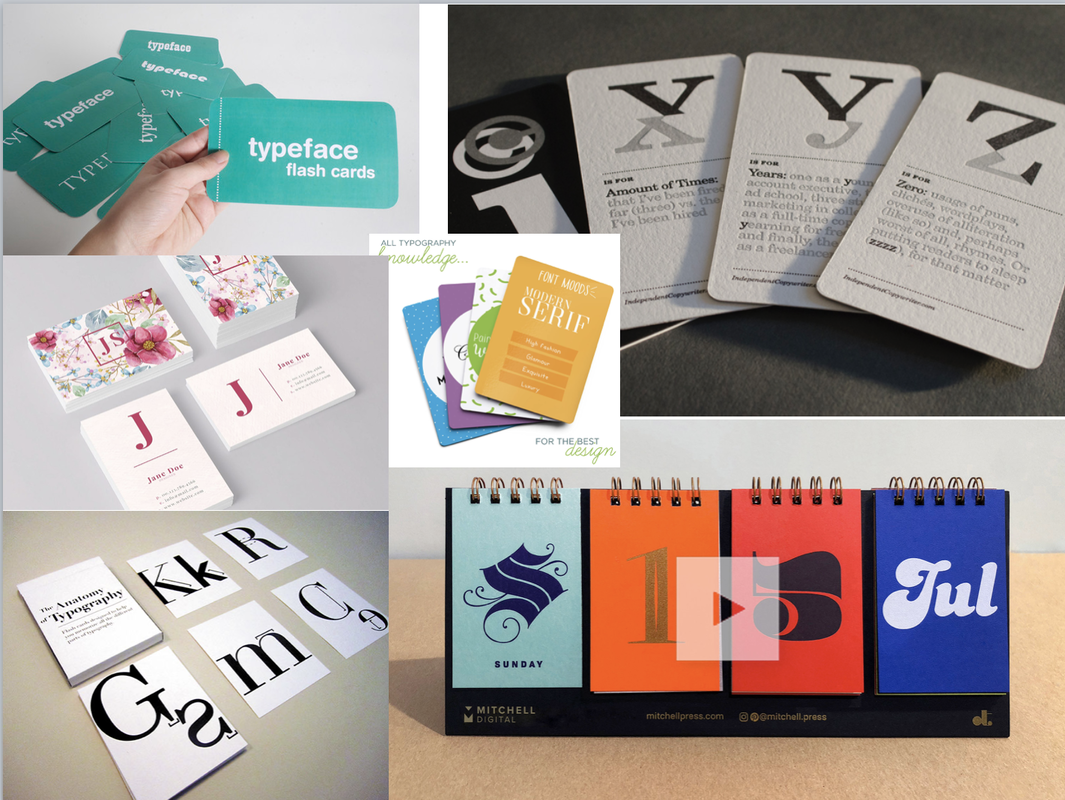  Initial Ideas Here are my layout ideas for the format of my interactive book; my initial idea. I was trying to come up with different ways to deliver the information that was fun so that the reader stayed engaged enough to keep reading. A few of these ideas were taken from a book I got from the library called 'Making Handmade Books' by Alisa Golden, and others i was inspired by a book I owned myself by the graphic design studio MinaLima, 'The Little Mermaid and Other Fairytales'. This book is part of a series of old classics which they illustrated with interactive elements.  Developments Using Adobe Illustrator, I began creating the pages for my study cards. I chose to use a very simple colour scheme of red and pink as I liked the way the complimented each other. I also followed the advice given on one of the cards themselves of restricting myself to using just two typefaces; a serif font and a non-serif font, also making sure I considered hierarchy of information throughout. The last step involved me added some textures over everything so everything looked a little less flat and had more definition. Below you can see the process for one of the cards, step by step: 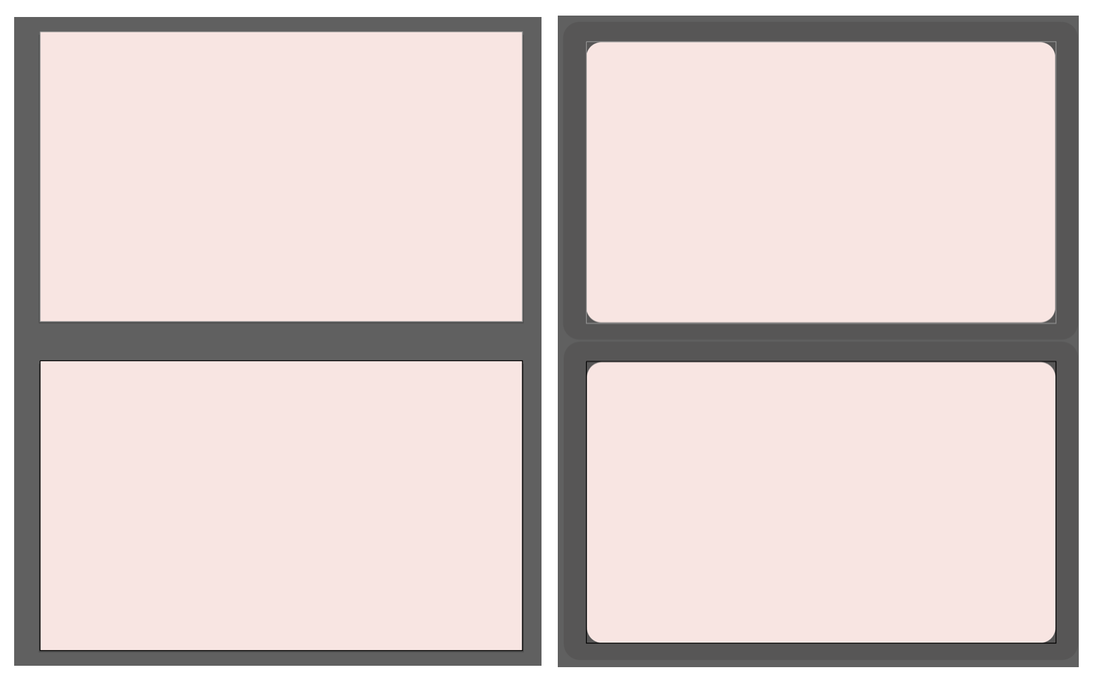 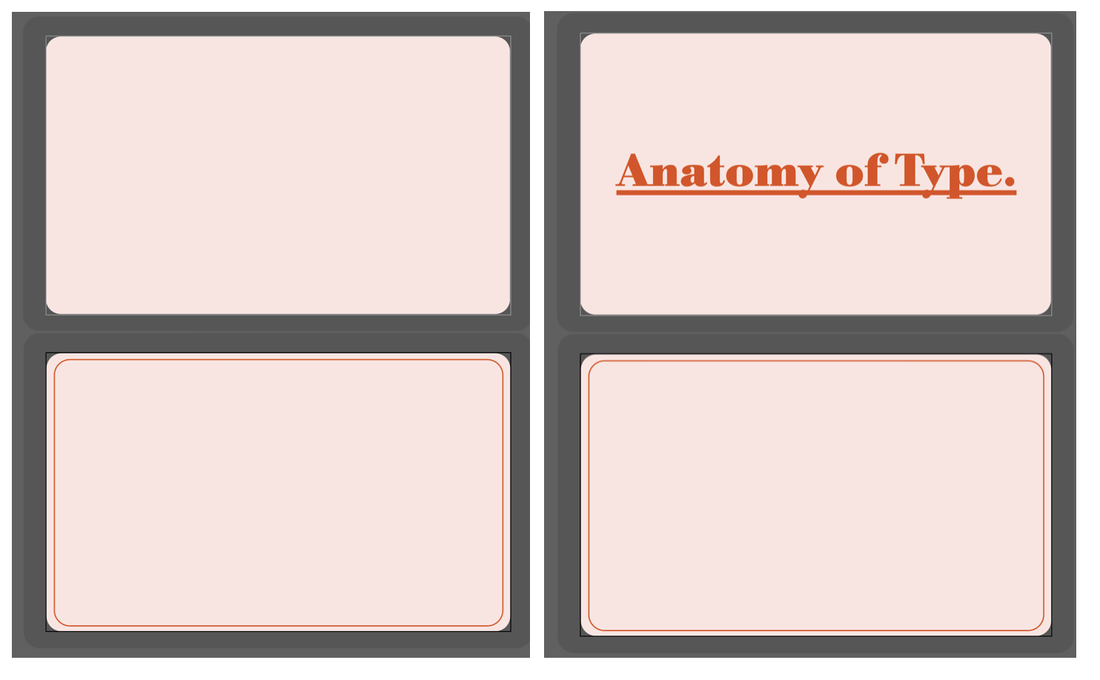   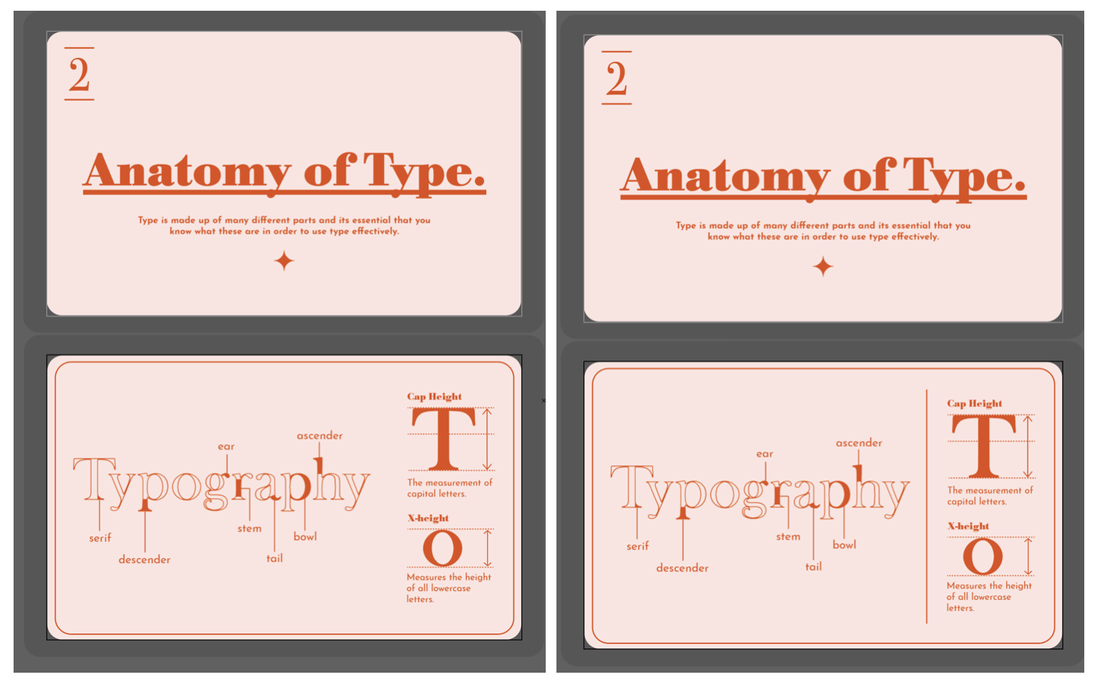 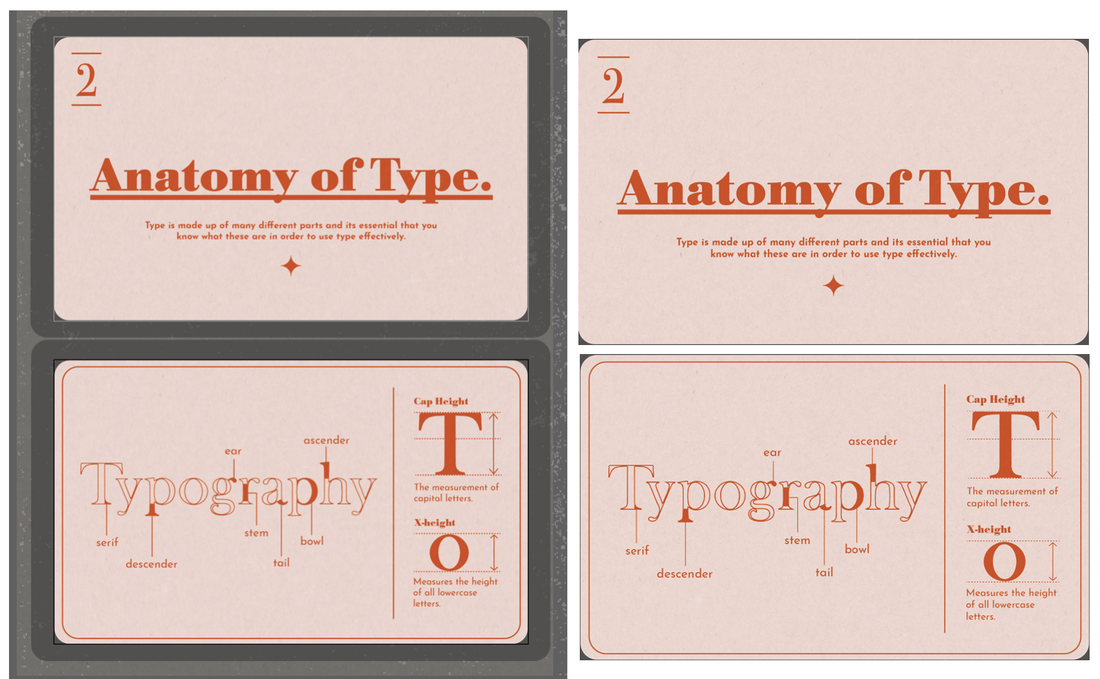 After I had figured out the general style and layout I wanted to go with I began creating the other cards. They each had the title of the topic on one side and the information on the other side, just like a general study card. I also chose to make a card for the 'cover' with the contents of what information the other cards covered on the back. I also designed a belly band to keep all the cards together, sort of like outer packaging. I did these exactly like the one shown above but removed the pink background as I chose to print the cards directly onto pink paper. 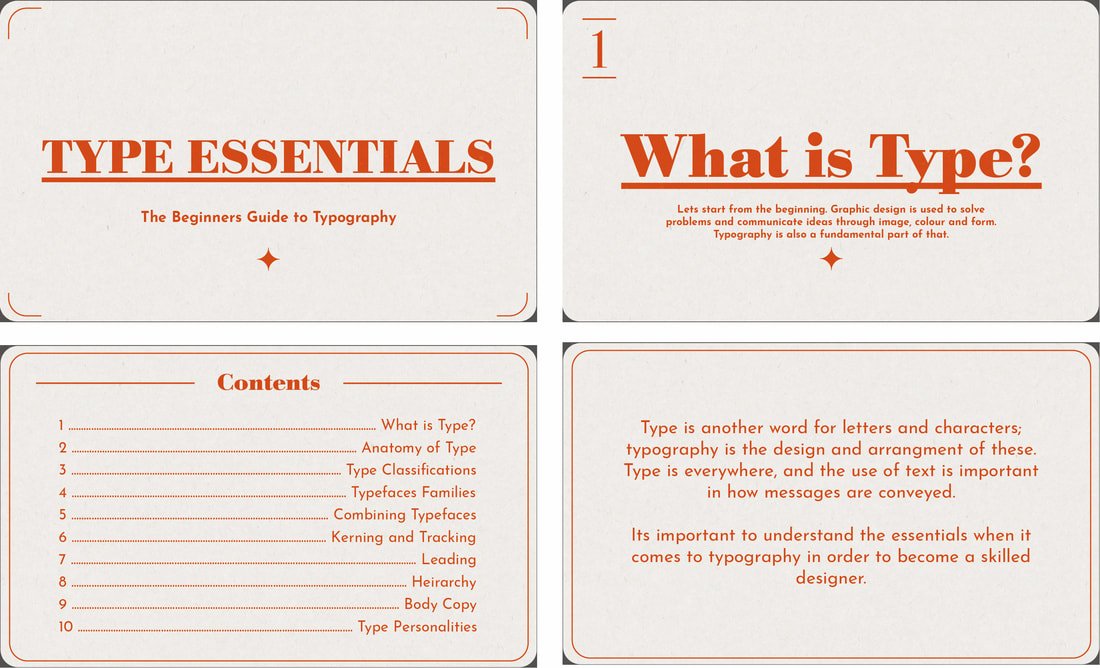 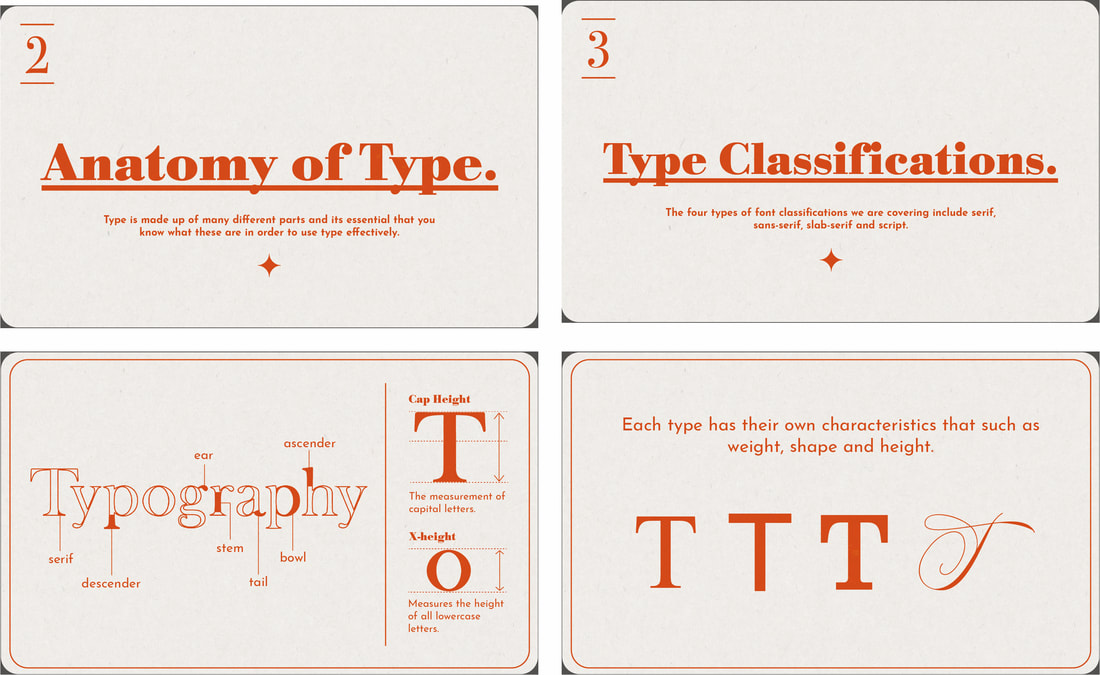 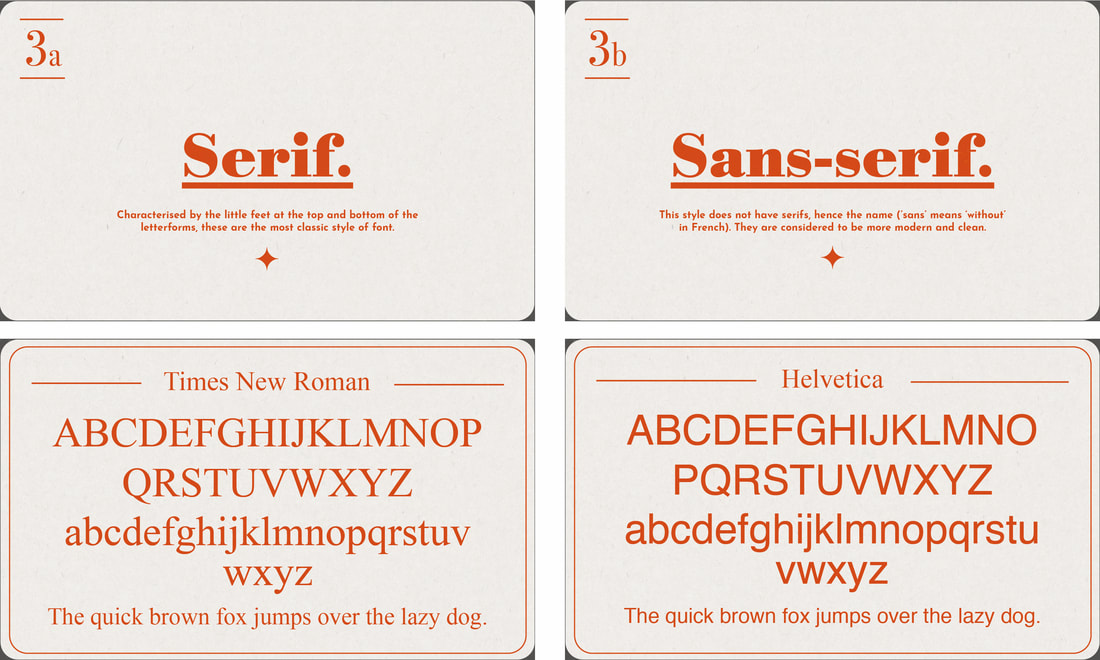 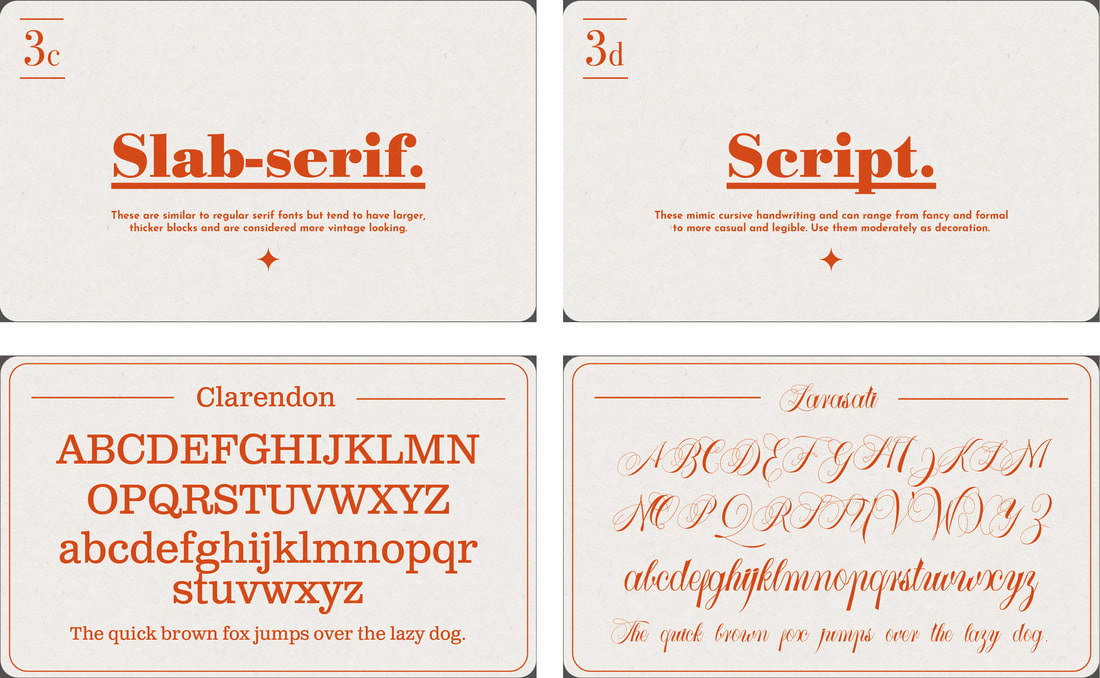 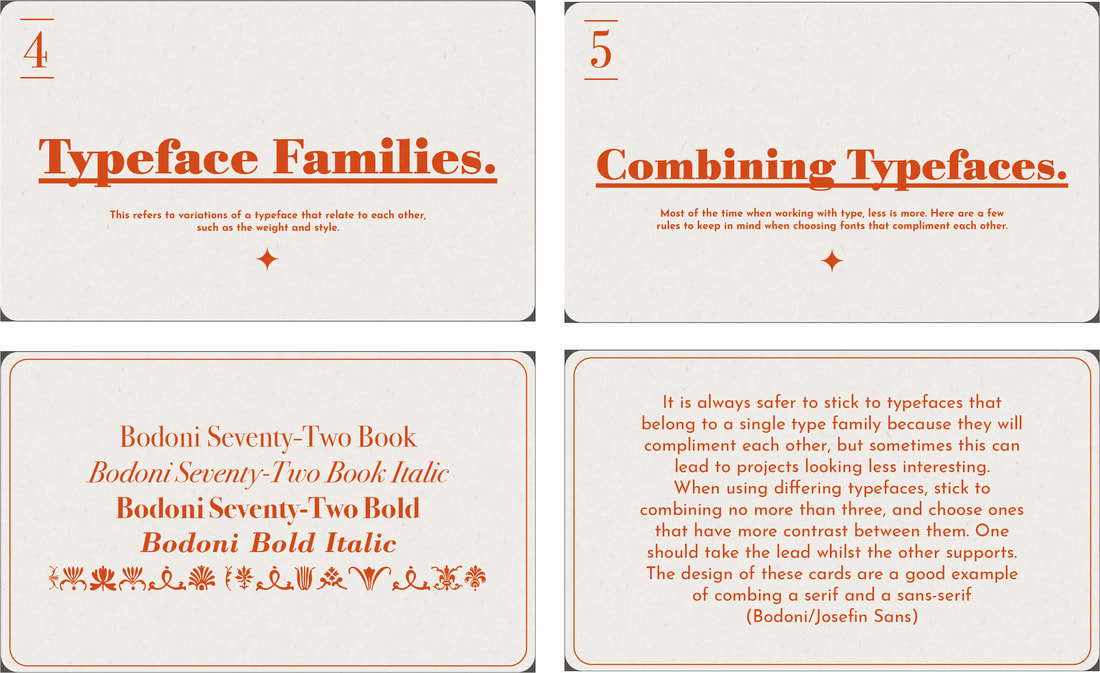 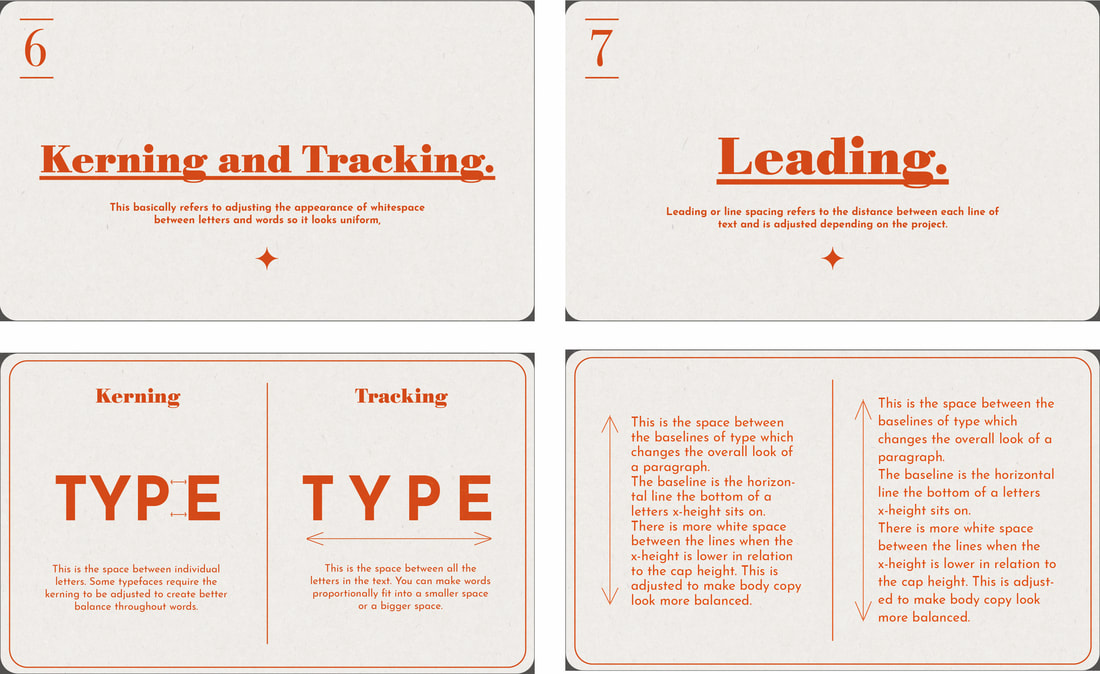 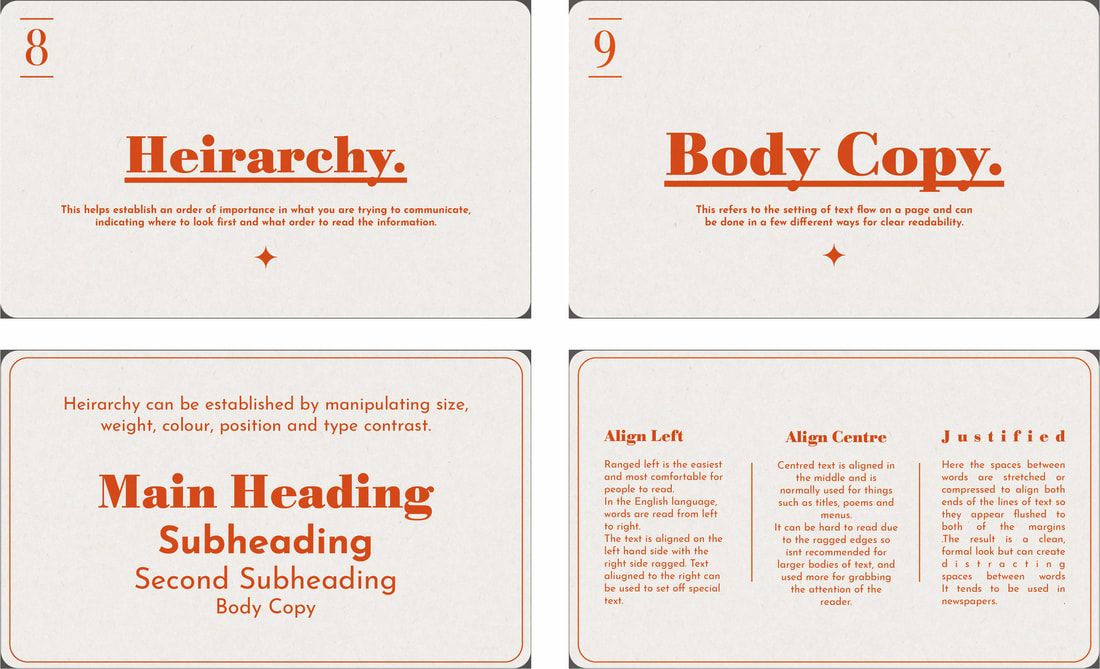 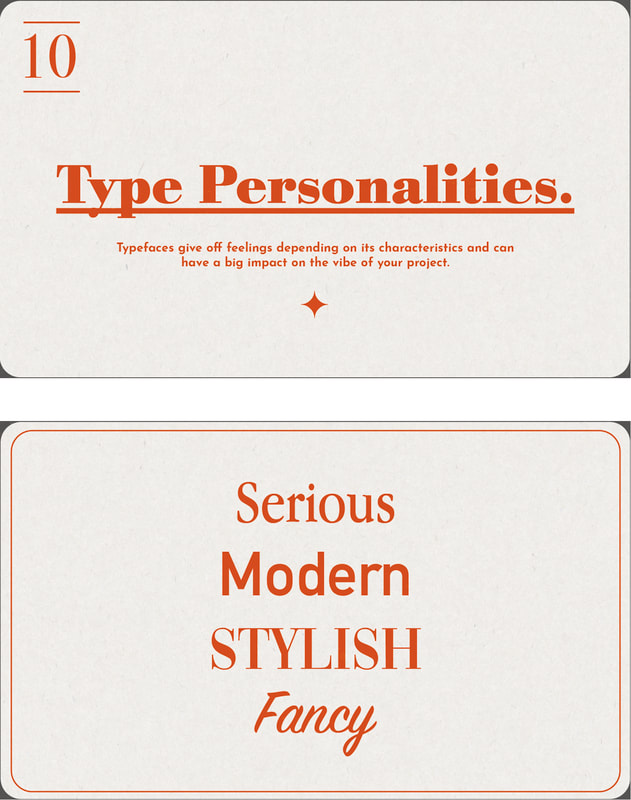  Mock Ups My first print out I did on plain white printer paper. I knew I wanted to find a way of binding the cards together so they were in more of a book format so I first experimented with a Japanese stab binding using wax thread and some other book binding tools I owned and wanted to utilise. However, the paper was too thin and flimsy and I wasn't a fan of how cheap and poorly made it looked so I decided to mount each of the cards onto some thick card using spray mount. This made the cards look way more professional and much more durable. I decided to also create a few digital mock ups to show how the cards could be professionally made, as lack of equipment and materials prevented me from producing them in this way myself. Final Piece Shown here are the final mounted cards. I left space above each card in order to create holes for binding. I decided to improvise and create my own ring binding using 0.75 inch loose leaf binder rings which I spray painted white. Overall I am satisfied with my final outcome even though things had to be changed last minute. I still think I managed to produce a meaningful 'manifesto' that highlights the basics of typography to a complete beginner in an interesting, easy to understand way. Ampersands One of the mini activities we were given were to collect 20 different ampersands. I chose to display mine in booklet form using a saddle stitched binding using thread. 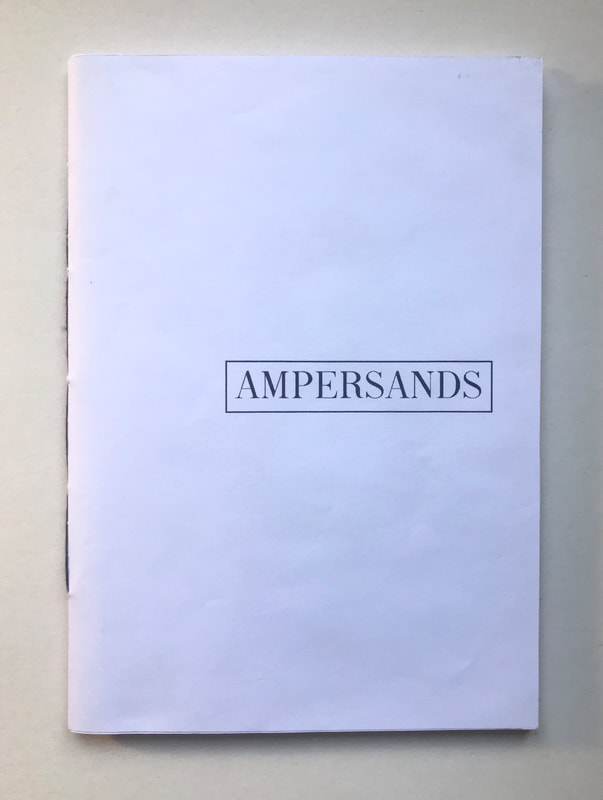 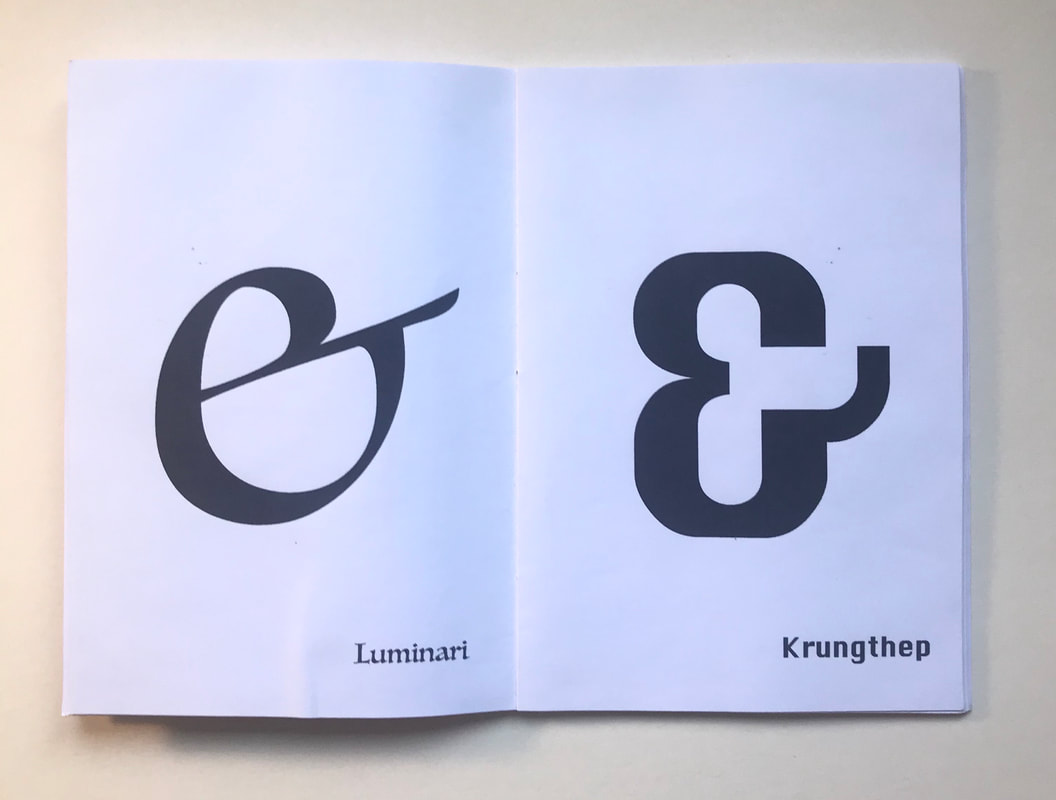 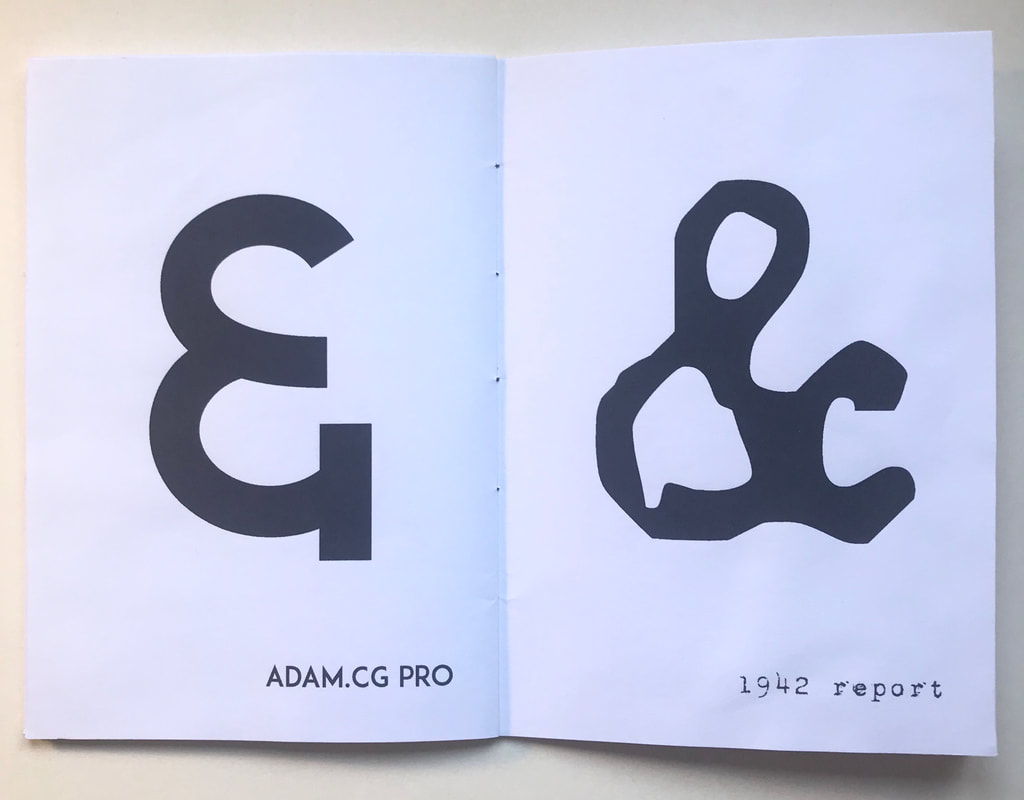 Talking Type/Type Personality The next activity involved us being given a choice of two scripts which we had to translate into typography. We had to assign an appropriate typeface to each person that represented them and so that we could "see" their voices. Choosing the script from Harry Potter, I started out experimenting with a few typefaces for each character first. I wanted the typeface for Hagrid to infer his size so chose a thick, bold font. For McGonagal I tried to find a typeface that represented her seriousness using a thin, clean serif font. I wanted Dumbledores to come across as the most interesting using a typeface with serifs to represent his authority, but also showing some quirkiness. 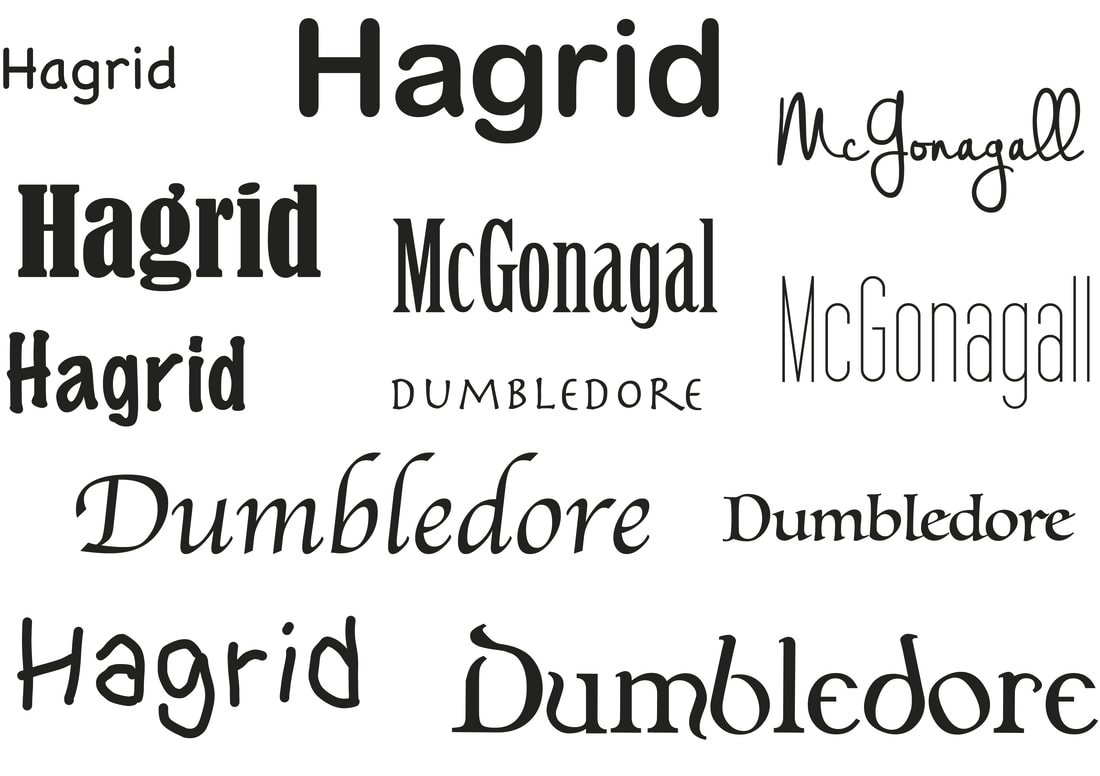 I then experimented with a few different layouts, first digitally and then by cutting and sticking onto layout paper.    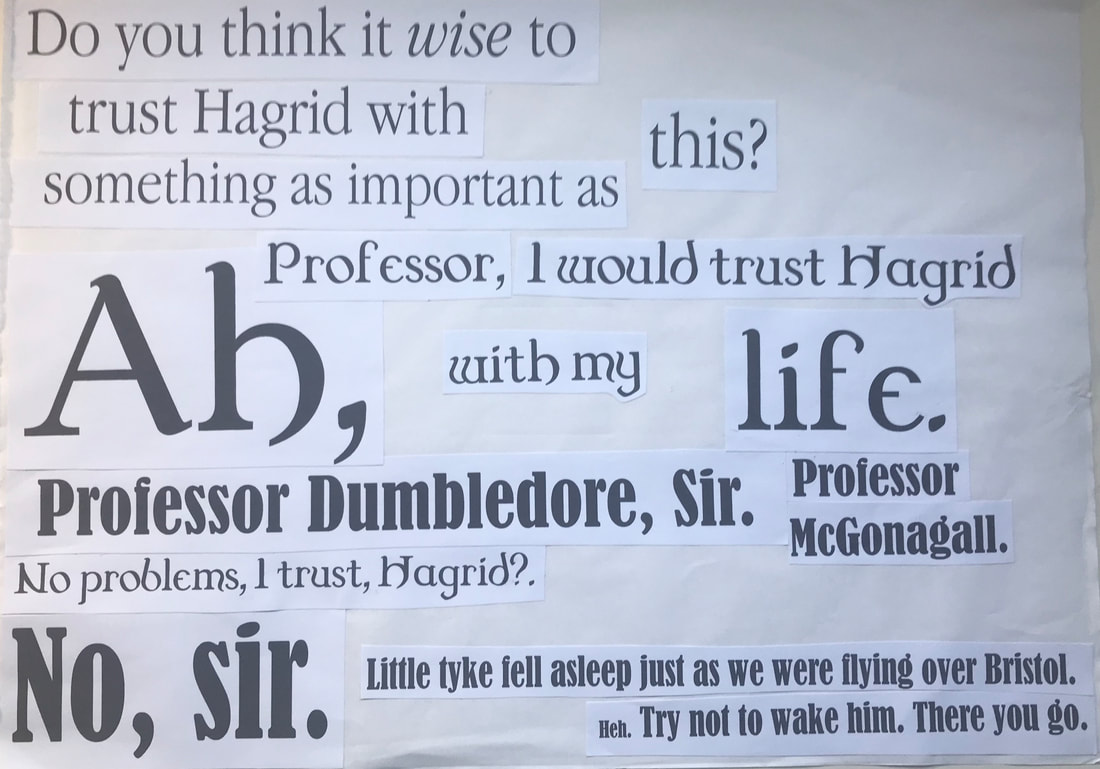  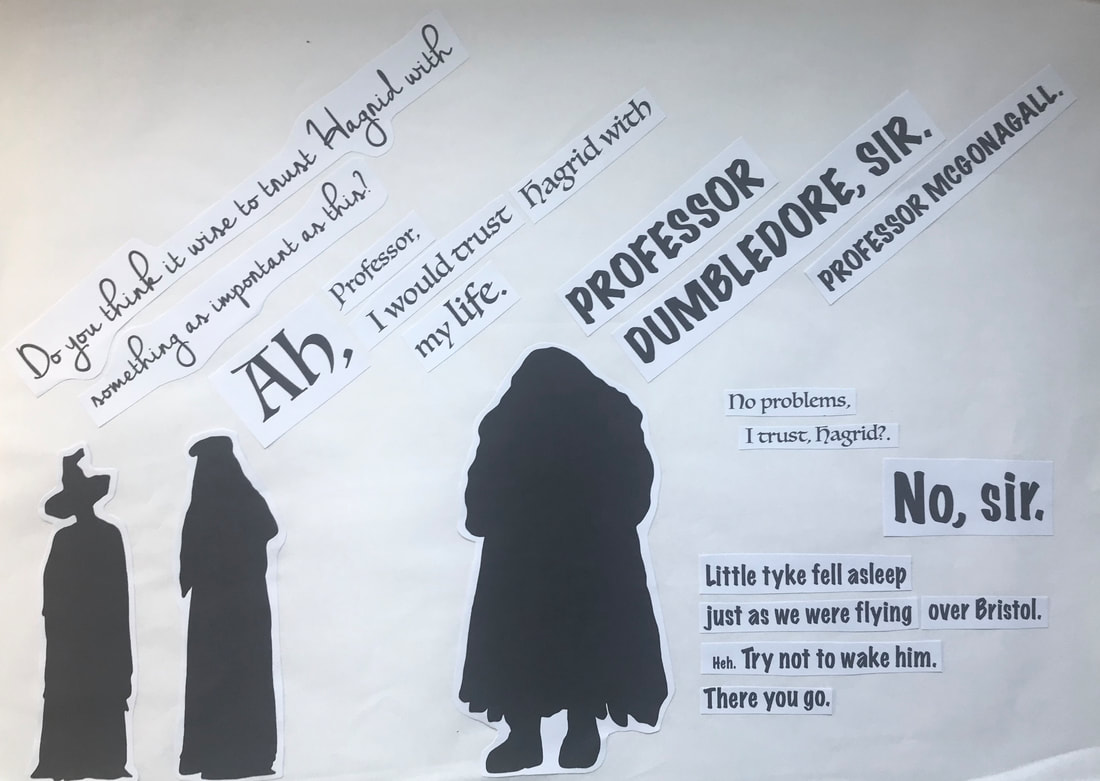 DIY Alphabet For this activity we were given a day to create our own DIY alphabet inspired by the various alphabets in presentation we were shown. I chose to make up the letters using different office-like supplies I had available to me in my room such as paperclips, push-pins, staples, felt-tips, post-it notes and biro pens. 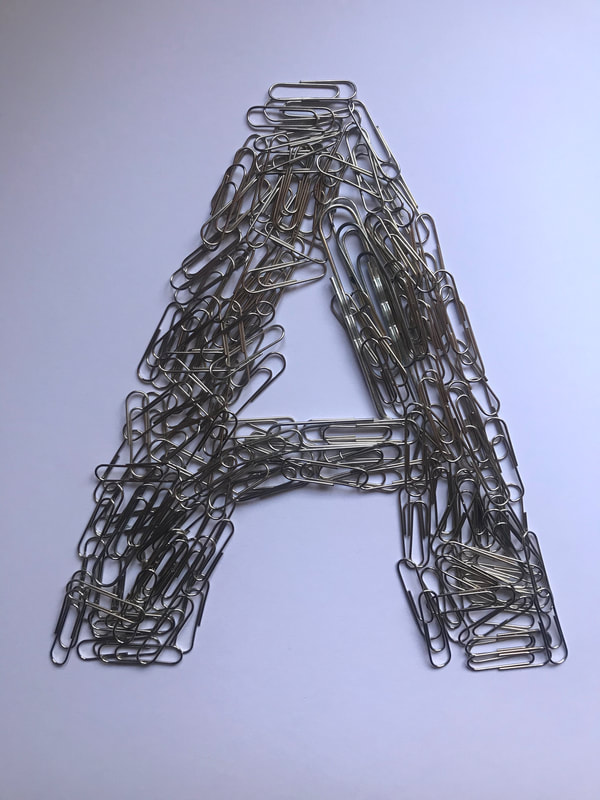 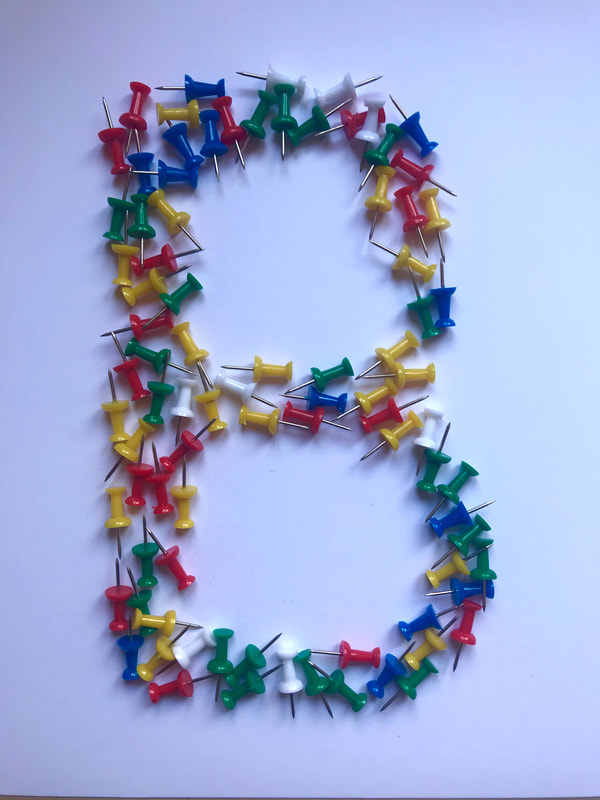 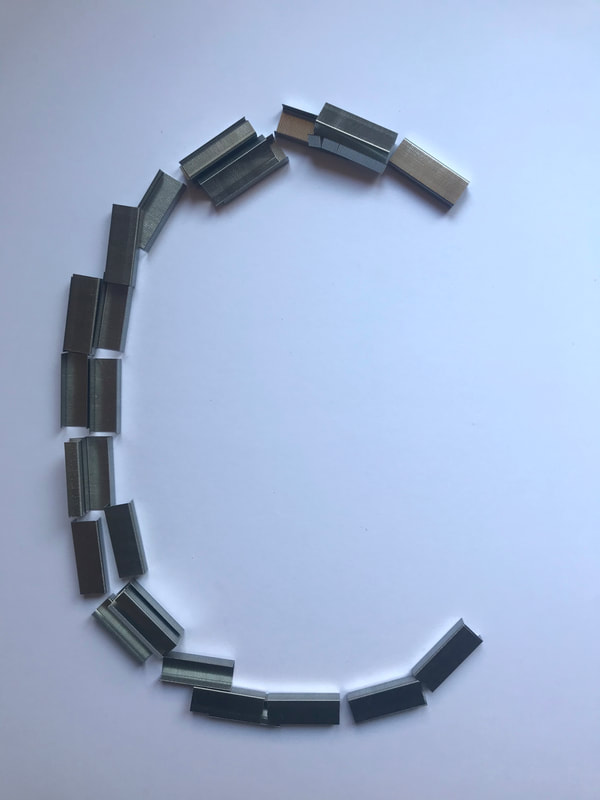 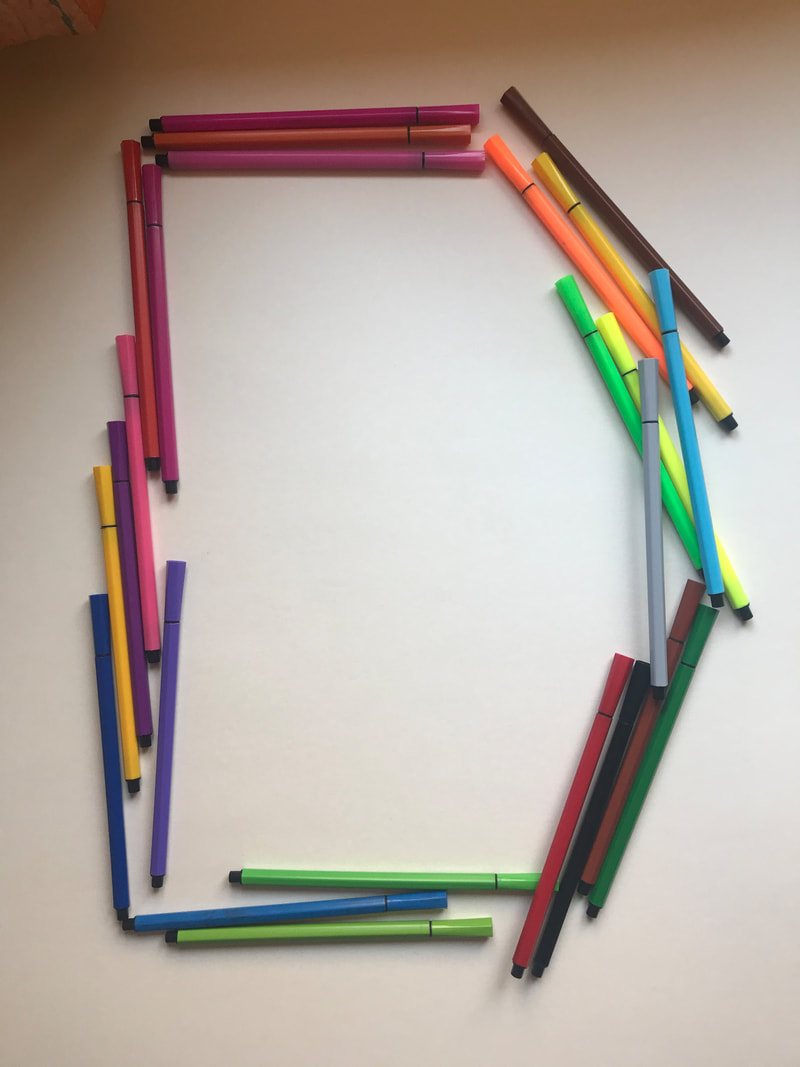 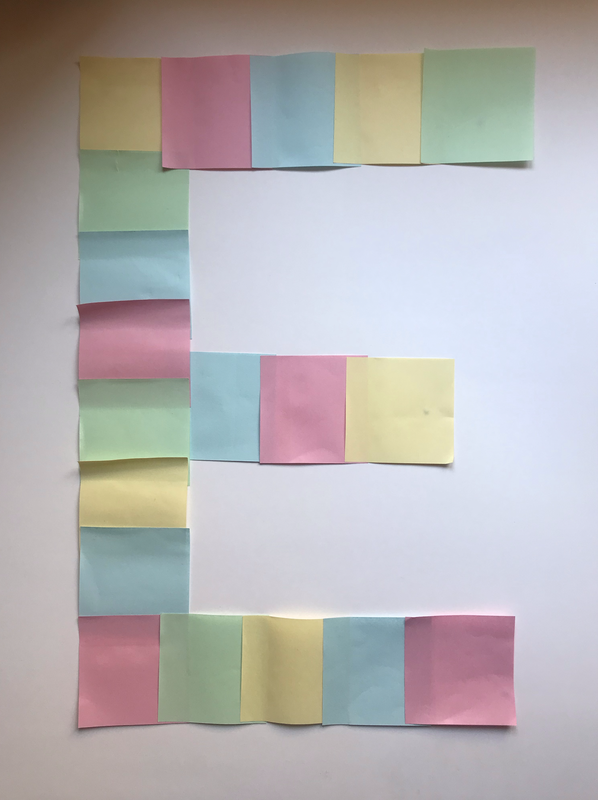 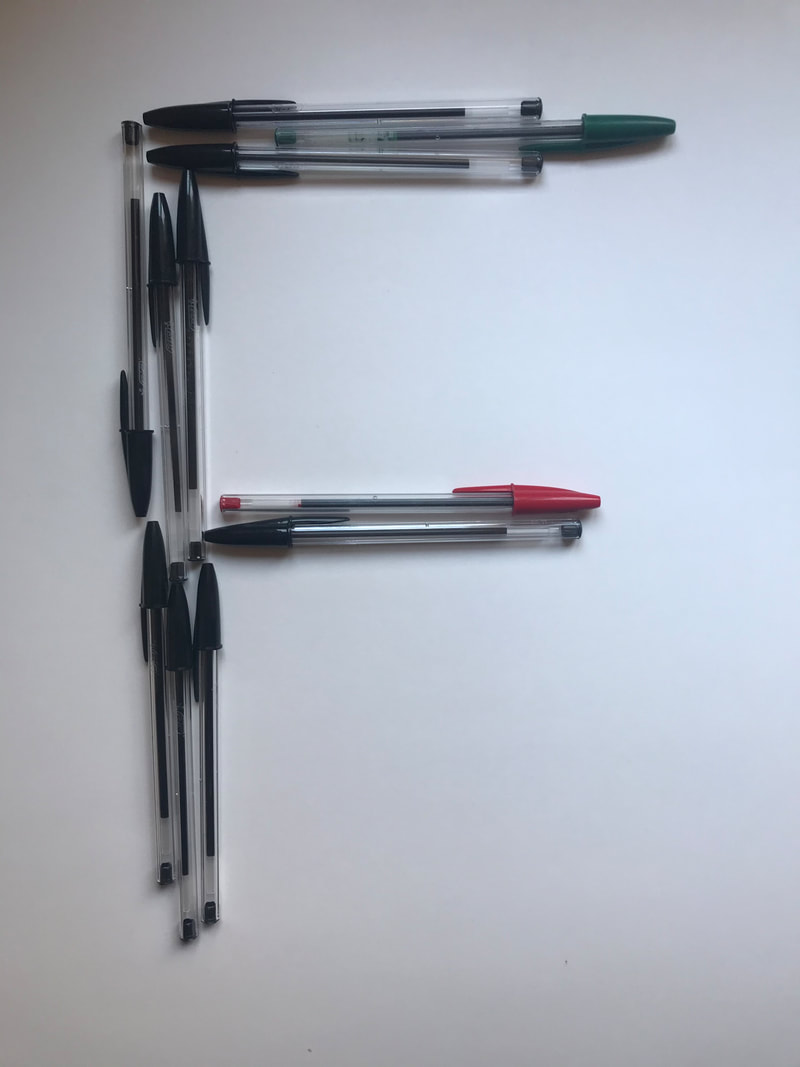 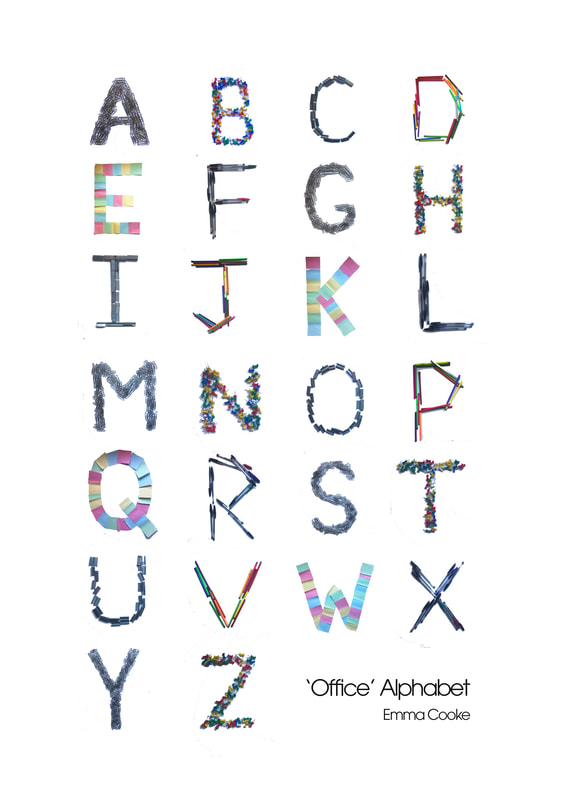 |
AuthorHi, I'm Emma. I'm currently studying Graphic Design at the University of Cumbria. Modules
All
Archives
March 2020
|


 RSS Feed